Fix Slow File Transfers: Optimize SMB Sharing + Enable Jumbo Frames (Win10/11)
Difficulty: Intermediate | Time Required: 20 minutesSlow file transfers over your local network (copying to/from a NAS, another PC, or a home server) are usually caused by a few common issues: SMB settings that aren’t tuned for modern networks, mismatched link speeds/duplex, and suboptimal MTU (packet size). This guide shows how to optimize SMB file sharing on Windows 10/11 and (optionally) enable Jumbo Frames for higher throughput on gigabit/2.5G/10G networks—especially helpful for large file transfers.
What you’ll gain: Faster, more consistent LAN transfers, better utilization of 1GbE/2.5GbE/10GbE links, and fewer “mystery slowdowns” when copying big files.
Prerequisites
Before changing settings, confirm:Quick walkthrough
- You have administrator access on both the sending and receiving Windows PCs.
- Your network is wired Ethernet (Jumbo Frames are rarely beneficial/reliable on Wi‑Fi).
- If enabling Jumbo Frames, your entire path supports it:
PC NIC → switch/router → other NIC/NAS must all support the same MTU (commonly 9014 or 9000). - Windows versions:
- Steps apply to Windows 10 (2004+) and Windows 11.
- SMB1 is deprecated; this guide focuses on SMB2/SMB3 (modern SMB).
Step-by-step: Measure your baseline (2 minutes)
- Pick a single large file (e.g., 5–20 GB) or a folder with large media files.
- Copy it from PC A → PC B (or to NAS) and note:
- Speed shown in the copy dialog
- Whether it’s stable or fluctuates wildly
Tip: Don’t benchmark with thousands of tiny files at first—small files are limited by file system overhead and metadata operations, not just raw throughput.
Step-by-step: Confirm link speed and basic network health (3 minutes)
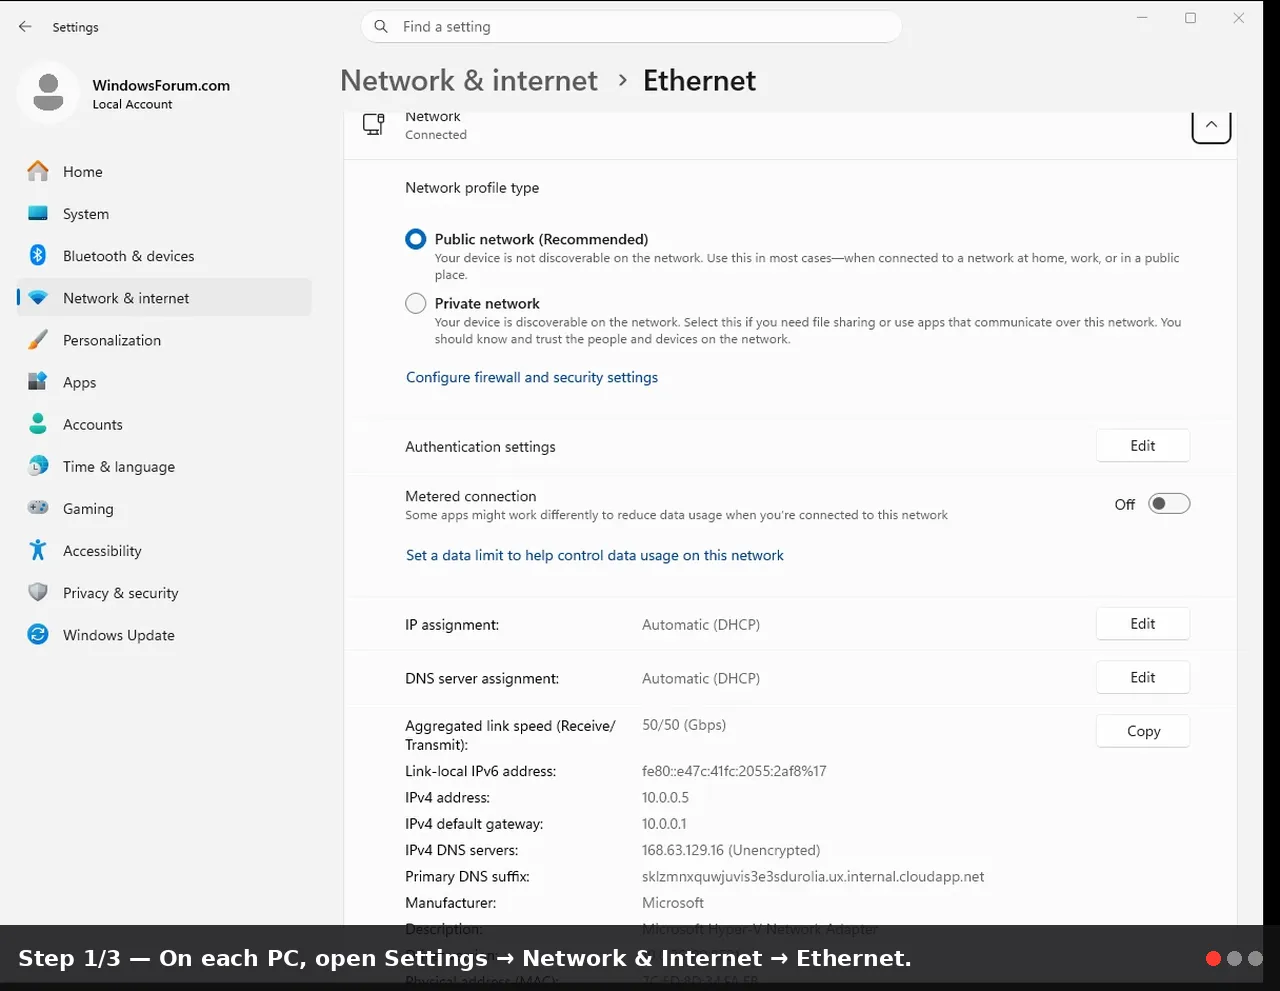
- On each PC, open Settings → Network & Internet → Ethernet.
- Click your Ethernet adapter and check Link speed (should show 1.0 Gbps / 2.5 Gbps / 10 Gbps).
- If link speed is lower than expected:
- Try a different cable (Cat5e minimum for 1GbE; Cat6 recommended for 2.5GbE+)
- Try a different switch/router port
- Update the NIC driver (see next section)
Warning: Jumbo Frames won’t help if you’re actually linked at 100 Mbps due to a bad cable or port.
Step-by-step: Update NIC drivers (2–3 minutes)
- Press Win + X → Device Manager.
- Expand Network adapters.
- Right-click your Ethernet adapter → Properties → Driver.
- Preferably update from:
- Your PC/motherboard vendor support page (often best), or
- The NIC chipset vendor (Intel/Realtek/Marvell), or
- Windows Update (acceptable, but sometimes older)
Note: Driver updates can improve offload features and stability that directly affect SMB throughput.
Step-by-step: Optimize SMB sharing settings (6–7 minutes)
A) Use modern SMB (disable SMB1 if it’s enabled)
- Open Control Panel (search “Control Panel”).
- Go to Programs → Programs and Features → Turn Windows features on or off.
- Locate SMB 1.0/CIFS File Sharing Support.
- If it’s checked, uncheck it (unless you truly need SMB1 for an ancient device).
- Click OK and restart if prompted.
Why: SMB1 is slower and less secure. Modern Windows uses SMB3 with better performance and security.
B) Ensure Network Profile is Private (for proper sharing behavior)
- Go to Settings → Network & Internet → Ethernet.
- Set Network profile to Private on your LAN.
C) Confirm sharing is enabled (host PC)
On the PC hosting the share:- Open Control Panel → Network and Sharing Center → Advanced sharing settings.
- Under Private, ensure:
- Turn on network discovery
- Turn on file and printer sharing
- Apply changes.
D) Consider SMB encryption settings (performance vs security)
SMB encryption can reduce performance on some CPUs/older systems.- If you’re on a trusted home LAN and want maximum speed, you can ensure you’re not forcing encryption unnecessarily.
- If you’re in an untrusted environment, keep encryption enabled.
- Open Windows Terminal (Admin) or PowerShell (Admin).
- Run:
Get-SmbServerConfiguration | Select EnableSMB1Protocol, EnableSMB2Protocol, EncryptData, RejectUnencryptedAccess- Ensure EnableSMB2Protocol = True
- Prefer EnableSMB1Protocol = False
Tip: If you see encryption is forced and your transfers are CPU-bound, test performance with encryption relaxed only if appropriate for your environment.
Step-by-step: Enable Jumbo Frames (optional, but impactful) (7–8 minutes)
Jumbo Frames reduce CPU overhead and packet processing by using larger packets (MTU), often improving LAN throughput for large files—especially on 2.5G/10G networks.A) Set Jumbo Frames on both endpoints
Repeat on both PCs (and on NAS if applicable):- Press Win + X → Device Manager.
- Expand Network adapters.
- Right-click your Ethernet adapter → Properties.
- Go to the Advanced tab.
- Look for a setting like:
- Jumbo Packet
- Jumbo Frame
- MTU
- Set it to a common value supported by your gear:
- Often 9014 Bytes (common on Intel/Realtek drivers)
- Sometimes 9000 Bytes
- Click OK.
Warning: If any device in the path doesn’t support the same MTU, you may get slowdowns, dropped transfers, or network issues (especially if “jumbo” works only in one direction).
B) Verify MTU with ping (no fragmentation)
After setting Jumbo Frames, test from PC A to PC B:- Open Command Prompt.
- Run (adjust IP as needed):
ping -f -l 8972 192.168.1.50- If it succeeds, Jumbo is likely working end-to-end.
- If you get “Packet needs to be fragmented but DF set,” Jumbo is not supported along the path. Reduce the value or revert.
Note:8972payload corresponds roughly to a 9000 MTU once headers are included. Some networks require slightly different values; if it fails, try smaller numbers (e.g., 8000) or disable Jumbo.
C) Re-test file transfer performance
Repeat your baseline copy test and compare:- Average speed
- Stability (less fluctuation)
Tips and troubleshooting notes
1) Jumbo Frames didn’t help (or made it worse)
- Ensure all devices support and are configured for the same MTU:
- Both PCs’ NICs
- Switch ports (managed switches may need MTU configured)
- NAS NIC settings
- If you’re using powerline adapters, some VPNs, or unusual network gear, Jumbo may be unreliable.
- When in doubt, revert to standard MTU (1500) and focus on SMB and link health.
2) You’re limited by the disk, not the network
Typical ceilings:- HDD-to-HDD may cap at ~80–200 MB/s depending on drive and fragmentation.
- SATA SSD often 400–550 MB/s.
- NVMe SSD can exceed 1,000 MB/s.
3) Many small files are always slower
SMB overhead and file system operations dominate. Consider:- Zipping folders before transfer (one large file transfers faster)
- Using Robocopy with tuned options for bulk copies (advanced topic)
4) Check for security software bottlenecks
Real-time antivirus scanning can reduce throughput.- As a test, temporarily exclude the transfer folder (only if you trust the source).
- Re-enable protections afterward.
5) Power settings
On desktops especially:- Control Panel → Power Options → High performance (or “Best performance” in Windows 11 power mode) can prevent NIC/CPU downclocking during sustained transfers.
Conclusion
By confirming you’re linked at the correct speed, ensuring modern SMB is in use, and enabling Jumbo Frames where supported, you can often turn “mysteriously slow” LAN copies into fast, consistent transfers—especially for large files. The biggest wins usually come from solid Ethernet links + modern SMB settings, with Jumbo Frames providing an extra boost on compatible wired networks.Key Takeaways:
- Disable legacy SMB1 and rely on modern SMB2/SMB3 for better speed and security.
- Confirm Ethernet link speed (1G/2.5G/10G) and update NIC drivers before tuning.
- Jumbo Frames can significantly improve large file transfers—but only if every device in the path supports the same MTU.
- Re-test after each change to clearly see what helped.
This tutorial was generated to help WindowsForum.com users get the most out of their Windows experience.
Last edited: