Fix Slow DNS and Browsing: Set DNS, Flush Cache, and Test with nslookup (Win10/11)
Difficulty: Intermediate | Time Required: 15 minutesSlow website loading, “DNS server not responding” messages, or delays before a page starts to load are often DNS-related. DNS (Domain Name System) is what turns a site name like
windowsforum.com into an IP address your PC can connect to. If your current DNS server is slow, misconfigured, or caching bad results, browsing can feel sluggish even when your internet speed looks fine.This tutorial walks you through three practical fixes on Windows 10 and Windows 11:
Quick walkthrough
- Set reliable DNS servers (IPv4/IPv6)
- Flush your DNS cache (and optionally reset network stack)
- Test and compare results using nslookup
Prerequisites
- Windows 10 or Windows 11
- An account with Administrator access (required for some commands)
- 10–15 minutes of uninterrupted time
- Optional but recommended: know whether you’re connected via Wi‑Fi or Ethernet
Note: Changing DNS does not increase your internet “speed” directly. It improves the time to first connection by making name lookups faster/more reliable, which often makes browsing feel snappier.
Step-by-Step: Check Your Current DNS Settings
Before changing anything, it helps to see what you’re using now.- Press Windows + X → select Terminal (Admin) (Windows 11) or Windows PowerShell (Admin) (Windows 10).
- Run:
ipconfig /all - Look for your active adapter (Wi‑Fi or Ethernet) and find DNS Servers.
Tip: If you see your router’s IP (often192.168.1.1) as DNS, your router is forwarding DNS to your ISP. That can work fine, but it’s also a common cause of inconsistent performance.
Step-by-Step: Set Faster DNS Servers (Windows 10/11)
You can set DNS on your PC so it uses a known-fast provider. Two common choices:- Cloudflare:
1.1.1.1and1.0.0.1 - Google DNS:
8.8.8.8and8.8.4.4
Option A (Recommended): Set DNS in Settings (Windows 11 and Newer Windows 10 Builds)
Windows 11:- Open Settings → Network & internet.
- Click your connection:
- Wi‑Fi → choose your connected network
- Ethernet → click Ethernet
- Next to DNS server assignment, click Edit.
- Set to Manual.
- Turn on IPv4 and enter:
- Preferred DNS:
1.1.1.1 - Alternate DNS:
1.0.0.1 - (Optional) Turn on IPv6 and enter:
- Preferred DNS:
2606:4700:4700::1111 - Alternate DNS:
2606:4700:4700::1001 - Click Save.
Windows 10 (Settings app may vary by version):
- If you don’t see DNS editing in Settings, use Option B below (Control Panel).
Warning: If you’re on a managed work/school device, DNS may be controlled by policy (Group Policy/MDM). Changing it might break access to internal resources or VPN requirements.
Option B: Set DNS via Control Panel (Works on Windows 10/11)
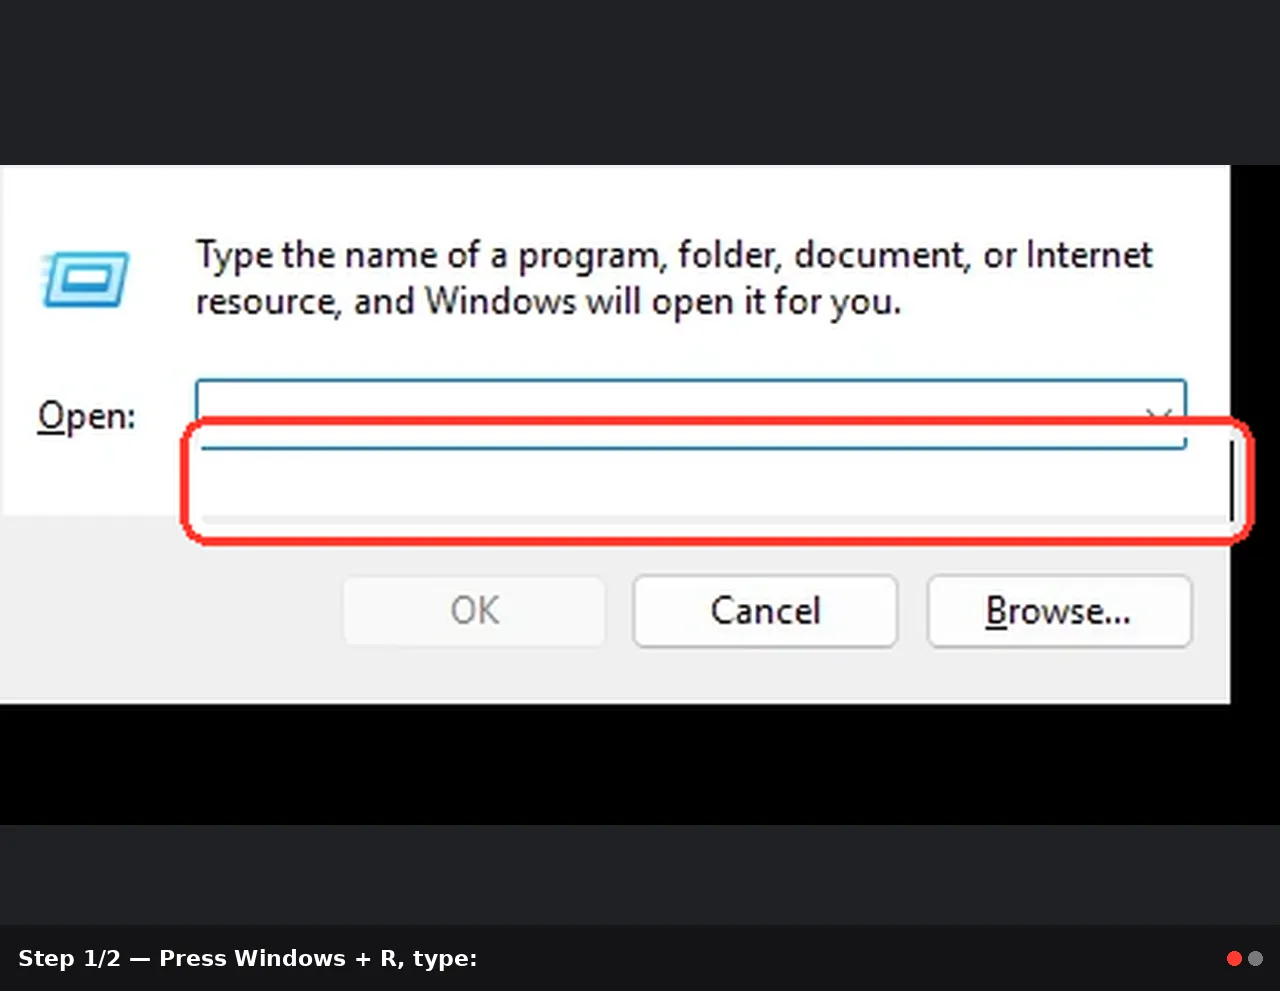
- Press Windows + R, type:
ncpa.cpl
Press Enter. - Right-click your active adapter (Wi‑Fi or Ethernet) → Properties.
- Select Internet Protocol Version 4 (TCP/IPv4) → Properties.
- Choose Use the following DNS server addresses.
- Enter (example Cloudflare):
- Preferred DNS server:
1.1.1.1 - Alternate DNS server:
1.0.0.1 - Click OK.
- (Optional but recommended) Repeat for Internet Protocol Version 6 (TCP/IPv6):
- Preferred:
2606:4700:4700::1111 - Alternate:
2606:4700:4700::1001 - Click Close.
Note: If your network or ISP has poor IPv6 routing, enabling custom IPv6 DNS won’t fix that. If you suspect IPv6 is causing delays, you can temporarily test by setting only IPv4 DNS, or by disabling IPv6 on the adapter (not usually necessary).
Step-by-Step: Flush DNS Cache (and Refresh Your IP)
After changing DNS, flush cached lookups so Windows stops using old/bad records.- Open Terminal (Admin) again.
- Run:
ipconfig /flushdns
You should see: Successfully flushed the DNS Resolver Cache. - Optional (often helpful after network changes), run:
Code:ipconfig /release ipconfig /renew
Tip: If you’re on Wi‑Fi andrelease/renewinterrupts your connection, don’t worry—Windows will reconnect. If you’re on a VPN, disconnect/reconnect the VPN after renewing.
Step-by-Step: Test DNS Performance with nslookup
Now verify that DNS is answering quickly and from the server you expect.1) Check which DNS server is being used
- In Terminal (not necessarily admin), run:
nslookup windowsforum.com - At the top, you’ll see something like:
Server: one.one.one.oneAddress: 1.1.1.1
2) Compare response times between providers
Run these commands to query specific DNS servers directly:
Code:
nslookup windowsforum.com 1.1.1.1
nslookup windowsforum.com 8.8.8.8- Faster “feel” (results appear quickly)
- No timeouts
- Consistent results
Note:nslookupdoesn’t print a clean millisecond timer by default, but timeouts and delays are obvious. For deeper measurement, Windows also includesResolve-DnsNamein PowerShell (advanced), butnslookupis perfect for quick checks.
Optional: Reset the Network Stack (If Problems Persist)
If DNS flushing doesn’t help and browsing is still laggy (especially after malware removal, VPN uninstall, or driver issues), a network reset can clear stale settings.- Open Terminal (Admin).
- Run:
Code:netsh winsock reset netsh int ip reset - Restart your PC.
Warning: This can reset some networking customizations. If you rely on specialized VPNs, proxies, or virtual adapters, you may need to reconfigure them afterward.
Tips and Troubleshooting Notes
If browsing is still slow…
- Try another DNS provider: Sometimes a DNS server is fast generally but slow for your region/ISP route. Swap Cloudflare ↔ Google and test again.
- Check for VPN/Proxy: VPN clients often push their own DNS. Disable VPN briefly and retest with
nslookup. - Clear browser DNS cache: Browsers like Chrome keep their own DNS cache.
- In Chrome, you can visit:
chrome://net-internals/#dns(varies by version) or simply restart the browser. - Reboot your router/modem: If your router is the bottleneck (or doing DNS forwarding poorly), a reboot can help.
- Check hosts file overrides: Rare, but entries in
C:\Windows\System32\drivers\etc\hostscan force slow/bad destinations.
If certain sites fail after changing DNS…
- Switch back to automatic DNS temporarily to confirm.
- If you use parental controls, work filtering, or ISP-specific services, custom DNS may bypass or conflict with them.
Confirm settings applied to the correct adapter
If you changed DNS on Ethernet but you’re actually on Wi‑Fi (or vice versa), Windows will still use the active adapter’s DNS.Conclusion
By setting a reliable DNS provider, flushing cached records, and validating results withnslookup, you can eliminate one of the most common causes of “slow browsing” on Windows 10/11. These steps improve responsiveness, reduce random DNS timeouts, and give you a quick way to prove whether DNS is the culprit before chasing more complex network issues.Key Takeaways:
- Switching to a fast DNS provider (Cloudflare/Google) can reduce delays before websites begin loading.
- Flushing DNS cache removes stale or incorrect name resolution results.
nslookuphelps confirm which DNS server is in use and whether queries are resolving reliably.
This tutorial was generated to help WindowsForum.com users get the most out of their Windows experience.
Last edited: