Enable and Use Windows 10/11 Windows Security Offline Scan to Remove Persistent Malware
Difficulty: Intermediate | Time Required: 20 minutesPersistent malware can “dig in” by running as a service, driver, scheduled task, or by injecting itself into system processes—making it hard to remove while Windows is fully running. Microsoft Defender’s Windows Security Offline scan helps by rebooting your PC into a trusted scanning environment and checking system areas that are difficult to inspect during normal operation. It’s particularly useful for stubborn threats like rootkits, boot-time malware, and recurring infections.
This guide walks you through enabling and running an Offline scan on Windows 10 and Windows 11, plus what to do if the option is missing or the scan doesn’t solve the issue.
Prerequisites
Before you begin, make sure you have:Quick walkthrough
- Administrator access on the PC.
- Saved your work and closed apps (the scan requires a restart).
- A reliable power source (plug in laptops).
- Optional but recommended: a backup of important files (persistent malware removal can sometimes trigger repairs/quarantines that affect system behavior).
- Works on Windows 10 (1909 and later recommended) and Windows 11 with Microsoft Defender Antivirus available.
- If you’re using a third-party antivirus, Microsoft Defender may be in Passive mode, which can hide or disable Offline scan.
Step-by-Step: Run Windows Security Offline Scan (GUI Method)
1) Confirm you’re using Microsoft Defender Antivirus
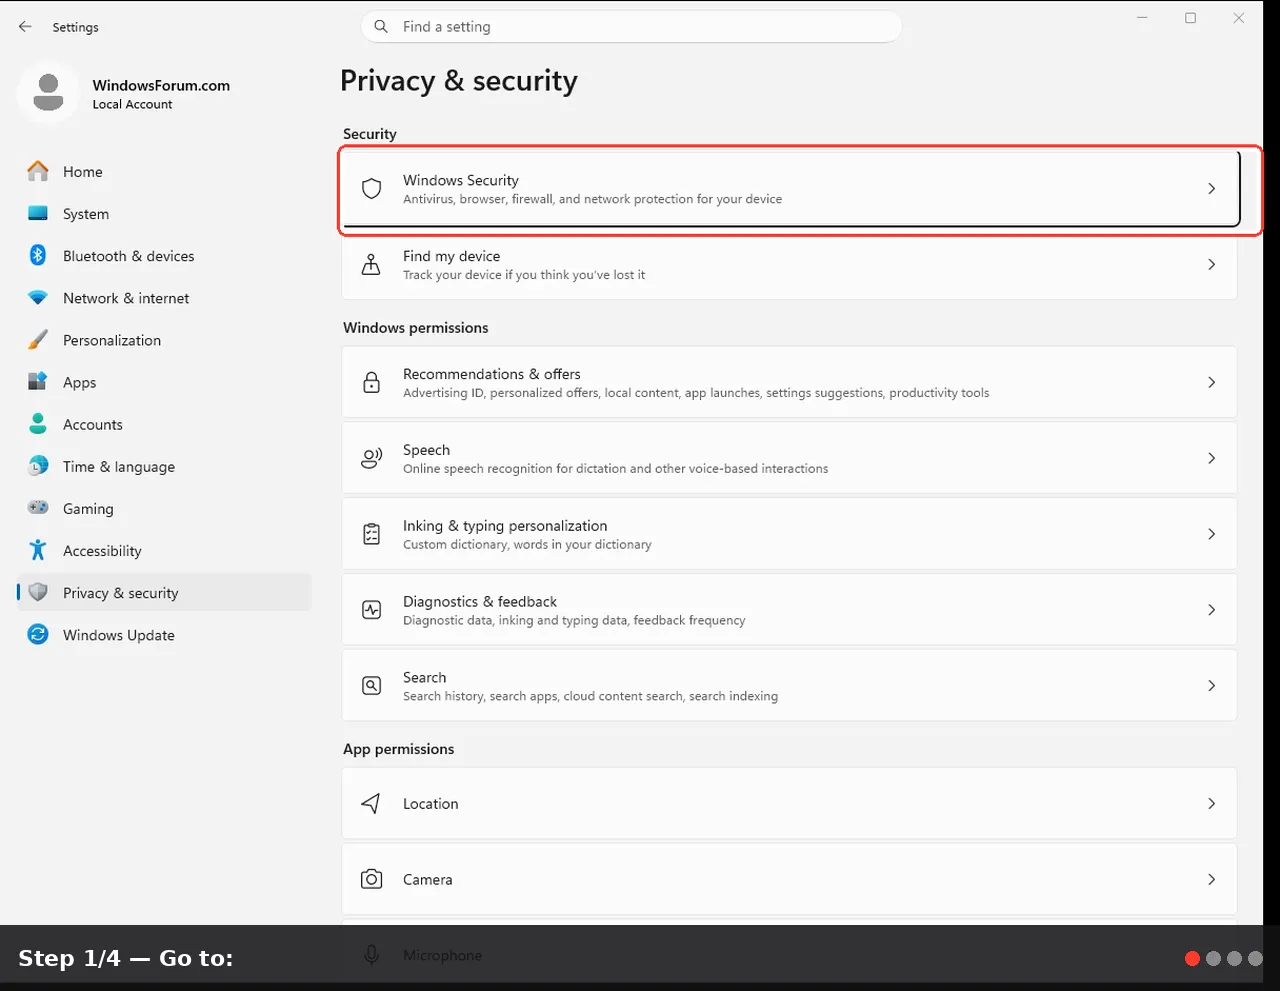
- Press Win + I to open Settings.
- Go to:
- Windows 11: Privacy & security → Windows Security
- Windows 10: Update & Security → Windows Security
- Click Open Windows Security.
- Select Virus & threat protection.
Note: If you see a message like “You’re using other antivirus providers,” Offline scan may not be available until Defender is active.
2) (Recommended) Update security intelligence first
Updating signatures improves detection—especially before an Offline scan.- In Windows Security → Virus & threat protection, under Virus & threat protection updates, click Protection updates (or Check for updates).
- Click Check for updates and wait for it to complete.
Tip: If updates fail due to suspected malware interference, continue with Offline scan anyway; it still catches many threats using built-in components.
3) Start the Offline scan
- In Virus & threat protection, scroll to Current threats.
- Click Scan options.
- Select Microsoft Defender Offline scan.
- Click Scan now.
Windows will display a warning that your PC will restart.
- Click Scan (or Scan now) to confirm.
4) What happens during the Offline scan (and how long it takes)
- Your PC restarts into a special scanning environment.
- Defender scans key areas including:
- Boot-related components
- System files and drivers
- Common persistence locations (startup, services, scheduled tasks)
- Known malware locations
- The PC restarts back into Windows automatically when done.
5) Review results after Windows starts
After you’re back in Windows:- Open Windows Security again → Virus & threat protection.
- Check Protection history.
- Look for entries marked:
- Threat quarantined
- Threat removed
- Remediation incomplete (this may require follow-up steps)
Click an item to expand details (threat name, affected file, action taken).
Tip: If a threat was removed, reboot once more and monitor for symptoms returning (pop-ups, redirects, CPU spikes, unknown services, disabled security settings).
Alternative Method: Start Offline Scan from PowerShell (Admin)
If the GUI is missing or you prefer scripting:- Right-click Start → Windows Terminal (Admin) or PowerShell (Admin).
- Run:
Start-MpWDOScan- Windows will prompt/reboot into the Offline scan environment.
Tips, Warnings, and Troubleshooting
Tip: Run a quick scan first, then Offline scan
If you suspect active infection:- Run Quick scan first (to remove obvious items).
- Then run Offline scan (to catch stealthy/persistent components).
Troubleshooting 1: “Microsoft Defender Offline scan” option is missing
Common causes and fixes:- Third-party antivirus installed
- Temporarily disable/uninstall the third-party AV (only if you trust your environment and have a plan).
- Reboot and check again.
- After cleanup, you can reinstall your preferred AV if desired.
- Defender disabled by policy (common on work PCs)
- If it’s a managed device (domain/organization), your admin may restrict scans.
- Check Windows Security for “Managed by your organization.”
- You may need IT assistance.
- Defender service not running
- Press Win + R, type
services.msc, press Enter. - Look for Microsoft Defender Antivirus Service (name may vary).
- If it’s disabled or won’t start, that can be a sign of malware tampering—Offline scan or Safe Mode cleanup may be required.
Troubleshooting 2: Offline scan runs but malware symptoms return
This often means either a persistence mechanism remains, or the system is being reinfected.Try this sequence:
- Run a Full scan
- Windows Security → Virus & threat protection → Scan options → Full scan.
- Check Protection history actions
- If you see “Remediation incomplete,” click it and retry the recommended action.
- Update Windows
- Settings → Windows Update → Check for updates.
- Security patches can close the door the malware used.
- Check for suspicious startup persistence
- Open Task Manager → Startup tab → disable unknown entries.
- Check Task Scheduler for suspicious scheduled tasks (advanced users).
- Review Apps → installed programs for unknown toolbars/PUPs.
- Change passwords from a clean device
- If you suspect credential theft, change important passwords (email, banking) from another known-clean device.
Troubleshooting 3: BitLocker Recovery Key prompt appears
On some systems (especially Windows 11 with device encryption/BitLocker), a reboot into a different environment can trigger a recovery key prompt.- If you’re prompted, you’ll need the BitLocker Recovery Key (often saved to your Microsoft account, your organization, or printed/saved by the user).
- Retrieve it at: https://account.microsoft.com/devices/recoverykey[/url] (if device encryption is tied to your Microsoft account).
Safety note: Don’t “restore” quarantined malware casually
If Defender quarantines something, only restore it if you are 100% certain it’s a false positive and you’ve verified the file/source. Restoring the wrong item can reinfect the system.Conclusion
Windows Security Offline scan is one of the most practical built-in tools for dealing with persistent malware that hides or reactivates while Windows is running. By scanning outside the normal desktop environment, it can remove threats that resist standard cleanup methods. Used alongside updated security intelligence, Protection history review, and follow-up scanning, it’s an effective part of a solid malware-removal workflow for both Windows 10 and Windows 11.Key Takeaways:
- Offline scan reboots into a trusted environment to remove hard-to-detect, persistent malware.
- Always update Defender’s security intelligence first for best detection.
- Review Protection history after the scan to confirm what was found and what actions were taken.
- If the option is missing, check for third-party antivirus conflicts or organizational restrictions.
- Follow up with Full scan and Windows updates if symptoms return.
This tutorial was generated to help WindowsForum.com users get the most out of their Windows experience.
Last edited: