Enable and Use Windows 11 Dev Drive (ReFS) for Faster Builds + Defender Performance Mode
Difficulty: Intermediate | Time Required: 20 minutesWindows builds can feel slower than they should—especially when your toolchain constantly creates, reads, and deletes thousands of small files (NuGet packages,
node_modules, object files, intermediate outputs, containers, etc.. Windows 11 includes a feature called Dev Drive, which creates a dedicated ReFS (Resilient File System) volume tuned for developer workloads. When paired with Microsoft Defender’s Dev Drive Performance Mode, you can reduce security scanning overhead on trusted build directories while keeping real-time protection enabled.This tutorial walks you through creating a Dev Drive, moving your build workloads onto it, and enabling Defender performance mode safely.
Prerequisites
Before you start, verify the following:Quick walkthrough
- Windows version:
- Windows 11 (22H2/23H2/24H2) recommended. Dev Drive is a Windows 11 feature and is not available on standard Windows 10 installs.
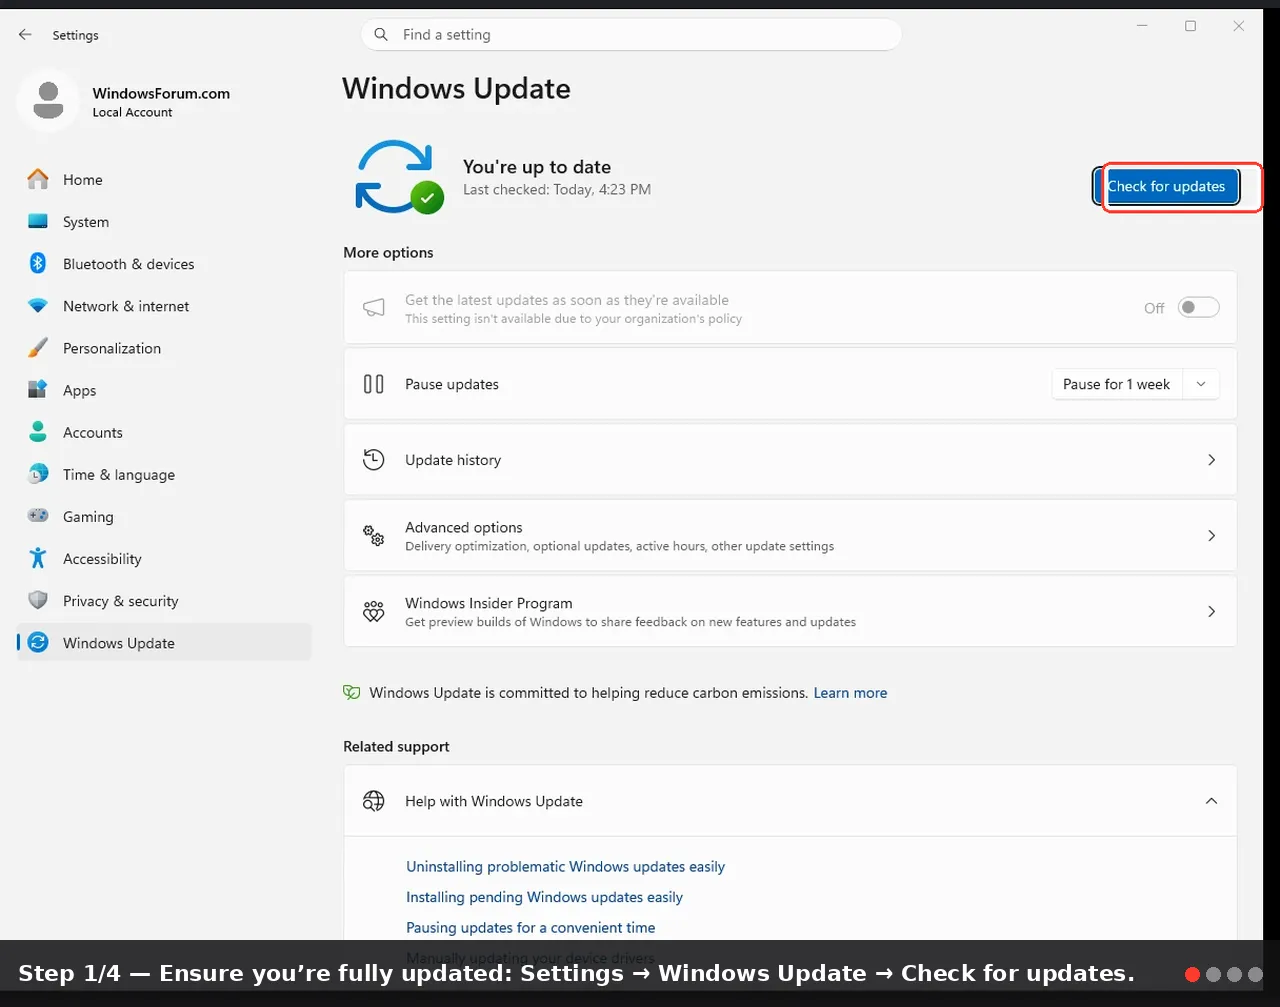
- Ensure you’re fully updated: Settings → Windows Update → Check for updates.
- Free disk space: At least 50–100 GB recommended (more if you build large repos or containers).
- Admin access: Required for creating volumes and changing security settings.
- Backup/plan: Dev Drive is safe for source/build workloads, but you should still use version control and/or backups.
Note: Dev Drive uses ReFS, which is designed for integrity and performance in certain workloads, but it has different feature support compared to NTFS (see the Tips section).
Step-by-step: Create a Windows 11 Dev Drive (ReFS)
1) Confirm you have space (or create it)
- Open Settings.
- Go to System → Storage and confirm you have enough free space on an SSD/NVMe (ideal for builds).
- If you need unallocated space:
- Press Win + X → Disk Management
- Right-click your main partition (often C:) → Shrink Volume…
- Enter how much to shrink (e.g., 102400 MB for ~100 GB) → Shrink
Warning: Shrinking/partitioning is generally safe, but power loss or disk issues can cause problems. Make sure you have important data backed up.
2) Create the Dev Drive (recommended method: Settings)
- Open Settings → System → Storage.
- Select Advanced storage settings.
- Choose Disks & volumes.
- Look for Dev Drive (or an option like Create Dev Drive depending on your Windows build).
- Choose where to create it:
- From unallocated space (best if you shrank a partition)
- Or from a VHD/VHDX (virtual disk file) if you prefer a portable/contained approach
- Set:
- Size (e.g., 100 GB+)
- Drive letter (e.g., D: or V:)
- Label (e.g.,
DevDrive) - Confirm File system: ReFS and create/format the volume.
3) Verify the file system is ReFS
- Open File Explorer → This PC.
- Right-click your new drive → Properties.
- Confirm File system: ReFS.
Step-by-step: Enable Microsoft Defender Dev Drive Performance Mode
Dev Drive performance mode is designed to reduce performance impact on developer workloads without turning off protection. It changes how Defender handles scanning on Dev Drives (the exact behavior is managed by Microsoft and may vary by build).4) Ensure Defender is active (and you’re not using a third-party AV)
- Open Windows Security (search from Start).
- Go to Virus & threat protection.
- Confirm Microsoft Defender Antivirus is running.
Note: If you use a third-party antivirus, its real-time scanning may still affect build performance. Check that product’s settings for developer/build exclusions.
5) Turn on Dev Drive protection / performance mode
Depending on your Windows build, this is exposed in Windows Security and/or Settings.- Open Windows Security.
- Go to Virus & threat protection.
- Look for Dev Drive protection or Dev Drive performance mode (wording can differ).
- Enable the option for your Dev Drive.
- Install all Windows Updates
- Restart Windows
- Confirm the drive is ReFS and created as a Dev Drive (not just any ReFS volume)
Warning: Performance mode is meant for trusted dev content. Don’t use a Dev Drive as a general-purpose “downloads” drive for random executables.
Step-by-step: Move your build workloads to the Dev Drive
The biggest gains come from placing high-churn folders on the Dev Drive.6) Move your repositories (Git)
- Create a folder like:
D:\Repos - Either:
- Clone fresh:
git clone https://... D:\Repos\YourProject - Or move an existing repo (simple move works for most repos):
Cut/pasteC:\Repos\YourProject→D:\Repos\YourProject
Tip: If you use WSL2 or containers, decide whether your build actually runs in Windows or Linux. Dev Drive benefits Windows-native builds most. (WSL2 performance depends on where Linux files live.
7) Move package caches (optional but often beneficial)
These can reduce repeated downloads and improve build consistency.- NuGet global packages folder (example approach):
- Create:
D:\Caches\NuGet - Set an environment variable:
- Open System Properties → Advanced → Environment Variables
- Add NUGET_PACKAGES =
D:\Caches\NuGet - Restart your terminal/IDE.
- npm/yarn/pnpm:
- npm cache example:
npm config set cache D:\Caches\npm-cache --global
Note: Cache moves are optional. The biggest impact usually comes from putting the repo + build output on the Dev Drive.
8) Point build outputs to the Dev Drive (optional)
If your repo must stay on C:, consider redirecting build outputs:- Visual Studio/MSBuild: set intermediate/output paths
- CMake/Ninja: place build directory on Dev Drive (out-of-source builds)
- Example:
D:\Builds\MyProject\instead of building inside the repo
Tips, notes, and troubleshooting
ReFS and compatibility notes
- ReFS ≠ NTFS. Some NTFS features may not behave the same or may be unavailable. If you rely on specific NTFS behaviors (certain encryption/compression features, some tooling assumptions, special filesystem features), test first.
- Dev Drive is primarily intended for source code + build outputs + package caches, not necessarily for everything.
Performance tips
- Put Dev Drive on your fastest SSD/NVMe.
- Avoid storing large media libraries or random downloads there; keep it a “build-only” space.
- If you use Visual Studio, consider excluding
.vs,bin, andobjonly if necessary—but prefer Dev Drive performance mode over broad exclusions.
Defender-related troubleshooting
- If builds are still slow:
- Confirm the project is actually located on the Dev Drive (paths in IDE/build logs).
- Check Task Manager → Performance → Disk while building (are you disk-bound?.
- Verify Defender is using Dev Drive mode (toggle present and enabled).
- As a last resort for trusted repos, consider targeted exclusions (folder-level), but document them and avoid excluding entire drives without a strong reason.
Warning: Folder exclusions reduce security coverage. Use them only for well-known build output directories, not for general storage.
“I don’t see Dev Drive in Settings”
- Run Windows Update and reboot
- Ensure you’re on Windows 11 (not Windows 10)
- Ensure you created a Dev Drive via the Dev Drive workflow, not just a generic formatted volume
Conclusion
Windows 11 Dev Drive (ReFS) is a practical way to speed up common developer workflows by placing source code and build output on a volume designed for high file-churn workloads. When combined with Microsoft Defender’s Dev Drive performance mode, you can often improve build times while keeping real-time protection enabled—ideal for frequent compile/test cycles.Key Takeaways:
- Dev Drive uses ReFS to better handle developer-style I/O patterns (lots of small, frequent file operations).
- Pairing Dev Drive with Defender performance mode can reduce scanning overhead on trusted dev directories.
- The biggest wins come from moving repos and build outputs (and optionally caches) onto the Dev Drive.
- Keep Dev Drive for trusted dev workloads, and be cautious with broad AV exclusions.
This tutorial was generated to help WindowsForum.com users get the most out of their Windows experience.
Last edited: