Encrypt Individual Files with EFS and Back Up Your Certificate in Windows 10/11
Difficulty: Intermediate | Time Required: 15 minutesEncrypting File System, commonly called EFS, is a built-in Windows feature that lets you encrypt individual files or folders on an NTFS drive. Unlike BitLocker, which protects an entire drive, EFS is file-based and tied to your Windows user account certificate. This makes it useful when you share a PC with other users and want specific documents to remain private.
The most important part of using EFS is this: back up your EFS certificate and private key. If Windows is reinstalled, your profile is damaged, or you move the files to another PC without the certificate, you may not be able to open your encrypted files.
This tutorial walks you through encrypting a file in Windows 10 or Windows 11 and safely backing up your EFS certificate.
Prerequisites
Before you begin, make sure you have:Quick walkthrough
- Windows 10 or Windows 11
- EFS is typically available on Pro, Enterprise, and Education editions.
- If the encryption option is missing, your edition or drive format may not support it.
- An NTFS-formatted drive
- EFS works on NTFS volumes.
- It does not work on FAT32 or exFAT drives.
- A standard local or Microsoft account sign-in
- EFS encryption is tied to your Windows user profile and certificate.
- A safe backup location
- Use a USB flash drive, external drive, or another secure offline location for your certificate backup.
Warning: If you lose your EFS certificate and private key, you may permanently lose access to encrypted files. Back up the certificate immediately after enabling EFS.
Part 1: Encrypt an Individual File with EFS
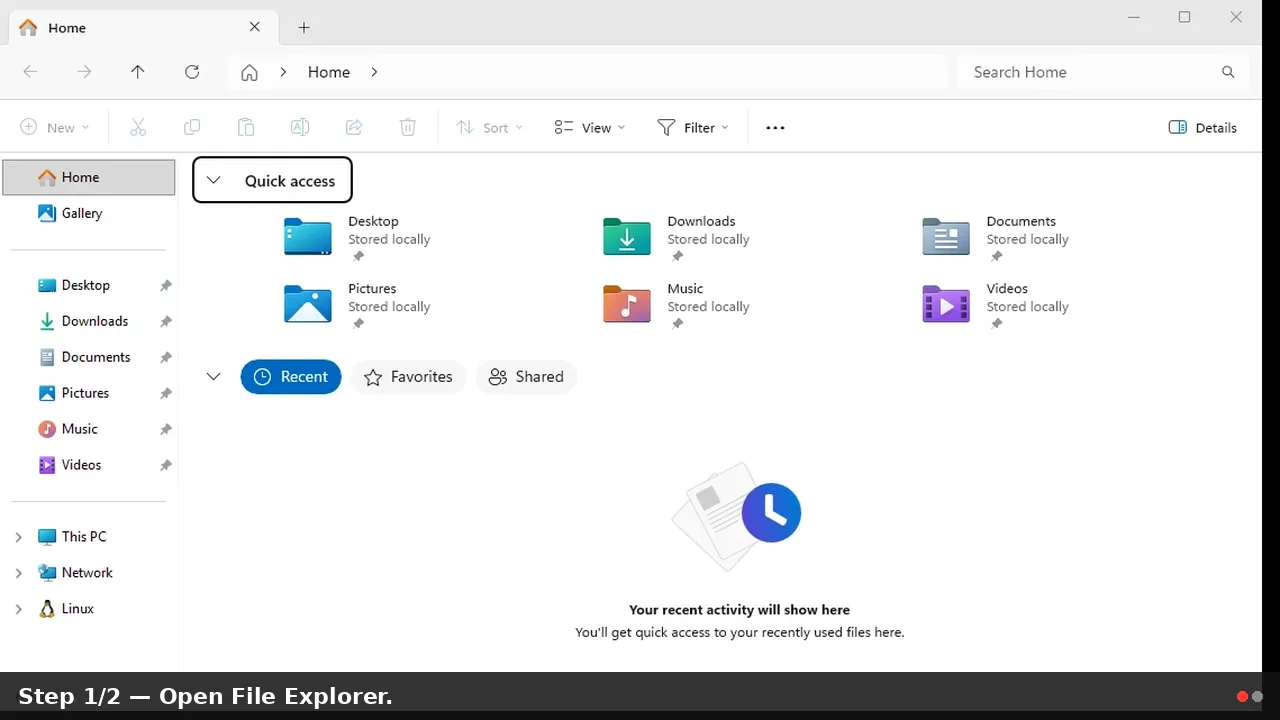
- Open File Explorer.
- Browse to the file you want to protect.
- Right-click the file and select Properties.
- On the General tab, click Advanced.
- In the Advanced Attributes window, check:
Encrypt contents to secure data - Click OK.
- Click Apply.
- Windows may ask whether you want to encrypt only the file or also the parent folder. Choose one of the following:
- Encrypt the file only
Use this if you want to protect just one file. - Encrypt the file and its parent folder
Recommended if you plan to keep editing or saving related files in the same folder. - Click OK to finish.
The file should now be encrypted. In many Windows configurations, encrypted file names appear in green text in File Explorer, though this display option may vary depending on your settings.
Tip: Microsoft recommends encrypting the parent folder when you encrypt a file. If the parent folder is not encrypted, some applications may create temporary or replacement files that are not encrypted.
Part 2: Verify the File Is Encrypted
To confirm that EFS is enabled:- Right-click the encrypted file.
- Select Properties.
- Click Advanced.
- Confirm that Encrypt contents to secure data is checked.
- Click Details if available.
You can also verify encryption from Command Prompt:
- Open Command Prompt.
- Navigate to the folder containing the encrypted file, or run:
cipher "C:\Path\To\Your\File.txt" - Encrypted files are marked with E, while unencrypted files are marked with U.
Part 3: Back Up Your EFS Certificate Using Command Prompt
The quickest way to back up your current EFS certificate and private key is with thecipher command.- Connect a USB flash drive or external drive.
- Open Command Prompt as your normal user account.
You do not usually need to run this as administrator because you are backing up your own user certificate.
- Type the following command, replacing the path with your preferred backup location:
cipher /x E:\My-EFS-Backup - Press Enter.
- When prompted, confirm that you want to back up your EFS certificate and key.
- Enter a strong password when prompted.
- Confirm the password.
.pfx extension.For example:
E:\My-EFS-Backup.pfxThis
.pfx file contains your EFS certificate and private key. You will need both the file and the password to restore access later.Warning: Do not store the.pfxfile on the same PC only. If the computer fails or Windows is reinstalled, that backup may be lost along with your encrypted files.
Part 4: Back Up the Certificate Using Certificate Manager
If you prefer the graphical method, use Certificate Manager.- Press Windows + R.
- Type:
certmgr.msc - Press Enter.
- In the left pane, expand:
Personal > Certificates - Look for a certificate intended for Encrypting File System.
- Right-click the certificate.
- Select All Tasks > Export.
- In the Certificate Export Wizard, click Next.
- Choose:
Yes, export the private key - Click Next.
- Select:
Personal Information Exchange - PKCS #12 (.PFX) - If available, leave these options enabled:
- Include all certificates in the certification path if possible
- Enable certificate privacy
- Click Next.
- Check Password, then enter and confirm a strong password.
- Click Next.
- Choose a backup location, such as a USB drive.
- Give the file a clear name, such as:
EFS-Certificate-Backup.pfx - Click Next, then Finish.
You should see a message that the export was successful.
Important: Do not choose any option that deletes the private key after export unless you are certain you know what you are doing. For normal home and small-office use, keep the private key installed on your Windows account.
Part 5: Restore Your EFS Certificate Later
If you reinstall Windows, move to a new PC, or need to regain access to encrypted files, restore the.pfx certificate.- Copy the
.pfxfile to the PC. - Double-click the
.pfxfile. - The Certificate Import Wizard opens.
- Choose Current User.
- Click Next.
- Confirm the file path and click Next.
- Enter the password you created during export.
- If offered, select:
Mark this key as exportable
This lets you back it up again later if needed. - Allow Windows to automatically select the certificate store.
- Click Finish.
Tips and Troubleshooting
The “Encrypt contents to secure data” option is greyed out
This usually means one of the following:- The file is not on an NTFS drive.
- The file is compressed.
- The file is in a location Windows does not allow EFS encryption.
- Your Windows edition does not support EFS.
- EFS has been disabled by policy.
Do not confuse EFS with BitLocker
EFS protects individual files and folders for a specific Windows user. BitLocker protects entire drives. For best security on laptops, consider using BitLocker for the drive and EFS for especially sensitive files.Be careful when copying encrypted files
When you copy encrypted files to another location, the result depends on the destination file system and how the file is copied. If you copy to a non-NTFS drive, upload to a cloud service, email the file, or place it in a ZIP archive, it may no longer retain EFS protection.Back up before resetting Windows passwords
If an administrator resets your account password instead of you changing it normally, access to EFS-protected files may be affected. Always keep a current.pfx backup before major account, profile, or Windows changes.Encrypt folders for active work
If you frequently edit sensitive documents, encrypt the folder rather than only individual files. Many apps create temporary files, autosave files, or replacement copies during editing.Conclusion
EFS is a convenient way to protect individual files in Windows 10 and Windows 11 without encrypting an entire drive. It is especially useful on shared PCs where each user has a separate Windows account. However, EFS depends on your user certificate and private key, so backing up that certificate is not optional — it is essential.Once your file is encrypted and your
.pfx certificate backup is stored safely offline, you have an extra layer of protection for sensitive documents while still keeping day-to-day access simple.Key Takeaways:
- EFS encrypts individual files and folders on NTFS drives.
- Your encrypted files are tied to your Windows user certificate.
- Always back up your EFS certificate and private key as a
.pfxfile. - Store the certificate backup somewhere secure and separate from the PC.
- Use BitLocker alongside EFS for stronger overall device protection.
This tutorial was generated to help WindowsForum.com users get the most out of their Windows experience.
Last edited: