Save and Use Custom Searches in File Explorer to Find Files Fast
Difficulty: Beginner | Time Required: 10-15 minutesAre you tired of scrolling through folders trying to locate specific files? With saved or “custom” searches in File Explorer, you can create powerful, repeatable queries (by file type, size, date, and more) and run them in seconds. This tutorial shows you how to save these searches so you can find your documents, images, or videos faster—whether you’re on Windows 10 or Windows 11.
This tutorial was generated to help WindowsForum.com users get the most out of their Windows experience.
Prerequisites
Quick walkthrough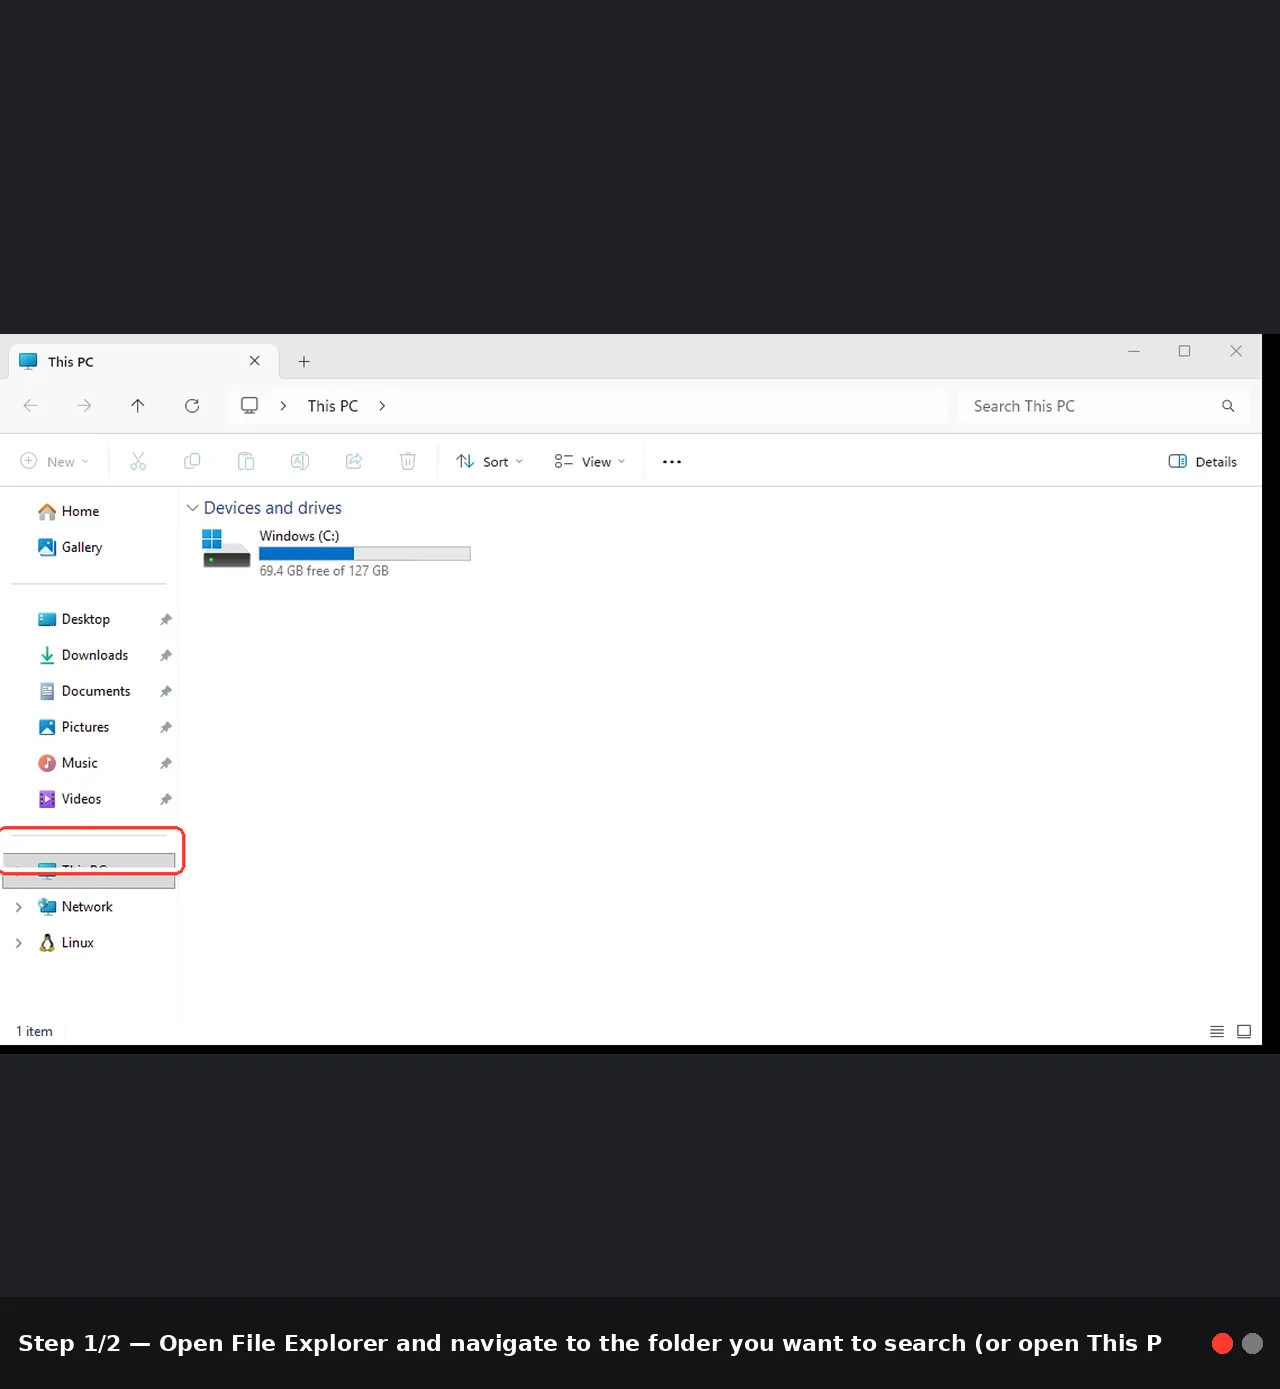
- A PC running Windows 10 or Windows 11.
- Basic familiarity with File Explorer (how to open it, how to type in the search box).
- A rough idea of what you’re looking for (e.g., “PDF invoices from 2024” or “Word documents larger than 2 MB”).
- Saved searches are stored as .search-ms files. You can keep them in your user’s Searches folder or pin shortcuts to Quick Access or your desktop for quick access.
- Saved searches use Windows Search indexing. If a folder isn’t indexed, results may be slower; you can adjust indexing later if needed.
Step-by-Step Instructions
- Decide where you want to search
- Open File Explorer and navigate to the folder you want to search (or open This PC if you want to search across multiple locations).
- Tip: If you frequently search across all documents, you can start in This PC and refine later.
2) Build your first search query
- Click the Search box at the top-right of File Explorer.
- Use simple terms or the built-in Quick Filters. Examples:
- To find PDFs: ext:.pdf
- To find Word docs: ext:.docx
- To find documents: kind:document
- To limit by date: date:this month, datemodified:this week
- To limit by size: size:>5MB
- You can combine criteria, for example: ext:.pdf datemodified:this year kind:document
- Refine with advanced search operators (optional, beginner-friendly)
- AQS (Advanced Query Syntax) lets you fine-tune results. Examples:
- ext:.mp3 size:>1MB
- kind
 icture date:>2024-01-01
 - name:invoice ext:.xlsx
- Pro tip: Start simple and add criteria as you become more comfortable.
- Save the search for quick reuse
- After you’ve got the results you want, switch to the Search tab in the File Explorer ribbon (you’ll see this tab appear when you’re in a search context).
- Click “Save search” (Windows 10 and Windows 11 both show this option when you’re in a search context).
- In the Save As dialog, give your search a descriptive name (e.g., “2024 Invoices PDF”), and choose where to save it. By default, Windows saves these in your user’s Searches folder (C:\Users\<YourUserName>\Searches).
- Click Save.
- Run your saved search later
- Open File Explorer and go to the location where you saved the .search-ms file (often C:\Users\<YourUserName>\Searches).
- Double-click the saved search file (it has a small magnifying-glass icon). File Explorer will reopen with the same query and keep updating as new files match the criteria.
- Access and organize saved searches
- You can pin saved searches for even quicker access:
- Right-click the .search-ms file and choose Pin to Quick Access (or drag the file to the Quick Access area in the left navigation pane).
- You can also copy the .search-ms file to Desktop or another folder for easy access.
- If you use multiple devices or want to share a query, copy the .search-ms file to a cloud-synced folder (like OneDrive) and open it on another device.
- Update or recreate saved searches
- Saved searches are based on the query you created. If your needs change, you can either:
- Open the saved search, perform a new search with updated criteria, then Save search again with the same or a new name, or
- Create a brand-new saved search following the same steps.
Tips, Warnings, and Troubleshooting
- Build practical queries:
- For recent documents: ext:.docx datemodified:this week
- For large media files: kind:music OR kind:video size:>100MB
- For a project set: ext:.xlsx AND date:this year
- Leverage indexing for speed:
- If a folder isn’t indexed, searches may be slower. Open Settings > Search > Indexed Locations (or Control Panel > Indexing Options) to ensure the folders you care about are included. Rebuild the index if results seem stale or delayed.
- Mind the scope:
- The saved search captures a starting location. If you need a broader or different scope, perform a new search in the desired location and save it again.
- Keep your saved searches tidy:
- Give each search a clear name that describes its purpose (e.g., “2024 Invoices PDFs”).
- Periodically review and remove outdated searches to avoid clutter.
- Handling non-indexed content:
- If your saved search targets content inside non-indexed locations, the results may be incomplete or slow. Consider moving critical folders into the indexed set or enabling indexing for those folders.
- Security and sharing:
- The .search-ms file contains the query you saved (not the actual files). It’s safe to share in general, but avoid exposing sensitive search criteria publicly. For team use, store shared searches in a common cloud folder and pin to Quick Access for teammates.
Windows version notes:
- Windows 10: The Save search feature is available in File Explorer when you’re actively performing a search.
- Windows 11: The File Explorer interface has a refreshed look, but the Save search capability remains through the Search tab. The location of saved searches is still your user’s Searches folder, and Quick Access pinning works similarly.
- If you don’t see the Save search option, ensure you’re in a search context (perform a search first) and that you’re using a recent Windows update, as older builds might show a slightly different UI.
Conclusion: Why Save Searches Make a Big Difference
- Time savings: Save frequent queries once and run them in seconds, instead of rebuilding from scratch each time.
- Consistency: Stay on top of similar tasks (e.g., locating all invoices, media files, or reports) with standardized criteria.
- Convenience: Access saved searches from Quick Access or Desktop for instant results, across folders or drives.
- Flexibility: Combine basic and advanced filters to tailor results to your exact needs.
- Use saved searches to quickly locate files by type, size, date, or content.
- Save searches to the built-in Searches folder and optionally pin them for fast access.
- Keep queries clear, and leverage indexing for faster results.
Last edited: