Set Up Delivery Optimization Cache Server Limits on Windows 10/11 PCs
Difficulty: Intermediate | Time Required: 15 minutesWindows Delivery Optimization helps PCs download updates and Microsoft content more efficiently by using Microsoft’s servers, local peers, and—if your environment has one—a Microsoft Connected Cache server. In business, lab, school, or advanced home setups, this can reduce internet bandwidth use and speed up update delivery.
The problem is that if you don’t control Delivery Optimization properly, it may use more disk space, keep cached files longer than you want, or fall back to the internet faster than expected. Setting cache server limits and related cache controls gives you more predictable behavior on Windows 10 and Windows 11 PCs.
This guide walks you through configuring the most useful Delivery Optimization cache-related settings with Local Group Policy Editor. These settings are especially helpful if you want to control how much local cache space is used and how clients behave with a Connected Cache server.
Prerequisites
Before you begin, make sure you have:Quick walkthrough
- A Windows 10 or Windows 11 Pro, Enterprise, or Education edition
- Local Group Policy Editor is not available in Home editions by default.
- Administrator access on the PC
- A basic understanding of your environment:
- Whether you use Microsoft Connected Cache
- Whether you want to limit cache by percentage or fixed size
- An active internet connection for Windows Update testing
Note: Delivery Optimization applies to both Windows 10 and Windows 11. Some newer settings, especially VPN-related cache server controls, require newer Windows 11 builds.
What settings are most important?
For “cache server limits,” the most relevant Delivery Optimization settings are:
- Max cache size
- Absolute max cache size (in GBs)
- Max cache age
- Modify cache drive
- Cache server hostname
- Delay cache server fallback
- Optional: Disallow cache server downloads on VPN
- How much local disk space Delivery Optimization can use
- How clients use a Connected Cache server before falling back to Microsoft CDN/HTTP sources
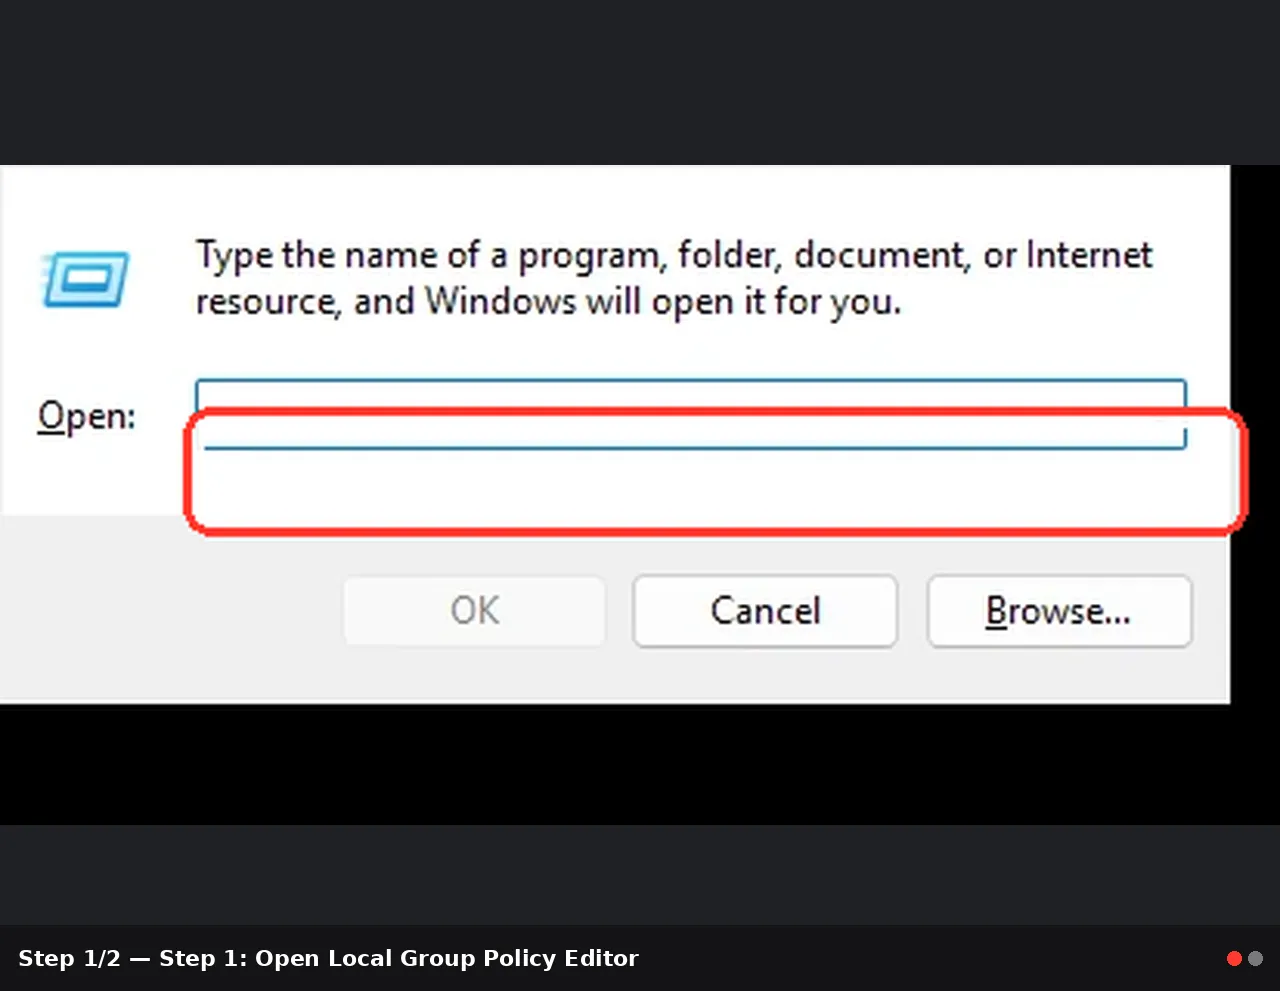
Step 1: Open Local Group Policy Editor
- Press Windows + R to open the Run dialog.
- Type
gpedit.mscand press Enter. - In Local Group Policy Editor, go to:
Computer Configuration > Administrative Templates > Windows Components > Delivery Optimization
Tip: If you don’t seegpedit.msc, you’re likely on Windows Home. In that case, these settings would need to be managed through other methods such as MDM/Intune or the registry, where supported.
Step 2: Set a maximum local cache size
You can limit the amount of disk space Delivery Optimization uses in two different ways.Option A: Use a percentage-based limit
- Double-click Max Cache Size.
- Select Enabled.
- Enter a percentage from 1 to 100.
- Click Apply, then OK.
Example:
If a PC has 200 GB free and you set this to 10%, Delivery Optimization can use up to about 20 GB.
Option B: Use a fixed size limit in GB
- Double-click Absolute max cache size (in GBs).
- Select Enabled.
- Enter the number of gigabytes you want to allow.
- Click Apply, then OK.
Good use case:Important: If you configure Absolute max cache size, it overrides Max Cache Size.
Use a fixed-size limit if you want every PC to behave consistently, regardless of disk size.
Step 3: Set how long cached files stay on the PC
To control retention time:- Double-click Max Cache Age.
- Select Enabled.
- Enter the maximum age in seconds.
- Click Apply, then OK.
Common examples
- 259200 = 3 days
- 604800 = 7 days
- 0 = unlimited retention until Windows needs to clean up based on cache pressure
Warning: Setting the cache age too high on storage-constrained PCs can waste disk space. On SSD-based laptops with limited free space, a shorter retention period is usually safer.
Step 4: Move the Delivery Optimization cache to another drive
If you don’t want update cache files filling your system drive, you can relocate them.- Double-click Modify Cache Drive.
- Select Enabled.
- Enter one of the following:
- A drive letter, such as
D: - A folder path, such as
D:\DOCache - An environment variable, such as
%SYSTEMDRIVE% - Click Apply, then OK.
- A small C: drive
- A secondary data drive
- Shared lab or classroom PCs
Note: If you also configure minimum disk size rules for peering, Windows evaluates the disk where the cache is stored.
Step 5: Configure a cache server hostname
If your organization uses Microsoft Connected Cache, point the client to the cache server.- Double-click Cache server hostname.
- Select Enabled.
- Enter one or more cache server entries, separated by commas.
cache01.contoso.com,cache02.contoso.comYou can also use IP addresses if needed.
- Click Apply, then OK.
Important: Even a blank-looking configured value may still count as “configured,” so be careful when editing this policy.
Step 6: Control fallback to the internet
By default, if the cache server doesn’t provide the content quickly enough, Delivery Optimization can fall back to HTTP sources. You can delay that fallback to give your cache server more time.For background downloads
- Open Delay background download cache server fallback (in secs).
- Set it to Enabled.
- Enter a value such as 60.
- Click Apply and OK.
For foreground downloads
- Open Delay foreground download cache server fallback (in secs).
- Set it to Enabled.
- Enter a value such as 30.
- Click Apply and OK.
Tip: Background downloads can tolerate a longer delay than foreground downloads, since foreground activity is more noticeable to the user.
Step 7: Decide how cache server downloads should behave on VPN
On supported systems, especially Windows 11 version 22H2 with later updates, you can stop devices from using Connected Cache while on VPN.- Open Disallow cache server downloads on VPN.
- Set it to Enabled if you want remote/VPN users to download directly from the internet instead.
- Click Apply and OK.
- Your VPN is slow
- Your on-prem cache server isn’t ideal for remote clients
- You want to avoid unnecessary backhaul traffic
Version note: This setting requires Windows 11, version 22H2 with the September 2023 update or later.
Step 8: Apply the policy changes
After configuring your settings:- Open Command Prompt as Administrator.
- Run:
gpupdate /force- Restart the PC if required.
Step 9: Verify the results
To confirm Delivery Optimization is working as expected:On Windows 11
Go to:Settings > Windows Update > Advanced options > Delivery Optimization > Activity monitor
On Windows 10
Go to:Settings > Update & Security > Delivery Optimization > Activity Monitor
Here you can review:
- Download sources
- Average speeds
- Upload totals
- Peer activity
Tips and troubleshooting
If the cache seems too large
- Lower Max Cache Size
- Use Absolute max cache size for stricter control
- Reduce Max Cache Age
If the cache server doesn’t seem to be used
- Double-check the Cache server hostname
- Make sure name resolution works
- Test with fallback delay settings enabled
- Confirm firewall and network access are not blocking Delivery Optimization
If users complain about low disk space
- Move the cache to another drive
- Shorten retention time
- Use Disk Cleanup and select Delivery Optimization Files
If downloads still go to the internet quickly
- Increase the cache server fallback delay
- Verify the content actually exists on your Connected Cache server
- Remember that not all content types are handled the same way
Warning: Avoid using Download Mode 100 (Bypass). Microsoft deprecates this in Windows 11 and warns it can cause some content downloads to fail. If you want to disable peer-to-peer behavior, use Download Mode 0 instead.
Conclusion
Setting Delivery Optimization cache server limits is a smart way to keep update delivery efficient without letting cached files consume too much storage or network bandwidth. By controlling cache size, retention time, cache location, and cache server fallback behavior, you can make Windows 10 and Windows 11 update performance much more predictable.For most users and admins, the biggest wins come from:
- Limiting cache growth
- Moving cache off the system drive when needed
- Giving Connected Cache enough time before falling back to the internet
- Set Max Cache Size or Absolute max cache size to control local disk usage
- Use Max Cache Age to manage how long update files stay cached
- Configure Modify Cache Drive if you want cache files off the C: drive
- Use Cache server hostname to point clients to Microsoft Connected Cache
- Delay fallback to HTTP sources so your cache server has a better chance to serve content
- On supported Windows 11 versions, you can control cache server use over VPN
This tutorial was generated to help WindowsForum.com users get the most out of their Windows experience.
Last edited: