Set Up Microsoft Defender Attack Surface Reduction Rules in Windows 10/11
Difficulty: Intermediate | Time Required: 20 minutesMicrosoft Defender Attack Surface Reduction, usually called ASR rules, helps block common behaviors used by malware, ransomware, and fileless attacks before they can do damage. Instead of only detecting known threats, ASR rules reduce the “ways in” attackers often use, such as malicious Office macros, suspicious scripts, credential theft techniques, and abused system tools.
For Windows 10 and Windows 11 users, ASR is one of the most useful built-in hardening features in Microsoft Defender. The main challenge is that some rules can affect legitimate apps or scripts if enabled without testing. This guide walks you through how to check prerequisites, review rule states, and safely enable ASR rules using Windows Security, PowerShell, and Group Policy where available.
Prerequisites
Before you begin, make sure the following apply:Quick walkthrough
- You are using Windows 10 or Windows 11
- Microsoft Defender Antivirus is active, or your device is managed in a way that still supports Defender ASR
- You are signed in with an administrator account
- Your edition may affect management options:
- Windows Pro, Enterprise, and Education: can use Group Policy
- Windows Home: can still use PowerShell for ASR configuration in many cases
- It is strongly recommended to:
- Create a system restore point
- Test rules in Audit mode first before fully enforcing them
Note: ASR is most commonly managed in business environments through Microsoft Intune or Defender for Endpoint, but local configuration is still useful on standalone PCs.
What ASR rule states mean
Before configuring anything, it helps to know the available states:- Disabled: The rule is off
- Audit mode: The rule does not block, but logs what it would have blocked
- Warn: In some cases, users see a warning and may be able to bypass it
- Block: The rule actively prevents the behavior
Tip: If you are setting up ASR for the first time, start with Audit mode for a few days. That gives you a chance to spot false positives before switching to Block.
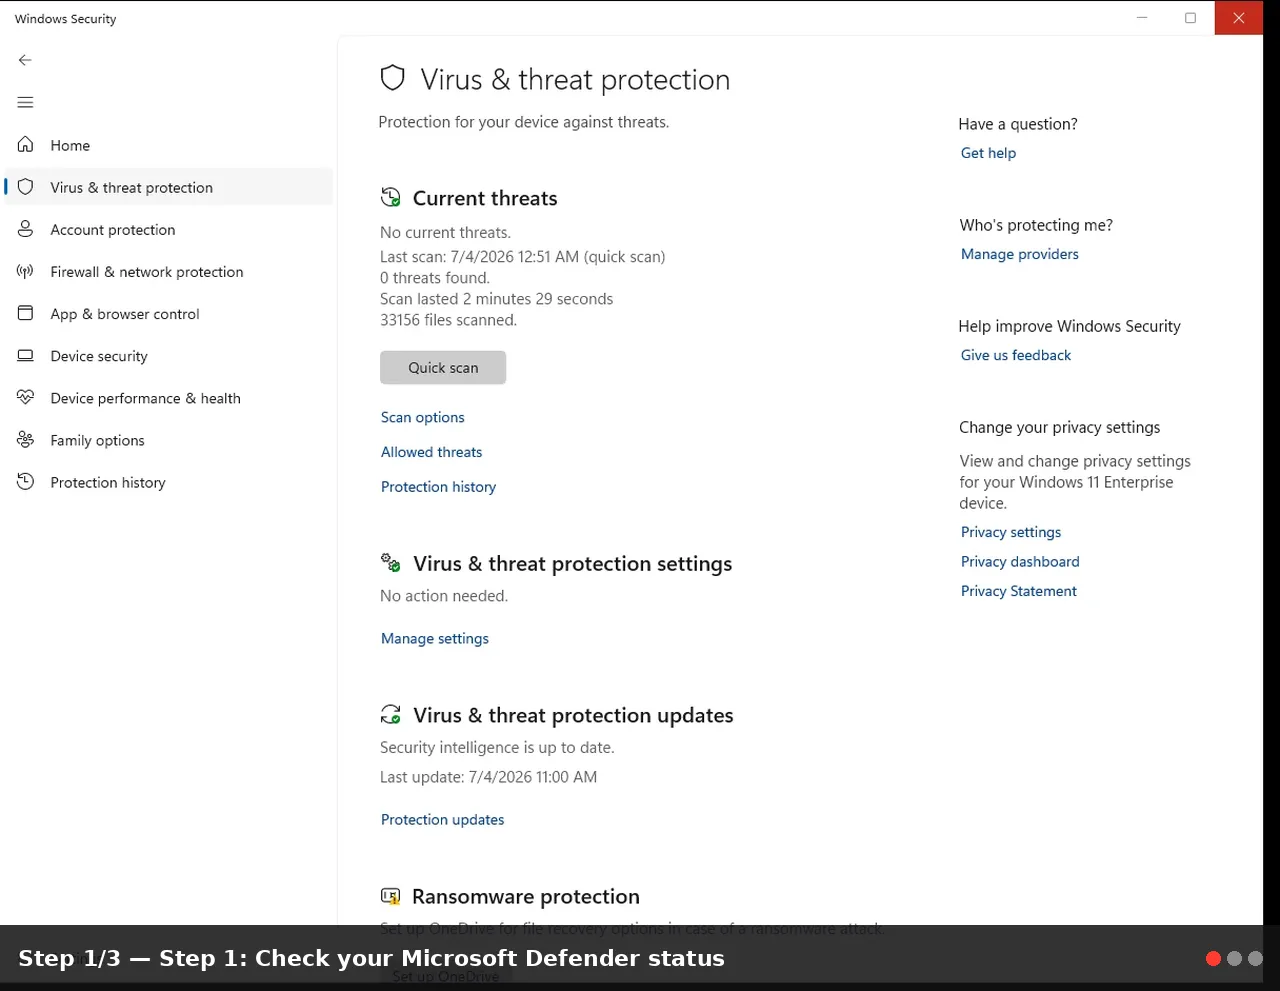
Step 1: Check your Microsoft Defender status
First, confirm that Defender is available and running.
- Press Windows + I to open Settings.
- Go to Privacy & Security in Windows 11, or Update & Security in Windows 10.
- Open Windows Security.
- Click Virus & threat protection.
- Look for signs that Microsoft Defender Antivirus is active.
If another antivirus product is fully managing real-time protection, some Defender security features may be limited.
Warning: ASR rules depend on Microsoft Defender security components. If Defender is disabled by third-party antivirus software, ASR may not work as expected.
Step 2: Decide which ASR rules you want to enable
ASR includes multiple individual rules, each targeting a different risky behavior. Commonly recommended ones include:- Block Office apps from creating child processes
- Block Office apps from creating executable content
- Block Win32 API calls from Office macros
- Block credential stealing from the Windows local security authority subsystem
- Block executable files from running unless they meet prevalence, age, or trusted list criteria
- Block process creations originating from PSExec and WMI commands
- Block abuse of vulnerable signed drivers
- Start with the rules most relevant to home and small office systems
- Put them in Audit mode first
- Review logs
- Move stable rules to Block
Step 3: View current ASR configuration in PowerShell
PowerShell is the easiest way to inspect and configure ASR locally.- Right-click Start.
- Select Windows Terminal (Admin) or PowerShell (Admin).
- Run the following command:
Get-MpPreference | Select-Object AttackSurfaceReductionRules_Ids, AttackSurfaceReductionRules_ActionsThis shows any ASR rule IDs already configured and their action states.
If nothing appears, ASR rules may not yet be configured on the device.
Note: On newer Windows 11 builds, Windows Terminal usually opens by default. PowerShell commands still work there.
Step 4: Enable ASR rules with PowerShell
The most direct setup method is PowerShell. Each rule uses a GUID and an action value.Common action values:
- 0 = Disabled
- 1 = Block
- 2 = Audit mode
- 6 = Warn
- Open Windows Terminal (Admin).
- Run this example command:
Add-MpPreference -AttackSurfaceReductionRules_Ids D4F940AB-401B-4EFC-AADC-AD5F3C50688A -AttackSurfaceReductionRules_Actions AuditModeThat example targets the rule:
- Block all Office applications from creating child processes
Add-MpPreference -AttackSurfaceReductionRules_Ids D4F940AB-401B-4EFC-AADC-AD5F3C50688A -AttackSurfaceReductionRules_Actions EnabledYou can add multiple rules by including multiple IDs and actions.
Example:
Code:
Add-MpPreference `
-AttackSurfaceReductionRules_Ids `
D4F940AB-401B-4EFC-AADC-AD5F3C50688A, `
3B576869-A4EC-4529-8536-B80A7769E899 `
-AttackSurfaceReductionRules_Actions AuditMode,AuditModeSet-MpPreferenceinstead of:
Add-MpPreferenceTip: UseAdd-MpPreferencewhen building your rules gradually. UseSet-MpPreferencewhen you want to define a complete, clean configuration.
Step 5: Configure ASR rules with Group Policy (Pro/Enterprise/Education)
If you use Windows Pro, Enterprise, or Education, Group Policy provides a more visual method.- Press Windows + R.
- Type gpedit.msc and press Enter.
- Navigate to:
Computer Configuration > Administrative Templates > Windows Components > Microsoft Defender Antivirus > Microsoft Defender Exploit Guard > Attack Surface Reduction- Double-click Configure Attack surface reduction rules.
- Select Enabled.
- Click Show to open the rules list.
- Enter the rule GUID in the left field and the state in the right field.
- 0 = Disabled
- 1 = Block
- 2 = Audit
- 6 = Warn
- Click OK, then Apply.
- Restart the PC, or run this command in an elevated terminal:
gpupdate /forceNote: Group Policy is not included in most Windows Home editions, so PowerShell is the usual alternative there.
Step 6: Review ASR events in Event Viewer
After enabling rules in Audit or Block mode, review the logs to confirm what is happening.
- Press Windows + X and select Event Viewer.
- Expand:
Applications and Services Logs > Microsoft > Windows > Windows Defender > Operational- Look for events related to ASR activity.
- What app or script triggered a rule
- Whether the event was audited or blocked
- Whether you need to create an exclusion or adjust your setup
Tip: Audit logs are especially useful if you use custom scripts, automation tools, or older business applications.
Step 7: Add exclusions if needed
If a trusted app is being affected by a rule, you may need to create an exclusion. Be careful here: exclusions reduce protection.In PowerShell, you can use ASR-only exclusions like this:
Add-MpPreference -AttackSurfaceReductionOnlyExclusions "C:\TrustedApp\app.exe"You can also exclude folders or specific files if absolutely necessary.
Warning: Only exclude apps or paths you fully trust. Broad exclusions, such as excluding an entire user profile or large folder tree, can weaken security significantly.
Step 8: Switch stable rules from Audit to Block
Once you have tested for a few days and confirmed that normal work is not interrupted:- Open Windows Terminal (Admin).
- Re-run your ASR command, changing the action from AuditMode to Enabled.
Set-MpPreference -AttackSurfaceReductionRules_Ids D4F940AB-401B-4EFC-AADC-AD5F3C50688A -AttackSurfaceReductionRules_Actions EnabledRepeat for each rule you are ready to enforce.
Tips and troubleshooting
If commands fail with access denied
Make sure you launched PowerShell or Windows Terminal with administrator privileges.If ASR settings do not seem to apply
Check whether:- Another antivirus product is taking over protection
- Group Policy is overriding your local PowerShell settings
- A work or school management policy is controlling Defender
If legitimate apps are blocked
Switch the affected rule back to Audit temporarily, then review Event Viewer logs and create a narrow exclusion if needed.If you are unsure which rules to start with
Begin with Office-related rules and script-abuse protections, especially if the PC is used for email, document downloads, or web browsing.Version information
- Windows 10 version 1709 and later introduced and expanded ASR support
- Windows 11 continues support and generally offers the same local management approach through Defender, PowerShell, and policy tools
Best Practice: Enable a few rules at a time rather than all at once. This makes troubleshooting much easier.
Conclusion
Microsoft Defender Attack Surface Reduction rules are one of the best built-in ways to strengthen Windows 10 and Windows 11 against modern threats. By starting in Audit mode, reviewing logs, and then moving stable rules to Block, you can improve protection without creating unnecessary disruption. Whether you use PowerShell or Group Policy, ASR gives you more control over how risky behaviors are handled before malware gets a chance to execute.Key Takeaways:
- ASR rules help block common malware, ransomware, and script-based attack techniques
- Start with Audit mode before switching rules to Block
- PowerShell works well for local setup, while Group Policy is ideal on Pro/Enterprise editions
- Event Viewer helps you verify what ASR would block or is already blocking
- Carefully chosen exclusions can solve compatibility issues without fully disabling protection
This tutorial was generated to help WindowsForum.com users get the most out of their Windows experience.
Last edited: