Set Up Windows 10/11 Storage Spaces (Mirror) to Protect Data on Two Drives
Difficulty: Intermediate | Time Required: 30 minutesStorage Spaces is a built-in Windows 10/11 feature that can combine multiple physical drives into a “pool,” then create a virtual drive (a storage space) on top of it. When you choose Two-way mirror, Windows writes your data to both drives—so if one drive fails, your files are still available on the other.
This tutorial walks you through creating a mirrored Storage Space using two drives to protect your data (similar idea to RAID 1, but managed by Windows).
Prerequisites
Before you start, make sure you have:Quick walkthrough
- Windows 10 or Windows 11
- These steps apply to Windows 10 (1903+) and Windows 11. The exact wording in Settings may vary slightly, but the process is the same.
- Two physical drives available for Storage Spaces
- Internal SATA HDD/SSD, or external USB drives can work.
- Tip: Using two similar-sized drives avoids wasted capacity.
- Backups of any important data
- Storage Spaces setup can require erasing the drives you add to the pool.
- Administrator access on the PC
Important warnings (read first)
- Warning: When you create a new storage pool, Windows typically needs to format (erase) the drives you select. If those drives contain data you care about, copy it off first.
- Warning: A mirror protects against one drive failing, but it does not protect against accidental deletion, ransomware, file corruption synced to both drives, theft, or fire. Keep a separate backup.
Step-by-step: Create a Two-Way Mirrored Storage Space (GUI method)
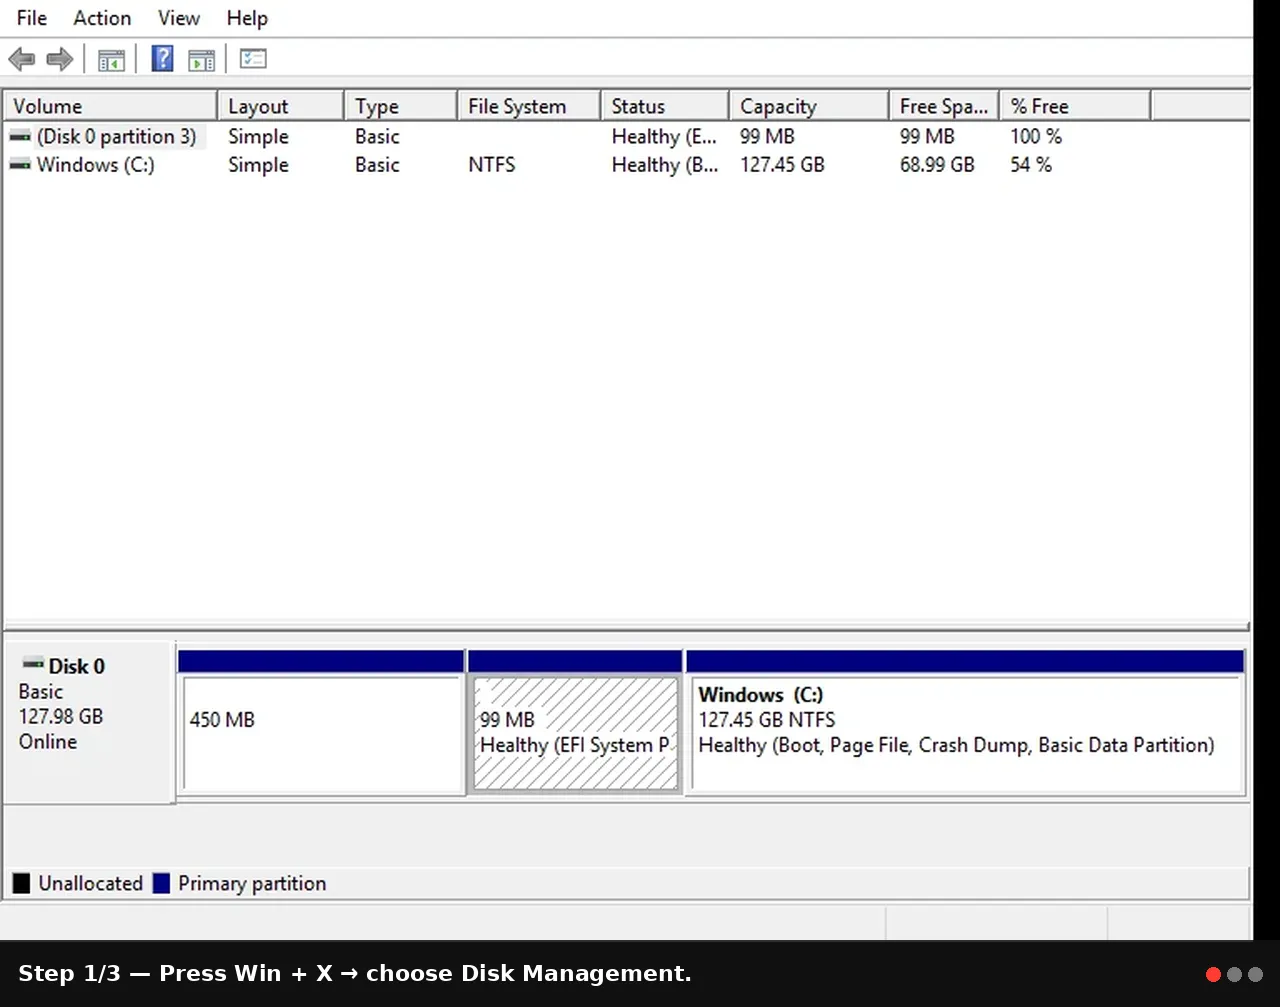
Step 1) Confirm both drives are connected and visible
- Press Win + X → choose Disk Management.
- Verify both drives appear in the lower list.
- They may show as “Not Initialized” or “Unallocated” if new—this is fine.
- If you don’t see a drive:
- Try a different SATA/USB port/cable.
- For external drives, avoid unpowered USB hubs.
Note: Storage Spaces can use drives that already have partitions, but you’ll usually be prompted to erase them when adding to a pool.
Step 2) Open Storage Spaces
Use whichever path you prefer:Option A (Windows 11 / Windows 10 Settings search):
- Press Start and type Storage Spaces.
- Open Manage Storage Spaces.
- Open Control Panel
- Go to System and Security → Storage Spaces
Step 3) Create a new storage pool
- Click Create a new pool and storage space.
- Windows will list available drives.
- Tick the two drives you want to mirror.
- Click Create pool.
Step 4) Create the mirrored storage space
After creating the pool, Windows will prompt you to configure the storage space (your new virtual drive):- Name: Choose something clear like
MirrorSpaceorDataMirror. - Drive letter: Pick a letter you’ll recognize (example:
M:). - File system: Choose NTFS (recommended for general Windows use).
- ReFS may appear in some editions/configurations, but NTFS is the safest, most compatible choice for typical PCs.
- Resiliency type: Select Two-way mirror.
- This writes two copies of your data across the two drives.
- Size: Choose the size of your mirrored space.
- With two drives, usable mirrored capacity is approximately the size of the smallest drive.
- Example: two 2TB drives → roughly 2TB usable mirrored storage.
- Click Create storage space.
Step 5) Verify it’s working
- Open File Explorer → This PC.
- Confirm the new drive letter appears.
- Copy a few test files to it.
- Return to Manage Storage Spaces and confirm:
- The storage space shows Two-way mirror
- Both physical drives show as part of the pool
Tip: Rename the drive in File Explorer (right-click → Rename) to something like “Mirrored Data” for clarity.
Step-by-step: Move data to the mirrored space (recommended approach)
Once the mirrored drive is created, treat it like a “safer” location for important data.Option 1: Create a dedicated folder structure
- On the new mirrored drive (example
M:), create folders like: M:\DocumentsM:\PhotosM:\Projects- Move/copy your important data into these folders.
Option 2: Move known folders (Documents, Pictures, etc.)
If you want Windows libraries to point to the mirrored drive:- Open File Explorer.
- Right-click Documents → Properties → Location tab.
- Click Move…
- Select a folder on the mirrored drive (example
M:\Documents) and confirm.
Note: If you use OneDrive “Known Folder Move,” decide whether you want OneDrive, Storage Spaces, or both. They solve different problems (cloud sync vs. local drive failure).
Tips, notes, and troubleshooting
Tip: Use matching drives when possible
Using two different sizes works, but your mirrored usable space is limited by the smallest drive. For example:- 2TB + 1TB drives → about 1TB usable mirrored.
Tip: Prefer internal connections for always-on reliability
USB drives can work, but external drives are easier to disconnect accidentally and may sleep/power-cycle. If you must use USB:- Use the same type of enclosure for both drives
- Avoid low-quality cables
- Consider disabling aggressive USB power saving (see below)
Warning: Don’t confuse “mirror” with “backup”
A mirror helps you stay online during a single-drive failure. It will not save you from:- Deleting a file (it deletes on both)
- Malware encrypting files (it encrypts on both)
- A power surge killing both drives
- Theft/fire/flood
Troubleshooting: “Some drives can’t be added to the pool”
Common causes:- Drive contains system/boot partitions
- You can’t add the drive Windows is booting from.
- Drive is using certain removable configurations
- Some USB flash drives won’t qualify.
- Drive has issues
- Run a health check:
- Open Command Prompt (Admin) and run:
chkdsk X: /scan(replace X with the drive letter if it has one)
Troubleshooting: New mirrored drive is slow
Mirroring can be slower on writes because Windows writes data twice.- Using SSDs improves performance significantly.
- Ensure you’re not bottlenecked by a slow USB connection (USB 2.0 will hurt).
Troubleshooting: A drive fails—what happens?
If one drive fails, Storage Spaces usually marks the pool as Degraded, but your data remains accessible.What to do:
- Replace the failed drive with a new one (equal or larger size is best).
- Open Manage Storage Spaces.
- Look for an option like Add drives or Remove the failed drive.
- Add the new drive to the pool and allow Windows to repair/rebuild.
Optional: Reduce USB sleep/power issues (external drives)
If you’re using external drives and they disconnect:- Open Device Manager
- Expand Universal Serial Bus controllers
- For each USB Root Hub:
- Right-click → Properties → Power Management
- Uncheck Allow the computer to turn off this device to save power
Conclusion
With a two-way mirrored Storage Space, Windows 10/11 can protect your data against a single drive failure without third-party tools. Once set up, you get a normal drive letter you can use for documents, photos, and projects—while Windows automatically keeps two copies across your two disks. Pair it with a proper backup plan, and you’ll have a strong, practical storage strategy for everyday use.Key Takeaways:
- Storage Spaces Two-way mirror keeps two copies of your data across two drives
- The mirrored space appears as a normal drive letter in File Explorer
- Mirroring protects against one drive failing, but it is not a full backup
- If a drive fails, you can replace it and let Windows repair/rebuild the mirror
This tutorial was generated to help WindowsForum.com users get the most out of their Windows experience.
Last edited: