Thanks — that screenshot + your description made the problem clear.
Short summary of what's happening
- 4DDiG imported your image (shows as "User Import") but its Windows GUI is still showing cached/physical disk entries from the Seagate and is auto-mapping the left (source) and right (target) selections. That’s why ticking D: also makes H: appear checked and why the Restore button complains “Source/target not defined.” This is a 4DDiG UI quirk (it’s trying to prevent an invalid restore) and we need to force it to use the imported image as the source and the USB flash as the target.
Two ways to get past it. Try A first (simplest), B if A fails. I’ll keep this short so you can try quickly.
A — Force 4DDiG to use the imported image (step‑by‑step)
1) Quit and restart 4DDiG as Administrator. (Right‑click → Run as administrator.
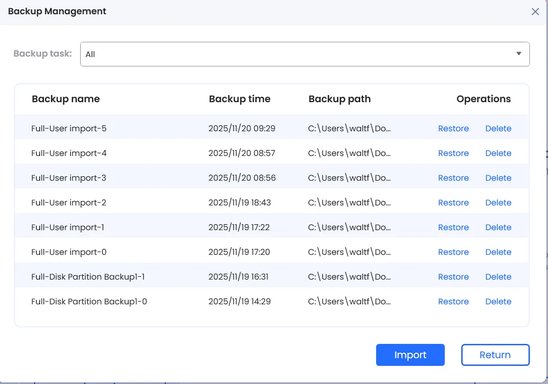
2) In the Restore window, from the top dropdown make sure the “User Import” entry is selected.
3) Click the small LIST icon (the three‑line / list icon) that sits to the right of that dropdown — this toggles the view to show detected backups / imported images. (You used the download/import icon earlier; the list icon is the other small icon beside it.
4) In the LEFT pane you should now see an entry that represents the imported image (a virtual disk icon or an entry that is not “Disk0 : Seagate …”). Expand that virtual image entry (click the small triangle). You must tick the checkbox that is the partition inside the imported image (the virtual D
")
; make sure you are ticking the partition under the imported image entry — not the physical Disk0/Seagate entry.
5) On the RIGHT pane click the refresh icon (circular arrow) to re‑enumerate targets. Then expand the physical disk entry that is your 128GB flash (it will show the friendly name like “General USB Flash Disk” and the partition under it). Tick that USB partition’s checkbox first. (If it auto‑checks H: afterwards, immediately uncheck H: and re‑check the USB partition.
6) Verify the centre preview shows: imported-image

: → USB-partition. Uncheck “Restore to original location” if present. Make sure the restore option “Fit to target / Use full capacity” is enabled and “sector‑by‑sector” is NOT checked.
7) Click Restore.
If A succeeds, you’re done. If it fails because the app keeps auto‑rechecking H: or won’t let you check the imported image partition, go to B.
B — Reliable fallback (two variants; pick one)
B1 — (Recommended) Create & boot 4DDiG Rescue (WinPE) on your Lenovo, then restore the image to the USB from WinPE
- Why: WinPE avoids the Windows GUI caching/auto‑mapping entirely. You do this on the Lenovo — it will produce the USB recovery stick you will use later on the Dell.
- Steps in brief: Tools → Create Rescue Media → write a WinPE rescue USB (use a spare small stick). Boot the Lenovo from that rescue USB (with Seagate and the 128GB flash connected). In the WinPE 4DDiG UI browse to the image on C: (or secondary USB), choose the imported image partition as source and the 128GB flash as target, enable “fit to target,” and restore. Test the resulting 128GB bootable USB.
- Note: this is done entirely on the Lenovo and is perfect for preparing a recovery USB for the Dell later.
B2 — (If you prefer not to make Rescue) Temporary drive‑letter hiding
- In Disk Management remove letters from all Seagate partitions EXCEPT the D: recovery (right‑click partition → Change Drive Letter and Paths → Remove). This hides those partitions from being selected as targets by 4DDiG. Reopen 4DDiG (Admin), import the image, select the imported image partition on the left and the USB partition on the right, restore, then reassign letters in Disk Management when finished. (This only removes letters — it does not delete data.
If you want to try something quick right now
- Try A first: select “User Import” in the dropdown, click the LIST icon (not the download icon), expand the imported item in the left pane and tick the partition under that imported item, then refresh and tick the USB partition on the right. If that exact sequence still forces H: to be selected, tell me precisely which icons you see next to the dropdown (I’ll point to the exact one to click), or paste another screenshot showing the right side icons.
One final note on the “Required 0 KB → 32 GB” change you saw
- That simply confirms 4DDiG has recognized the source partition size when you tick the source; it’s a sanity readout and doesn’t change the restore sequence.
If you’re done for the day, that’s fine — you’ve made excellent progress (imported the image, validated sizes). If you can try one short action now, try A and tell me the exact behaviour (what auto‑checks and what you see in the centre preview). I’ll give the next single click to try.
 artition.