Audit and Lock Down App Permissions & Privacy Settings in Windows 10/11
Difficulty: Intermediate | Time Required: 15 minutesIntroduction
Apps asking for access to your camera, microphone, location, files, and other data can be convenient — but they’re also a privacy and security risk if left unchecked. This quick, practical guide walks you through auditing and tightening app permissions and key privacy settings in Windows 10 and Windows 11 so you get necessary functionality without unnecessary exposure.Prerequisites
Quick walkthrough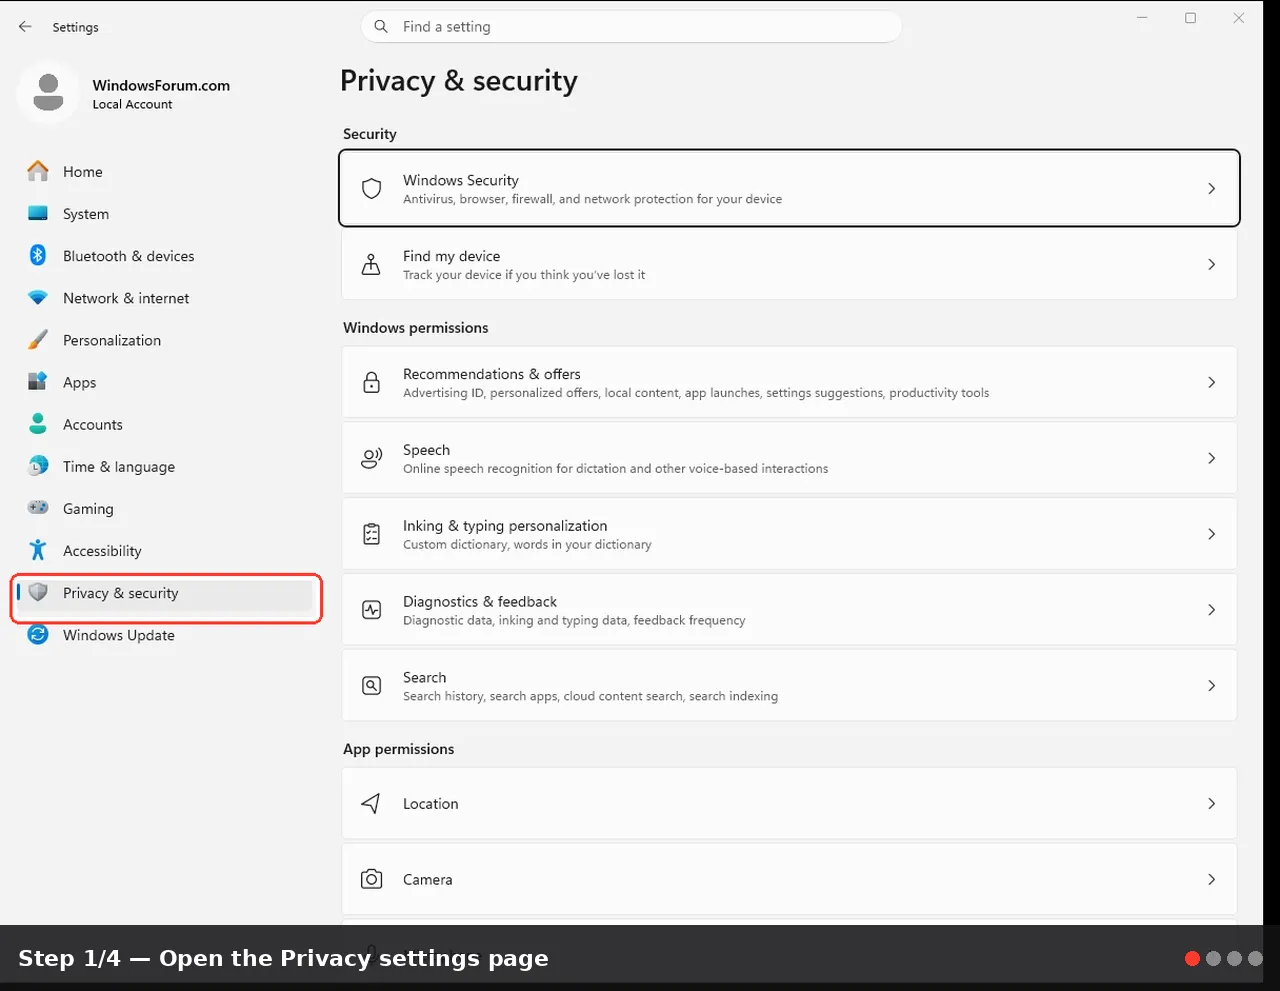
- You must be signed in to an account with local administrator privileges.
- This tutorial covers both Windows 10 (1803+) and Windows 11. Exact labels may vary slightly by OS version (e.g., “Privacy” vs “Privacy & security” in Settings).
- Optional but recommended: create a System Restore point before making many policy or registry changes.
Step-by-step instructions
- Open the Privacy settings page
- Windows 10: Start > Settings (gear) > Privacy.
- Windows 11: Start > Settings > Privacy & security.
- Note: Settings layout changed between versions; look for “Privacy” or “Privacy & security.”
- Audit general permissions (quick sweep)
- In Privacy settings, review the left-hand list (Location, Camera, Microphone, File system, etc..
- Click each item and toggle off “Allow apps to access [resource]” to block all apps, or leave global access on and control per-app access below.
- For each resource page (e.g., Camera, Microphone) scroll to the “Choose which Microsoft Store apps can access this” (or similar). Turn off any apps you don’t recognize or don’t want using the hardware.
- Audit per-app permissions
- In the same Privacy pages, after enabling global access (if desired), locate the per-app list.
- For each app listed, toggle Access On/Off. Desktop (Win32) apps may not appear—Settings mostly lists Microsoft Store/UWP apps.
- If a classic app needs access (e.g., Zoom), keep it on; remove access from apps that don’t need it (games, utilities, etc..
- Lock down background apps (Windows 10)
- Windows 10: Settings > Privacy > Background apps.
- Toggle “Let apps run in the background” off to stop all apps, or toggle individual apps off.
- Windows 11 does not have the same central background apps page; use each app’s Settings > Apps > Installed apps > Advanced options to restrict background apps.
- Turn off advertising ID and activity history
- Settings > Privacy (Windows 10) or Privacy & security > Activity history (Windows 11).
- Turn off “Let Windows track app launches to improve Start and search results” and “Store my activity history on this device” as desired.
- Settings > General (Windows 10) or Privacy & security > General (Windows 11): disable “Let apps use advertising ID” to stop targeted ads.
- Diagnostic data (telemetry)
- Windows 10: Settings > Privacy > Diagnostics & feedback.
- Windows 11: Settings > Privacy & security > Diagnostics & feedback.
- Choose the minimal setting available (“Required” / “Basic” where offered). Note: “Security” level may be limited by edition—Enterprise/Education have more controls.
- For Pro/Enterprise: consider using Group Policy (see step 9) for stricter control.
- Manage file and folder access (File System and Documents)
- Privacy > File system (Windows 10) or Privacy & security > File system (Windows 11).
- Turn off access for apps that shouldn’t read your Documents, Pictures, or Videos folders.
- Consider moving highly sensitive files to a protected folder (or enable Controlled Folder Access via Windows Security).
- Use Windows Security to harden protections
- Open Windows Security > App & browser control. Set Reputation-based protection on.
- Go to Virus & threat protection > Manage ransomware protection > Controlled folder access: enable and add trusted apps only.
- This limits apps from modifying protected folders unless explicitly allowed.
- Advanced: Use Group Policy (Pro/Enterprise) for centralized controls
- Press Win+R, type gpedit.msc and press Enter.
- Navigate to Computer Configuration > Administrative Templates > Windows Components > App Privacy.
- Configure policies such as “Let Windows apps access the camera” or “Let Windows apps access account information” and set to Disabled to block access.
- For telemetry: Computer Configuration > Administrative Templates > Windows Components > Data Collection and Preview Builds > “Allow Telemetry” — set per your organization. (Note: Some options vary by edition.
- Advanced (Home): use registry tweaks carefully
- If you don’t have gpedit, many Group Policy settings map to registry keys under HKLM\Software\Policies\Microsoft\Windows\AppPrivacy and \DataCollection.
- Only modify the registry if you’re comfortable; back up the key and create a System Restore point first.
- Example warning: incorrect registry edits can harm your system.
- Review installed apps & uninstall unneeded software
- Settings > Apps > Installed apps (Windows 11) or Settings > Apps > Apps & features (Windows 10).
- Uninstall apps you don’t recognize or don’t use — fewer apps = fewer permission risks.
- Check online account privacy (if using Microsoft account)
- Visit https://account.microsoft.com/privacy to review web-based privacy data (search history, location activity, ad settings).
- Sign in and clear stored data or turn off collection where available.
Tips, warnings, and troubleshooting
- Tip: Work in short passes—start by disabling anything obviously unnecessary (games, demo apps). Test critical apps (Zoom, Teams, email) afterwards and re-enable access only if functionality is affected.
- Tip: When an app stops working after you toggle a permission, re-enable just the permission it needs (camera, mic, files). Document changes so you can reverse them later.
- Warning: Some system features and enterprise management tools require telemetry or permissions. If you’re in a managed environment, check with IT before disabling policies.
- Warning: Registry and Group Policy changes can be powerful. Create a System Restore point and export any policy/reg key before changing.
- Troubleshooting: If camera/mic suddenly fails after a change, check both the global (Allow apps to access…) toggle and the individual app toggle. Also check Windows Security > Privacy/Camera and reboot after changes.
- Note: Desktop (Win32) apps may not appear in the per-app permission lists — those apps often request access using different APIs and may need to be controlled via app settings, the app itself, or Windows Security features.
Conclusion
By auditing app permissions and tightening privacy settings you reduce data exposure, limit attack surface, and regain control over what apps can access on your PC. Spend 10–15 minutes following the steps above to strike a balance between functionality and privacy — and keep a short list of the permissions you change so you can easily undo them if necessary.Key Takeaways:
- Audit Privacy settings (Location, Camera, Microphone, Files) in Settings and disable unnecessary access.
- Control app-by-app permissions for Store apps; uninstall unneeded apps to reduce risk.
- Use Windows Security (Controlled Folder Access, App & browser control) to add protection.
- For Pro/Enterprise, use Group Policy to enforce organizational privacy rules; Home users can use registry edits with caution.
- Back up settings (System Restore, export registry) before making advanced changes.
This tutorial was generated to help WindowsForum.com users get the most out of their Windows experience.
Last edited: