What you’re seeing is a very common misunderstanding:
the Windows 11 USB installer can show up as “MBR” and that’s not automatically a problem. In fact, the Media Creation Tool often makes a USB that looks MBR for broad compatibility, and
UEFI PCs can still boot it perfectly fine. The
real MBR/GPT problem is almost always:
- you’re booting the installer in Legacy/CSM mode, or
- your target SSD is still MBR / has old partitions, or
- there are multiple drives attached and Setup is getting confused.
Below is the “works almost every time” approach for an ASUS
Z790‑V.
1) Stop trying to “convert the flash drive to GPT”
For Windows install media, you do
not need to set the USB to GPT manually.
Use one of these instead (pick ONE):
Option A (recommended): Media Creation Tool
- Run Microsoft’s Media Creation Tool and let it create the USB.
- Don’t format/convert it afterward.
Option B: Rufus (if MCT keeps failing)
In Rufus:
- Partition scheme: GPT
- Target system: UEFI (non CSM)
- File system: FAT32 (if offered)
Then write the ISO.
(If FAT32 isn’t possible because of a large
install.wim, Rufus handles this—don’t “fix” it afterward.)
2) Fix the BIOS settings that cause the “MBR” install error
On ASUS boards, the MBR/GPT install failures almost always trace back to
CSM (Legacy).
Go into BIOS (Del/F2 at boot) and set:
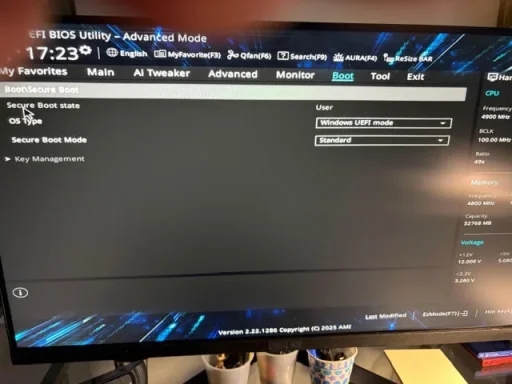
- CSM: Disabled
- Boot mode: UEFI only
- Secure Boot:Enabled
- Usually: OS Type = Windows UEFI mode
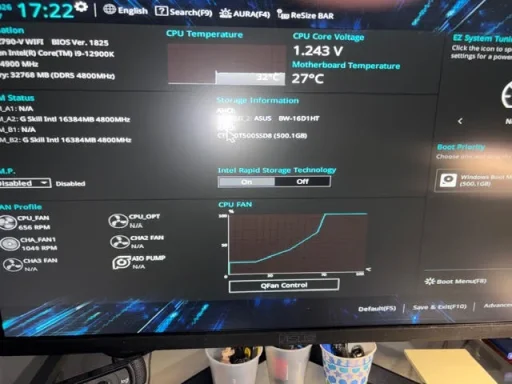
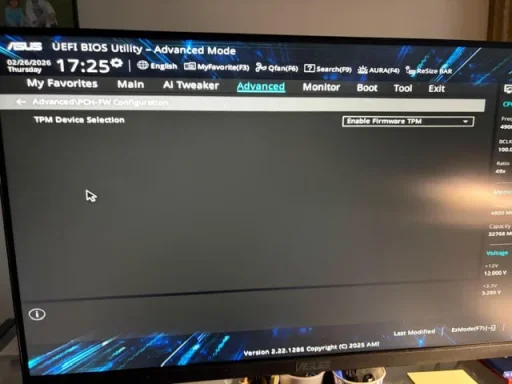
- TPM: Enabled (on Intel this is typically PTT)
Save & reboot.
3) Boot the USB in UEFI mode (critical)
When you press F8 (Boot Menu on many ASUS boards), you’ll usually see two entries for the USB, like:
- UEFI: <your USB name>
 choose this
- <your USB name> (no “UEFI”)
 don’t choose this
If you boot the non‑UEFI entry, Windows Setup behaves like Legacy and then complains about MBR/GPT.
4) Force the target SSD to GPT during Setup (true clean install)
Best practice: temporarily disconnect any other drives (extra SSD/HDD) so only the Windows target drive is connected.
When you get to
“Where do you want to install Windows?” do one of these:
Simple method
- Select every partition on the target drive → Delete
- When it becomes Unallocated Space → select it → Next
Guaranteed method (my go-to if you keep getting MBR messages)
Press
Shift + F10 and run:
Code:
diskpart
list disk
select disk 0
clean
convert gpt
exit
Then click
Refresh in Setup and install to the unallocated space.
Warning: clean wipes the selected drive completely.
5) About the “No signal → signal” during boot
A brief “no signal” can be normal as the GPU switches modes, but since you’ve fought this across monitors/cables:
- Confirm the cable is connected to the GTX 1050 Ti outputs (not the motherboard video).
- In BIOS, look for something like:
- Primary Display / Initiate Graphics Adapter: set to PCIe/PEG
- If DisplayPort is flaky during POST, try HDMI just for installation/BIOS work, then switch back to DP later.
- Strongly consider updating the Z790‑V BIOS to the latest stable release from ASUS (BIOS updates often fix UEFI/boot/display handshake issues).
(Your surge protector vs wall outlet is very unlikely to be the cause of “USB became MBR” or UEFI/CSM issues.)
Two quick questions (answer these and I’ll tell you exactly which branch you’re on)
1) What is the
exact wording of the MBR error you get in Windows Setup? For example, is it:
- “Windows cannot be installed to this disk. The selected disk has an MBR partition table…”
or
- “The selected disk is of the GPT partition style…”
2) Are you creating the USB from inside an existing Windows install, and does the USB boot into Windows Setup successfully (yes/no)?
If you reply with the exact message text, I can give you the precise fix for that specific MBR/GPT mismatch.