Create and Mount VHDX Virtual Drives to Archive Projects in Windows 10/11
Difficulty: Intermediate | Time Required: 20 minutesIf you regularly archive old projects, client folders, photos, code repositories, design files, or research material, a VHDX virtual hard drive can be a very tidy storage option. Instead of leaving thousands of files scattered across folders, you can store an entire project inside a single
.vhdx file. When you need it, you mount the VHDX and Windows treats it like a real drive with its own drive letter.This is useful for long-term project storage, backups, moving archives between PCs, or keeping inactive work separate from your daily files. VHDX files are supported in modern Windows versions, including Windows 10 and Windows 11, and can be created using the built-in Disk Management tool.
What is a VHDX?
A VHDX is a virtual hard disk file. When mounted, it appears in File Explorer like a normal disk drive. When detached, it becomes a single portable archive file.
Prerequisites
Before you begin, make sure you have:Quick walkthrough
- A PC running Windows 10 or Windows 11.
- An account with administrator permissions.
- Enough free disk space for your archive.
- A destination folder where the VHDX file will be stored, such as:
D:\ArchivesE:\Project_Archives- An external USB drive
- A network storage location
Note:
VHDX is generally preferred over the older VHD format because it is newer, more resilient, and supports larger virtual disk sizes.
Step 1: Decide How Large the Archive Drive Should Be
Before creating the virtual drive, estimate how much space your archived project needs.For example:
- Small documentation archive: 5–10 GB
- Web/design project archive: 20–50 GB
- Video, CAD, or media project archive: 100 GB or more
- Dynamically expanding
- Starts small and grows as files are added.
- Best for most project archives.
- Saves physical disk space initially.
- Fixed size
- Immediately uses the full size you assign.
- May offer more predictable performance.
- Takes longer to create if the size is large.
Warning:
A dynamically expanding VHDX can grow up to the maximum size you set. Make sure the physical drive storing the VHDX has enough free space over time.
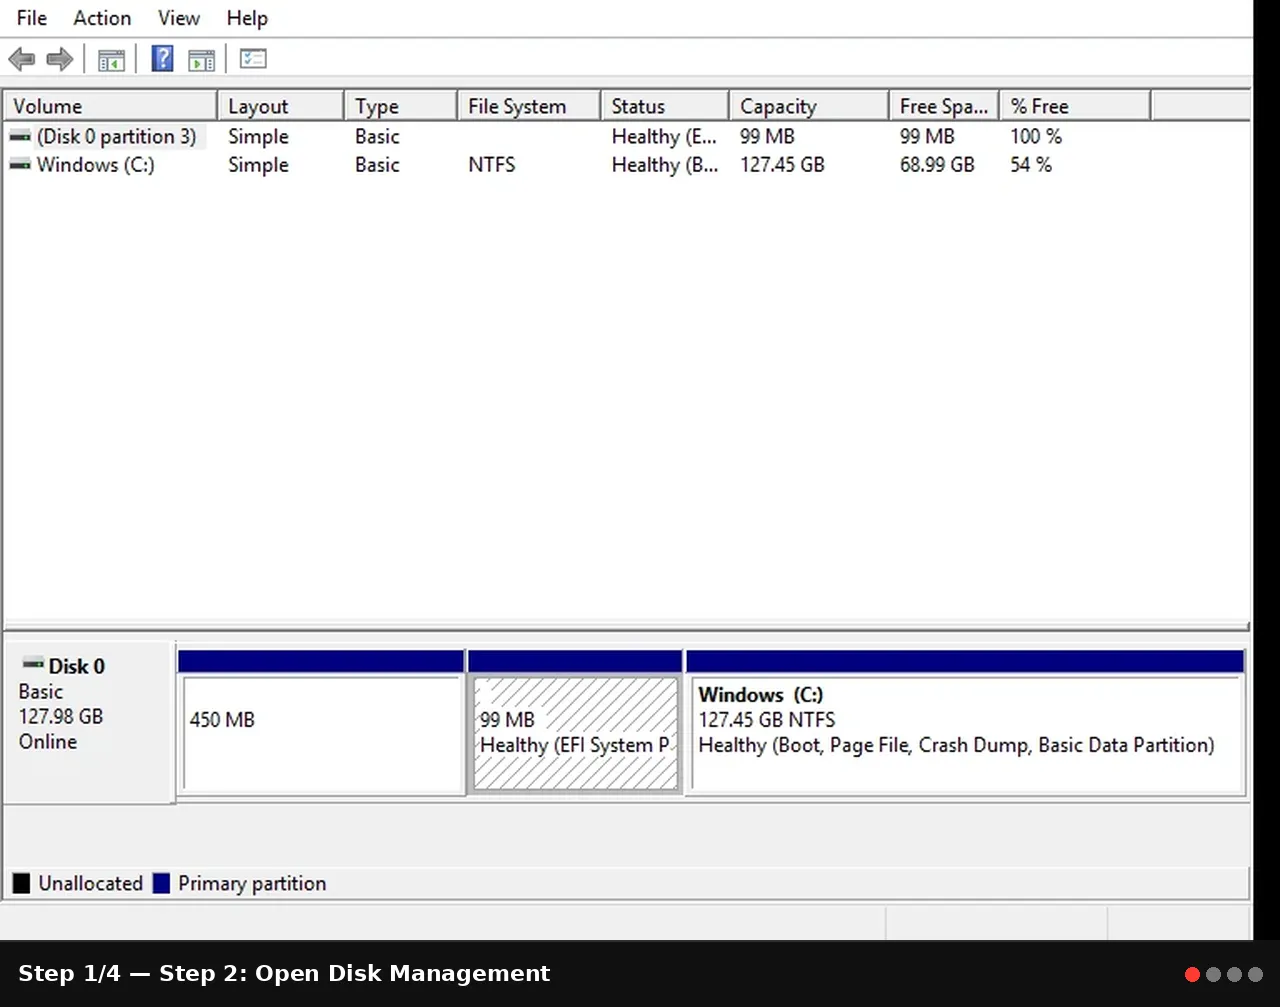
Step 2: Open Disk Management
- Right-click the Start button.
- Select Disk Management.
Alternatively, press Windows + R, type:
diskmgmt.msc
Then press Enter. - If prompted by User Account Control, click Yes.
Step 3: Create the VHDX File
- In Disk Management, click Action in the menu bar.
- Select Create VHD.
- In the Create and Attach Virtual Hard Disk window, click Browse.
- Choose where you want to save the VHDX file.
Example:
D:\Archives\Client_Project_2024.vhdx - Enter a clear file name, such as:
Website_Redesign_Archive.vhdx - Under Virtual hard disk size, enter the maximum size for the archive.
Example:
50 GB - Under Virtual hard disk format, choose:
VHDX - Under Virtual hard disk type, choose:
Dynamically expanding - Click OK.
Step 4: Initialize the New Virtual Disk
Before you can store files on the new VHDX, it needs to be initialized.- In Disk Management, locate the new virtual disk.
- It may appear as Disk 1, Disk 2, or another number depending on your system.
- Right-click the area that says Unknown or Not Initialized.
- Select Initialize Disk.
- Choose a partition style:
- GPT: Recommended for modern Windows 10/11 systems.
- MBR: Older option, mainly for compatibility with legacy systems.
- Select GPT unless you have a specific reason to use MBR.
- Click OK.
Tip:
GPT is the better default choice for most Windows 10 and Windows 11 users.
Step 5: Create a New Simple Volume
Now you need to create a usable partition inside the VHDX.
- Right-click the Unallocated space on the new virtual disk.
- Select New Simple Volume.
- Click Next.
- Leave the volume size at the default if you want to use the full VHDX.
- Click Next.
- Assign a drive letter.
For example:
P:
You might useP:for Projects orA:for Archives if available. - Click Next.
- Choose the file system:
NTFS - Set the allocation unit size to:
Default - Enter a volume label, such as:
Project Archive - Check Perform a quick format.
- Click Next.
- Click Finish.
Step 6: Copy Your Project Files into the VHDX
Now use the mounted virtual drive like any other disk.- Open File Explorer.
- Open the new VHDX drive, such as:
P:\ - Create folders if needed, for example:
Code:P:\Source Files P:\Documentation P:\Exports P:\Screenshots P:\Invoices - Copy your project files into the VHDX.
- Once the copy is complete, open a few files from the VHDX to verify they copied correctly.
Tip:
Consider adding aREADME.txtfile inside the archive explaining what the project is, when it was archived, software versions used, and any restore instructions.
Step 7: Detach the VHDX When Finished
When you are done archiving files, detach the VHDX. This safely removes the virtual drive from Windows while keeping the.vhdx file intact.- Close any open files or folders from the VHDX.
- Open Disk Management again.
- Locate the mounted VHDX disk.
- Right-click the disk label area on the left side, such as Disk 2.
- Select Detach VHD.
- Make sure Delete the virtual hard disk file after removing the disk is not checked.
- Click OK.
Your archive is now stored as a singleImportant:
Do not check the delete option unless you intentionally want to remove the VHDX file permanently.
.vhdx file in the location you selected.Step 8: Mount the VHDX Later
When you need to access the archive again, you can mount it quickly.
Option 1: Mount from File Explorer
- Open File Explorer.
- Browse to the folder containing your
.vhdxfile. - Right-click the VHDX file.
- Select Mount.
Option 2: Mount from Disk Management
- Open Disk Management.
- Click Action.
- Select Attach VHD.
- Click Browse.
- Select your
.vhdxfile. - Click OK.
Tips and Troubleshooting
The VHDX does not appear in File Explorer
Open Disk Management and check whether the disk is online and has a drive letter. If no drive letter is assigned:- Right-click the volume.
- Select Change Drive Letter and Paths.
- Click Add.
- Choose a drive letter.
- Click OK.
The VHDX file is getting very large
If you used a dynamically expanding VHDX, it grows as data is added. However, deleting files inside the mounted VHDX may not automatically shrink the.vhdx file on your physical disk.For long-term archives, this is usually acceptable. If space is critical, consider creating a new smaller VHDX and copying only the final archive files into it.
I want the archive to be read-only
If you want to prevent accidental changes, you can right-click the.vhdx file, choose Properties, and enable Read-only. You can also store the VHDX on read-only media or in a protected backup location.Is a VHDX the same as a backup?
Not exactly. A VHDX is a convenient archive container, but it is still just a file. If that file is deleted or the physical disk fails, the archive can be lost.For important projects, keep at least one additional backup on another drive, NAS, cloud storage provider, or offline storage device.
Can I use BitLocker with a VHDX?
Yes, on Windows editions that support BitLocker, you can encrypt the mounted virtual drive. This is useful if your archived projects contain sensitive client files, financial records, or personal information.Conclusion
Using VHDX virtual drives is a clean and practical way to archive completed projects in Windows 10 and Windows 11. Instead of managing thousands of loose files, you can package an entire project into one mountable virtual disk. When needed, simply mount the VHDX, access the files, and detach it again when finished.This approach is especially useful for project archives, client work, development snapshots, research collections, and long-term file organization.
Key Takeaways:
- VHDX files let you store an entire project archive inside one portable virtual disk file.
- Windows 10 and Windows 11 can create, mount, and detach VHDX files using Disk Management.
- Dynamically expanding VHDX files are usually best for archives because they grow as needed.
- Always detach the VHDX safely when finished and keep backups of important archive files.
- For sensitive archives, consider using BitLocker or another encryption method.
This tutorial was generated to help WindowsForum.com users get the most out of their Windows experience.
Last edited: