Find Duplicate Files by Hash with PowerShell in Windows 10/11
Difficulty: Intermediate | Time Required: 15 minutesDuplicate files can quietly waste disk space, clutter backups, and make it harder to find the “real” copy of a document, photo, installer, or archive. File names are not always reliable because the same file can be renamed, copied into another folder, or downloaded more than once.
A better method is to compare files by hash. A hash is a calculated fingerprint based on the file’s contents. If two files have the same hash, they are treated as matching content, even if their names or folders are different. In this tutorial, you’ll use PowerShell in Windows 10 or Windows 11 to scan a folder, find duplicate files by SHA256 hash, and export the results to a CSV report.
Prerequisites
Before you begin, make sure you have:Quick walkthrough
- A Windows 10 or Windows 11 PC
- Access to Windows PowerShell or PowerShell 7
- A folder you want to scan, such as Downloads, Documents, Pictures, or an external drive
- Enough time for the scan to complete if the folder contains many large files
Note: This tutorial usesGet-FileHash,Get-ChildItem, andGroup-Object, all common PowerShell commands. By default,Get-FileHashuses the SHA256 algorithm, which is a good choice for identifying matching file contents.
Step 1: Open PowerShell
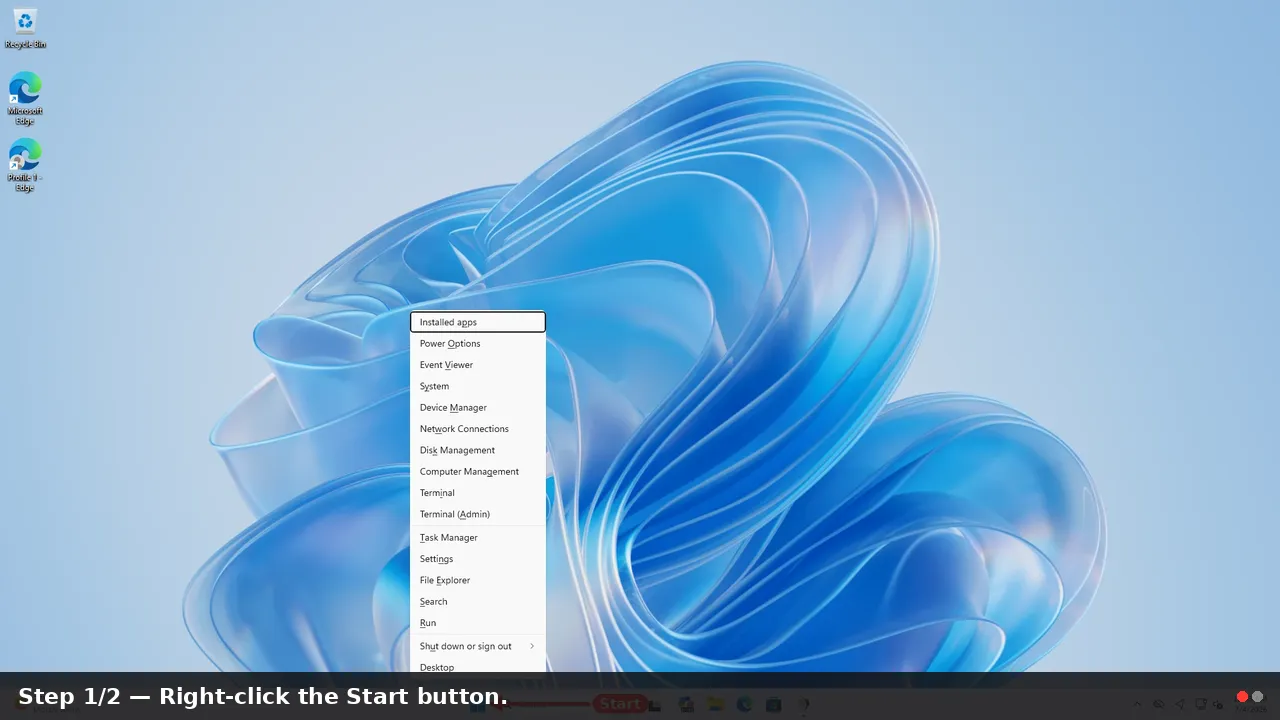
- Right-click the Start button.
- Select Terminal, Windows PowerShell, or Windows Terminal.
- If you are scanning only your own user folders, you usually do not need to run as administrator.
- If you plan to scan protected folders or another user profile, choose Run as administrator.
Warning: Scanning system folders such asC:\WindowsorC:\Program Filesis not recommended for cleanup. Many files in those locations are intentionally duplicated or managed by Windows.
Step 2: Choose the Folder to Scan
Decide which folder you want to check for duplicates. Good examples include:C:\Users\YourName\DownloadsC:\Users\YourName\DocumentsC:\Users\YourName\Pictures- An external drive such as
E:\Backup
For this example, we’ll scan the current user’s Downloads folder.
In PowerShell, enter:
$Root = "$env:USERPROFILE\Downloads"To scan a different folder, replace the path:
$Root = "D:\Photos"Tip: Use quotes around paths, especially if the folder name contains spaces.
Step 3: Set a Report Location
Next, choose where the duplicate file report should be saved. This example places it on your desktop:$Report = "$env:USERPROFILE\Desktop\DuplicateFilesByHash.csv"The report will be a CSV file that you can open in Excel, Notepad, or another spreadsheet tool.
Step 4: Collect Files from the Folder
Run this command to collect all files under the selected folder, including files in subfolders:$files = Get-ChildItem -LiteralPath $Root -File -Recurse -ErrorAction SilentlyContinueThis command does the following:
-LiteralPathuses the folder exactly as typed-Filereturns files only, not folders-Recurseincludes subfolders-ErrorAction SilentlyContinueskips folders you cannot access without stopping the whole scan
$files.CountStep 5: Narrow the Search by File Size
Hashing every file can take time, especially with large folders. A useful shortcut is to compare file sizes first. Files with different sizes cannot be exact duplicates.Run:
Code:
$candidates = $files |
    Group-Object Length |
    Where-Object { $_.Count -gt 1 } |
ForEach-Object { $_.Group }Check the number of candidates:
$candidates.CountIf the number is much smaller than the original file count, the scan will be faster.
Step 6: Calculate SHA256 Hashes
Now calculate a hash for each candidate file:
Code:
$hashed = foreach ($file in $candidates) {
    try {
        $hash = Get-FileHash -LiteralPath $file.FullName -Algorithm SHA256 -ErrorAction Stop

        [PSCustomObject]@{
            Hash          = $hash.Hash
            SizeBytes     = $file.Length
            LastWriteTime = $file.LastWriteTime
            Path          = $file.FullName
        }
    }
    catch {
        Write-Warning "Skipped: $($file.FullName) - $($_.Exception.Message)"
    }
}Note: If a file is locked, unavailable, or removed during the scan, PowerShell may skip it and display a warning. This is normal when scanning active folders like Downloads or cloud-synced directories.
Step 7: Group Files by Matching Hash
Next, group the hashed files and keep only groups with more than one file:
Code:
$duplicates = $hashed |
    Group-Object Hash |
    Where-Object { $_.Count -gt 1 } |
    ForEach-Object {
        $set = $_.Group | Sort-Object Path
        $i = 0

        foreach ($item in $set) {
            $i++

            $item | Select-Object `
                @{Name='DuplicateSet'; Expression={$_.Hash.Substring(0,12)}},
                @{Name='KeepCandidate'; Expression={$i -eq 1}},
                SizeBytes,
                LastWriteTime,
                Path,
                Hash
        }
}KeepCandidate column marks the first file in each duplicate group as True. This does not mean it is automatically the best file to keep; it is simply a starting point for review.Step 8: View the Results
To display the duplicates in PowerShell, run:
Code:
$duplicates |
    Sort-Object DuplicateSet, Path |
Format-Table DuplicateSet, KeepCandidate, SizeBytes, Path -AutoSizeStep 9: Export the Duplicate Report
Run:
Code:
$duplicates |
    Sort-Object DuplicateSet, Path |
Export-Csv -LiteralPath $Report -NoTypeInformation -Encoding UTF8Each duplicate group will have:
- A short duplicate set ID
- A suggested keep candidate
- File size in bytes
- Last modified date
- Full file path
- Full SHA256 hash
Step 10: Review Before Deleting Anything
Do not blindly delete duplicates based only on the report. Review the paths carefully.For example, these may be safe duplicates:
- Two copies of the same installer in Downloads
- Repeated photo exports
- Old ZIP files copied into multiple backup folders
- Files inside application folders
- Project files with identical content but different intended locations
- Cloud storage folders such as OneDrive, Dropbox, or Google Drive
- Backup sets where duplication may be intentional
Warning: PowerShell’sRemove-Itemdeletes files directly and does not behave like sending files to the Recycle Bin. If you are unsure, move suspected duplicates to a temporary review folder first.
Optional: Move Duplicates to a Review Folder
If you want to quarantine duplicate files before deleting them, create a review folder:
Code:
$ReviewFolder = "$env:USERPROFILE\Desktop\DuplicateReview"
New-Item -ItemType Directory -Path $ReviewFolder -Force
Code:
$duplicates |
    Where-Object { $_.KeepCandidate -eq $false } |
    ForEach-Object {
        Move-Item -LiteralPath $_.Path -Destination $ReviewFolder -WhatIf
}-WhatIf:
Code:
$duplicates |
    Where-Object { $_.KeepCandidate -eq $false } |
    ForEach-Object {
        Move-Item -LiteralPath $_.Path -Destination $ReviewFolder
    }
Tip: If duplicate files have the same name, moving them into one folder may cause name conflicts. In that case, review and move them manually from File Explorer using the CSV report.
Troubleshooting
No duplicates were found
If$duplicates is empty, PowerShell did not find files with matching SHA256 hashes. You may still have similar files, such as resized photos or edited documents, but they are not exact duplicates.The scan is slow
Hashing large files takes time. Try scanning a smaller folder first, such as Downloads, before scanning an entire drive.Access denied messages appear
Some folders require administrator rights. Either reopen PowerShell as administrator or scan only folders under your own user profile.OneDrive files are skipped
Cloud placeholder files may not be fully downloaded. Open the files or mark the folder as available offline, then scan again.Conclusion
Finding duplicates by hash is much more reliable than comparing file names alone. With PowerShell, you can scan Windows 10 or Windows 11 folders, identify exact duplicate content, and export a clear report for safe review. This method is especially useful for Downloads folders, photo collections, backup drives, and old project archives.Key Takeaways:
- Hash comparison identifies exact duplicate file contents, even when names differ.
- Filtering by file size first makes the scan faster.
- Exporting to CSV gives you a safer way to review duplicates before cleanup.
- Always inspect duplicate groups before moving or deleting files.
- Avoid cleaning Windows system folders unless you fully understand the impact.
This tutorial was generated to help WindowsForum.com users get the most out of their Windows experience.
Last edited: