Fix Missing File Explorer Thumbnails in Windows 10/11
Difficulty: Beginner | Time Required: 10 minutesMissing thumbnails in File Explorer can make it harder to identify photos, videos, PDFs, and other visual files at a glance. Instead of seeing a preview of the file, Windows may show only a generic icon. This usually happens because thumbnail previews are disabled, the thumbnail cache is corrupted, File Explorer is using the wrong view mode, or a Windows performance/policy setting is blocking thumbnails.
The good news: in most cases, you can fix missing thumbnails in just a few minutes without installing anything.
This guide applies to Windows 11 and Windows 10. The steps are especially useful for Windows 11 versions 21H2 and later, and Windows 10 version 2004 and later, though the same general settings exist across most modern Windows 10/11 builds.
Prerequisites
Before you begin:Quick walkthrough
- Sign in with your normal Windows user account.
- Make sure the files are stored locally if possible. Network folders may behave differently depending on policy and security settings.
- Close any File Explorer windows you do not need.
- If this is a work, school, or managed PC, some thumbnail settings may be controlled by your administrator.
Note: If only one file type is affected, such as only PDFs or only RAW camera files, the issue may be with that file type’s preview handler, codec, or default app rather than File Explorer itself.
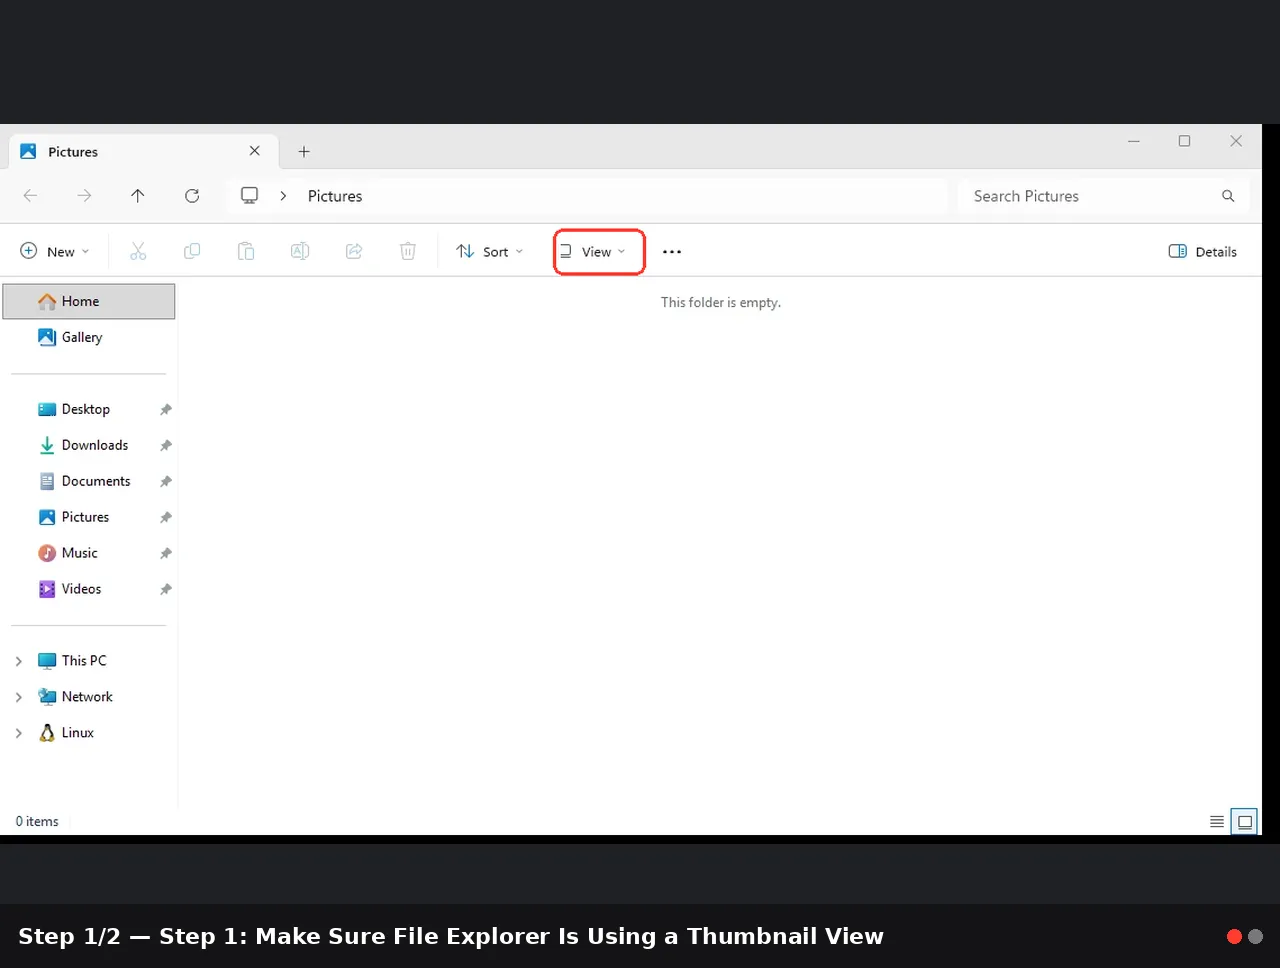
Step 1: Make Sure File Explorer Is Using a Thumbnail View
File Explorer does not show thumbnails in every view mode. For example, Details and List views mostly show icons and file information, while Large icons and Extra large icons are better for thumbnails.
- Open File Explorer.
- Go to a folder that contains images or videos.
- Select View from the toolbar.
- Choose one of these options:
- Medium icons
- Large icons
- Extra large icons
- Wait a few seconds for Windows to generate the previews.
Tip: If thumbnails appear in Large icons but not in Details, Windows is working normally. Details view is not designed for large visual previews.
Step 2: Turn Off “Always Show Icons, Never Thumbnails”
This is the most common setting behind missing thumbnails.- Open File Explorer.
- Select the three dots menu on Windows 11, or the View tab on Windows 10.
- Choose Options or Change folder and search options.
- In the Folder Options window, select the View tab.
- Find Always show icons, never thumbnails.
- Make sure this option is unchecked.
- Select Apply.
- Select OK.
Note: Microsoft’s Windows policy documentation confirms that File Explorer displays thumbnail images by default unless a setting or policy forces it to show icons only.
Step 3: Enable Thumbnails in Performance Options
Windows also has a visual effects setting that controls whether thumbnails are shown instead of icons.- Press Windows + R.
- Type:
sysdm.cpl - Press Enter.
- Select the Advanced tab.
- Under Performance, select Settings.
- In the Visual Effects tab, look for Show thumbnails instead of icons.
- Make sure it is checked.
- Select Apply.
- Select OK.
Tip: You do not need to enable every visual effect. Just make sure Show thumbnails instead of icons is turned on.
Step 4: Clear the Thumbnail Cache
Windows stores generated thumbnails in a cache so folders load faster later. If that cache becomes damaged or outdated, thumbnails may disappear, look blank, or show the wrong preview.Option A: Clear Thumbnails Using Settings
This is the easiest method on Windows 10 and Windows 11.- Open Settings.
- Go to System.
- Select Storage.
- Choose Temporary files.
- Wait while Windows scans your system.
- Look for Thumbnails.
- Check Thumbnails.
- Leave other items unchecked unless you are sure you want to remove them.
- Select Remove files.
Option B: Clear Thumbnails Using Disk Cleanup
Disk Cleanup is another built-in Windows tool that can remove unnecessary files, including thumbnail cache files.- Press Windows + R.
- Type:
cleanmgr - Press Enter.
- Select your Windows drive, usually C:.
- Select OK.
- In the Disk Cleanup list, check Thumbnails.
- Uncheck anything you do not want to delete.
- Select OK.
- Choose Delete Files.
Warning: Be careful when selecting cleanup categories. Removing thumbnails is safe, but other options may delete files from locations such as the Recycle Bin or Downloads depending on what you choose.
Step 5: Restart File Explorer
Sometimes the settings are correct, but File Explorer needs to be restarted before thumbnails return.
- Right-click the Start button.
- Select Task Manager.
- If Task Manager opens in simple view, select More details.
- Find Windows Explorer in the list.
- Select Windows Explorer.
- Select Restart.
Now open File Explorer again and check your thumbnails.
Step 6: Check for Work or School Policy Restrictions
If you are using Windows 10/11 Pro, Enterprise, Education, or a managed workplace device, Group Policy or device management settings may disable thumbnails.- Press Windows + R.
- Type:
gpedit.msc - Press Enter.
User Configuration > Administrative Templates > Windows Components > File ExplorerLook for policies such as:
- Turn off the display of thumbnails and only display icons
- Turn off caching of thumbnail pictures
- Turn off the display of thumbnails and only display icons on network folders
Note: Local Group Policy Editor is not included in Windows Home editions by default. If you are on a company-managed PC, do not change policies without checking with your IT administrator.
Step 7: Test Another Folder or File Type
If thumbnails are still missing, narrow down the issue.- Open a folder with standard image files such as JPG or PNG.
- Switch to Large icons.
- Check whether those thumbnails appear.
- Try a different folder, such as Pictures.
- Try files stored directly on your PC instead of OneDrive, a USB drive, or a network share.
Tip: Installing the official app, codec, or extension for that file type may restore thumbnail support.
Additional Troubleshooting Notes
- Network folders: Windows may be configured to avoid thumbnails on network locations for security or performance reasons.
- Cloud files: OneDrive or other cloud storage files may need to be downloaded locally before thumbnails appear.
- Very large folders: Folders with thousands of files may take longer to generate thumbnails.
- Low disk space: If your system drive is nearly full, Windows may struggle to rebuild cache files.
- Corrupt user profile: If thumbnails work in a new Windows user account but not your normal account, the issue may be profile-specific.
Conclusion
Missing thumbnails in File Explorer are usually caused by a simple setting or a damaged thumbnail cache. By checking the File Explorer view mode, disabling “Always show icons, never thumbnails,” enabling thumbnail visual effects, and clearing the thumbnail cache, most Windows 10 and Windows 11 users can restore previews quickly.Once fixed, browsing photos, videos, and visual files becomes much easier because you can identify files at a glance instead of opening them one by one.
Key Takeaways:
- Use Large icons or Extra large icons to view thumbnails.
- Make sure Always show icons, never thumbnails is turned off.
- Enable Show thumbnails instead of icons in Performance Options.
- Clear the thumbnail cache if previews are blank, outdated, or missing.
- Managed PCs may have policies that intentionally disable thumbnails.
This tutorial was generated to help WindowsForum.com users get the most out of their Windows experience.
Structured References
- Microsoft Learn — Policy CSP: ADMX_Thumbnails, including File Explorer thumbnail display policies.
- Microsoft Learn — Policy CSP: ADMX_WindowsExplorer, including thumbnail cache policy behavior.
- Microsoft Learn — Windows settings reference for File Explorer Classic settings.
- Microsoft Learn — Disk Cleanup and cleanmgr documentation for removing unnecessary files and cached items.
Last edited: