Set an Account Lockout Policy to Stop Repeated Sign-In Guessing in Windows 10/11
Difficulty: Intermediate | Time Required: 10 minutesRepeated sign-in guessing is one of the simplest ways someone can try to break into a Windows account. An account lockout policy helps reduce that risk by temporarily locking an account after too many failed password attempts. This is especially useful on shared PCs, laptops used outside the home, small office computers, and systems where Remote Desktop or local user accounts are enabled.
In this tutorial, you’ll configure Windows 10 or Windows 11 to lock an account after a defined number of failed sign-in attempts, then automatically unlock it after a short waiting period.
Prerequisites
Before you begin:Quick walkthrough
- Sign in with an administrator account.
- Make sure you have a second way back into the PC, such as:
- Another administrator account
- A password reset disk for local accounts
- BitLocker recovery key, if BitLocker is enabled
- Know your Windows edition:
- Windows 10/11 Pro, Enterprise, and Education include the Local Security Policy editor.
- Windows Home editions do not normally include the Local Security Policy editor, but you can still use Command Prompt.
Important: If your PC is joined to a workplace or school domain, these settings may be controlled by your organization. Local changes may be overridden by Group Policy, Microsoft Intune, or other management tools.
Recommended Settings
For most home and small office PCs, a balanced starting point is:- Account lockout threshold: 10 invalid sign-in attempts
- Account lockout duration: 15 minutes
- Reset account lockout counter after: 15 minutes
Note: Some newer Windows 11 installations may already use secure account lockout defaults, such as locking after 10 failed attempts for 10 minutes. It is still worth checking your settings.
Method 1: Configure Account Lockout Using Local Security Policy
Use this method if you are running Windows 10/11 Pro, Enterprise, or Education.1. Open Local Security Policy
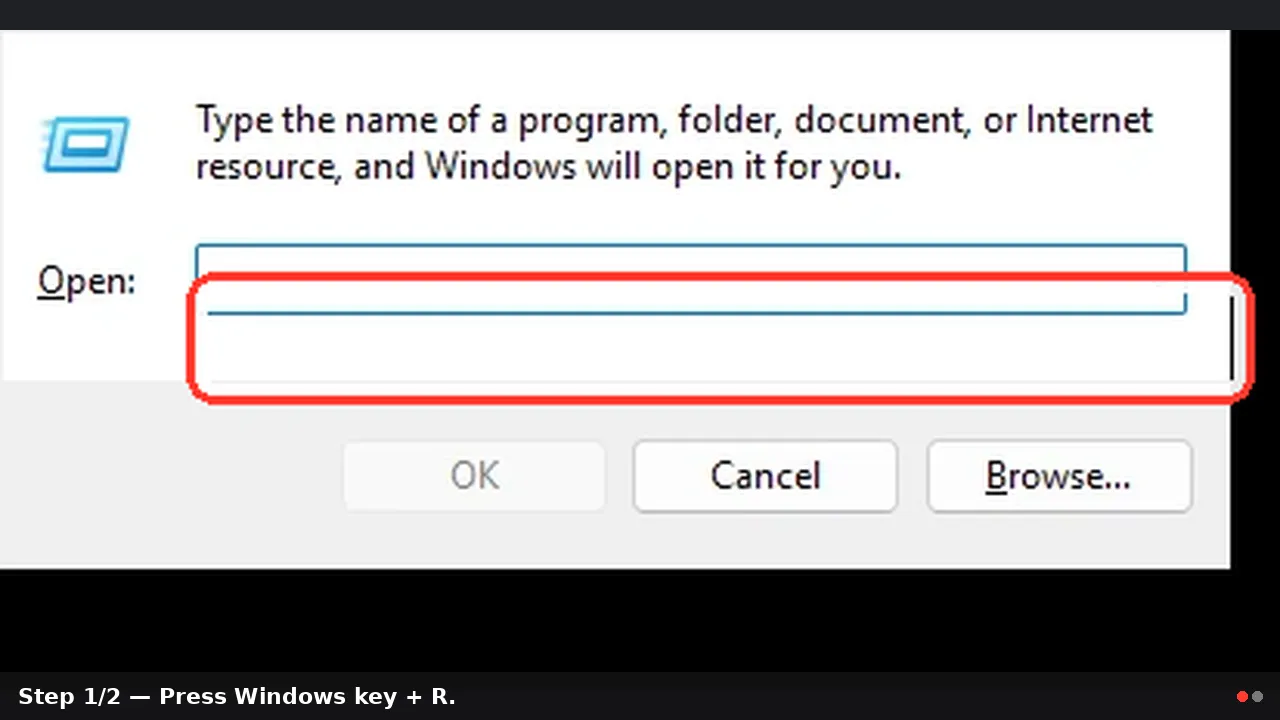
- Press Windows key + R.
- Type:
secpol.msc - Press Enter.
- If prompted by User Account Control, select Yes.
2. Go to Account Lockout Policy
In the left pane, expand the following path:Security Settings > Account Policies > Account Lockout PolicyYou should see three main settings:
- Account lockout duration
- Account lockout threshold
- Reset account lockout counter after
3. Set the Account Lockout Threshold
- Double-click Account lockout threshold.
- Enter the number of failed sign-in attempts allowed before lockout.
Recommended value:
10 - Select OK.
4. Set the Account Lockout Duration
- Double-click Account lockout duration.
- Enter how long the account should remain locked.
Recommended value:
15 minutes - Select OK.
Warning: If you set the duration to 0, the account stays locked until an administrator manually unlocks it. That may be useful in managed business environments, but it can be risky on a personal PC.
5. Set the Reset Counter Time
- Double-click Reset account lockout counter after.
- Enter the time Windows should wait before clearing failed sign-in attempts.
Recommended value:
15 minutes - Select OK.
6. Close Local Security Policy
Close the Local Security Policy window. The setting usually applies immediately, but restarting the PC is a good idea if you want to confirm everything is active.Method 2: Configure Account Lockout Using Command Prompt
Use this method if you are on Windows Home or prefer using commands.1. Open Command Prompt as Administrator
- Right-click the Start button.
- Select Terminal (Admin) or Command Prompt (Admin).
- If Windows Terminal opens with PowerShell, you can still run the commands below by opening a Command Prompt tab or using
cmd.
2. Check Current Account Policy Settings
Run:net accountsLook for these lines:
Code:
Lockout threshold
Lockout duration
Lockout observation windowNever or 0, account lockout is effectively disabled.3. Set the Lockout Policy
Run the following command:net accounts /lockoutthreshold:10 /lockoutduration:15 /lockoutwindow:15What this does:
- Locks the account after 10 failed attempts
- Keeps it locked for 15 minutes
- Resets the failed-attempt counter after 15 minutes
4. Verify the Change
Run:net accountsConfirm the values now show the lockout threshold, duration, and observation window you configured.
Optional: Apply a Stricter Policy
If your PC is exposed to higher risk, such as a laptop used for work or a PC with Remote Desktop enabled, you may prefer stricter settings:net accounts /lockoutthreshold:5 /lockoutduration:15 /lockoutwindow:15This locks the account after five wrong attempts.
Tip: Avoid setting the threshold too low, such as 2 or 3, unless you are comfortable handling accidental lockouts. A very low threshold can frustrate legitimate users and may even allow someone nearby to intentionally lock you out.
Troubleshooting and Helpful Notes
The Settings Are Grayed Out
If account lockout options are unavailable or keep reverting, your PC may be managed by a domain, school, workplace, or device management policy. In that case, contact your IT administrator.Local Security Policy Is Missing
Ifsecpol.msc does not open, you are probably using Windows Home. Use the Command Prompt method instead.You Locked Yourself Out
If the lockout duration is set to 15 minutes, wait for the timer to expire and try again carefully. If the duration was set to 0, another administrator must unlock the account.An administrator can unlock a local user account with PowerShell:
Unlock-LocalUser -Name "UserName"Replace
"UserName" with the actual account name.This Does Not Replace Strong Passwords
Account lockout slows repeated guessing, but it is not a full security solution. For best protection:- Use a long, unique password
- Enable Windows Hello where available
- Keep Windows updated
- Avoid sharing administrator accounts
- Disable Remote Desktop if you do not need it
- Use standard user accounts for daily work
Be Careful with Remote Desktop
If Remote Desktop is enabled, account lockout can help slow brute-force attempts. However, it can also lock out legitimate users if bots or attackers repeatedly try common usernames. Consider using a VPN, changing firewall exposure, or disabling Remote Desktop from the internet.Conclusion
Configuring an account lockout policy is a quick way to make repeated password guessing much harder on Windows 10 and Windows 11. With a reasonable threshold and short automatic unlock period, you can improve security without creating too much inconvenience for normal users.Key Takeaways:
- Account lockout helps stop repeated sign-in guessing.
- A good starting point is 10 failed attempts with a 15-minute lockout.
- Windows Pro, Enterprise, and Education users can use Local Security Policy.
- Windows Home users can configure the same basic settings with
net accounts. - Keep a backup administrator account or recovery method to avoid accidental lockouts.
This tutorial was generated to help WindowsForum.com users get the most out of their Windows experience.
Last edited: