Automate a Daily System Health Report with Task Scheduler and PowerShell
Difficulty: Intermediate | Time Required: 20-30 minutesTired of manually checking your PC’s health every morning? This guide shows you how to create a lightweight, automated daily health report using PowerShell and Task Scheduler. It’s perfect for system admins, power users, or anyone who wants a quick snapshot of CPU, memory, disk, and key events without lifting a finger.
Windows 10 and Windows 11 users can benefit from this approach. Task Scheduler and PowerShell 5.1 are included by default on Windows 10. Windows 11 maintains the same core tooling, with a familiar Task Scheduler experience and PowerShell integration. You can run the script with the built-in PowerShell or opt for PowerShell 7 (pwsh) if you prefer.
Prerequisites
Quick walkthrough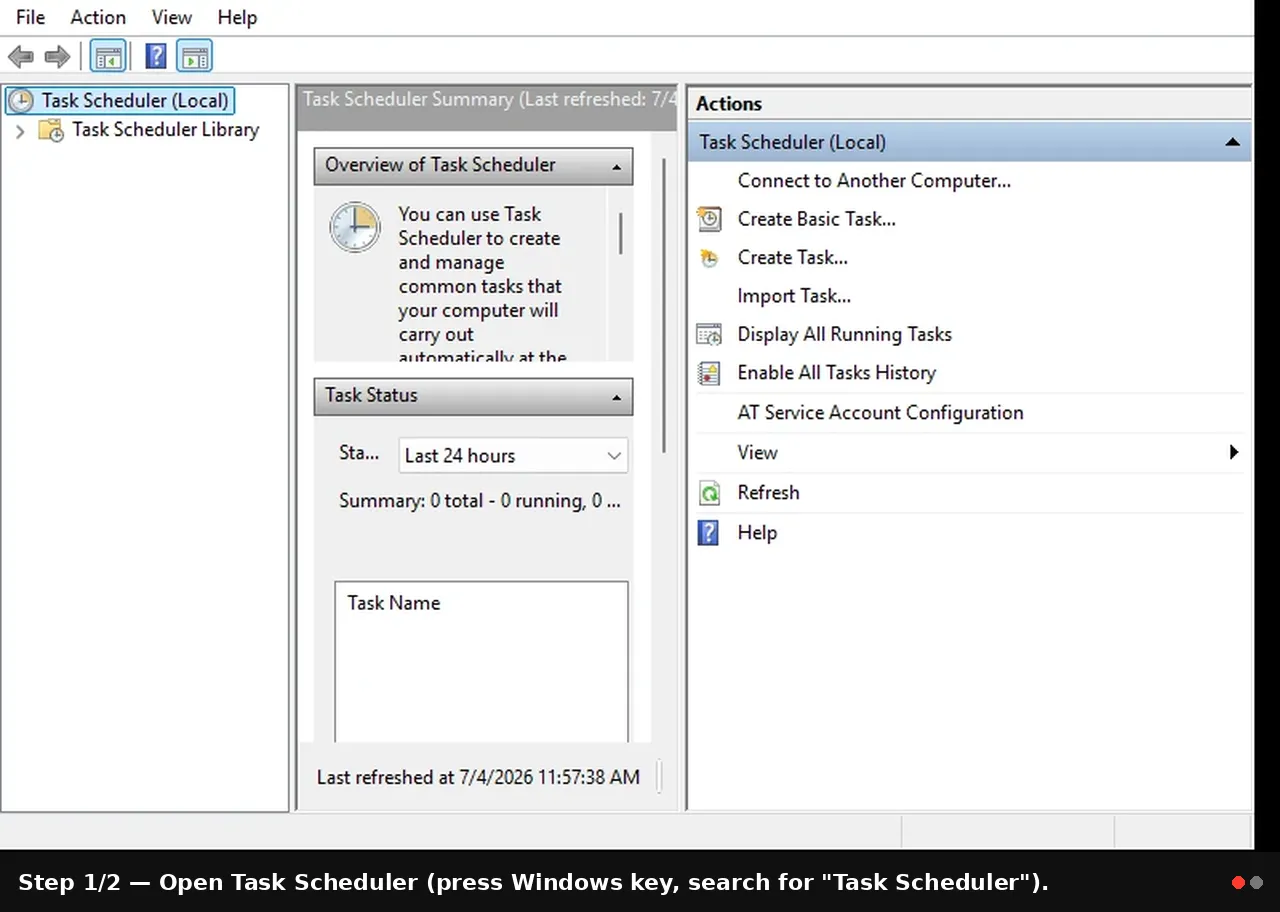
- A Windows 10 or Windows 11 machine.
- An administrator account (recommended) to access event logs and run tasks unattended.
- Basic familiarity with PowerShell and the Windows File System.
- Optional: access to an SMTP server if you want the report emailed.
Step 1: Prepare the health-report PowerShell script
Create a folder to store the script and the daily report outputs. For example:- Script path: C:\Scripts\HealthReport.ps1
- Reports path: C:\Reports\Health
") , uptime, recent System events, and basic service statuses. It writes a human-readable log and a small CSV summary for quick charting later.
, uptime, recent System events, and basic service statuses. It writes a human-readable log and a small CSV summary for quick charting later.
Code:
# HealthReport.ps1
# Collects basic system health metrics and writes a daily report. $logDir = "C:\Reports\Health"
$reportDate = (Get-Date).ToString("yyyy-MM-dd")
$logFile = "$logDir\HealthReport_$reportDate.txt"
$csvFile = "$logDir\HealthSummary_$reportDate.csv" # Ensure output directory exists
if (-not (Test-Path $logDir) { New-Item -Path $logDir -ItemType Directory -Force | Out-Null } # Header
"System Health Report - $reportDate" | Out-File -FilePath $logFile -Encoding UTF8
"Generated on: $(Get-Date -Format 'yyyy-MM-dd HH:mm:ss')" | Out-File -FilePath $logFile -Append
"----------------------------------------" | Out-File -FilePath $logFile -Append # Uptime
$os = Get-CimInstance Win32_OperatingSystem
$uptimeSpan = (Get-Date) - [Management.ManagementDateTimeConverter]::ToDateTime($os.LastBootUpTime)
$uptimeStr = "{0:0} days, {1:0} hours, {2:0} minutes" -f $uptimeSpan.Days, $uptimeSpan.Hours, $uptimeSpan.Minutes
"Uptime: $uptimeStr" | Out-File -FilePath $logFile -Append # CPU usage
$cpu = (Get-Counter '\Processor(_Total)\% Processor Time').CounterSamples | Where-Object { $_.InstanceName -eq "_Total" } | Select-Object -ExpandProperty CookedValue -First 1
"CPU Usage: {0:N1}%" -f $cpu | Out-File -FilePath $logFile -Append # Memory usage
$mem = Get-CimInstance Win32_OperatingSystem
$totalMemMB = [math]::Round($mem.TotalVisibleMemorySize / 1MB, 0)
$freeMemMB = [math]::Round($mem.FreePhysicalMemory / 1MB, 0)
$usedMemMB = $totalMemMB - $freeMemMB
$memPct = [math]::Round(($usedMemMB / $totalMemMB) * 100, 1)
"Memory: Used {0} MB of {1} MB ({2}%)" -f $usedMemMB, $totalMemMB, $memPct | Out-File -FilePath $logFile -Append # Disk usage (C:)
$disk = Get-CimInstance Win32_LogicalDisk -Filter "DeviceID='C:'"
$totalDiskGB = [math]::Round($disk.Size / 1GB, 2)
$usedDiskGB = [math]::Round(($disk.Size - $disk.FreeSpace) / 1GB, 2)
$diskPct = [math]::Round(($disk.Size - $disk.FreeSpace) / $disk.Size * 100, 2)
"Disk C: Used {0} GB of {1} GB ({2}%)" -f $usedDiskGB, $totalDiskGB, $diskPct | Out-File -FilePath $logFile -Append # Recent System events (last 5)
"Recent System events (last 5):" | Out-File -FilePath $logFile -Append
Get-WinEvent -LogName System -MaxEvents 5 | ForEach-Object { "$($_.TimeCreated) | ID $($_.Id) | [$($_.ProviderName)] $($_.Message -replace "`r`n"," ")"
} | Out-File -FilePath $logFile -Append # Services status (selected)
"Service statuses (selected):" | Out-File -FilePath $logFile -Append
$services = @('WinDefend','Spooler','Wuauserv')
foreach ($n in $services) { $svc = Get-Service -Name $n -ErrorAction SilentlyContinue if ($null -ne $svc) { " {0}: {1} (Startup: {2})" -f $svc.Name, $svc.Status, $svc.StartType | Out-File -FilePath $logFile -Append }
} # Optional: CSV summary for quick charts (append a single-row record)
$summary = [pscustomobject]@{ DateTime = (Get-Date) CpuPct = [math]::Round($cpu, 1) MemUsedMB = $usedMemMB MemTotalMB = $totalMemMB DiskUsedPct = $diskPct
}
if (-not (Test-Path $csvFile) { $summary | Export-Csv -Path $csvFile -NoTypeInformation
} else { $summary | Export-Csv -Path $csvFile -NoTypeInformation -Append
} # End- The script collects a compact set of metrics suitable for a daily health snapshot. You can expand it with more drives, additional event-log sources, or performance counters as needed.
- If you plan to email, you can add a section below that builds an email body from the log and uses Send-MailMessage or the System.Net.Mail APIs. See Step 3 for optional email configuration.
Step 2: Test the script locally
Before automating, test the script to ensure it runs and writes the log correctly.- Open PowerShell as Administrator.
2) Allow script execution in the current session (for testing only):
- Set-ExecutionPolicy -ExecutionPolicy Bypass -Scope Process
- Run the script:
- & "C:\Scripts\HealthReport.ps1"
- Check the log at C:\Reports\Health\HealthReport_YYYY-MM-DD.txt and the CSV at C:\Reports\Health\HealthSummary_YYYY-MM-DD.csv.
- If you see errors, fix the path names or permission issues, then re-run.
Step 3: Set up a daily Task Scheduler job
- Open Task Scheduler (press Windows key, search for "Task Scheduler").
2) Create a Basic Task or, for more control, choose Create Task.
3) General tab:
- Name: Daily System Health Report
- Description: Generates a health snapshot every day.
- Run whether user is logged on or not (recommended for unattended runs)
- Run with highest privileges (recommended)
- Configure for: Windows 10/11
- Triggers tab:
- New > Daily
- Start: today at 08:00 (adjust to your preferred time)
- Enabled
- Actions tab:
- New > Action: Start a program
- Program/script: PowerShell
- If you have Windows PowerShell 5.1, use:
- Program/script: powershell.exe
- Add arguments: -ExecutionPolicy Bypass -File "C:\Scripts\HealthReport.ps1"
- Start in: "C:\Scripts"
- If you prefer PowerShell 7 (pwsh), adjust:
- Program/script: pwsh.exe
- Add arguments: -NoProfile -ExecutionPolicy Bypass -File "C:\Scripts\HealthReport.ps1"
- Conditions tab:
- Optional: Start only if the network connection is available (useful if you email or reference network resources)
- Wake the computer to run this task (optional)
- Settings tab:
- Allow task to be run on demand
- If the task fails, restart every 5 minutes, up to 3 times
- Stop the task if it runs longer than 30 minutes (adjust as needed)
- Click OK. If you chose “Run whether user is logged on or not,” you’ll be prompted to enter the password of the account you selected.
- Test the task:
- In Task Scheduler, right-click the task → Run
- Verify that the log file is created and contains the latest data.
- Optional: Email the report
- If you want to email the log, add a small email step to HealthReport.ps1 or create a separate script that reads the log file and sends it via SMTP.
- Basic approach (optional):
- At end of HealthReport.ps1, after the logs are generated, add:
- Send-MailMessage -From "[email protected]" -To "[email protected]" -Subject "Daily Health Report - $reportDate" -Body (Get-Content $logFile -Raw) -SmtpServer "smtp.example.com" -Port 587 -UseSsl -Credential (Get-Credential)
- For unattended runs, store credentials securely or prompt manually only when testing.
- Ensure your firewall and SMTP server allow the connection.
Tips and troubleshooting notes
- Execution policy: If your task or script refuses to run due to execution policy, set -ExecutionPolicy Bypass for the Task or at the top of the script. You can also run PowerShell as an admin and set Set-ExecutionPolicy -Scope LocalMachine -ExecutionPolicy RemoteSigned (requires caution).
- Path issues: Always quote paths that include spaces. Use full paths (e.g., "C:\Scripts\HealthReport.ps1").
- Permissions: Running under a non-admin account can still read most logs, but for complete coverage (WMI, event logs, some services), “Run with highest privileges” is safer.
- Email issues: If Send-MailMessage fails due to TLS or port restrictions, verify firewall rules and SMTP settings. For sensitive environments, avoid embedding passwords in scripts; use a secure credential store or the Task Scheduler’s stored credentials.
- PowerShell versions: Windows 10 ships with Windows PowerShell 5.1. Windows 11 does too. If you run pwsh (PowerShell 7+), adapt the “Program/script” and arguments accordingly.
- 64-bit vs 32-bit: On 64-bit Windows, using the 64-bit PowerShell is recommended for accurate system counters and WMI access. Task Scheduler runs the appropriate bitness by default, but be explicit if you call external processes.
- Expandability: The script can be extended with more drives, more event log sources, or additional health checks (e.g., Windows Update status, disk fragmentation, thermal sensors via vendor-specific WMI providers).
Conclusion
Automating a daily system health report saves time, reduces the chance of missing warning signs, and gives you a reliable snapshot of your machine’s state. With a straightforward PowerShell script and a daily Task Scheduler job, you can quickly monitor CPU, memory, disk usage, uptime, and recent events—plus keep a history via CSV for trend analysis. The result is a convenient, unobtrusive health check that runs in the background and delivers actionable information at a glance.Key benefits:
- Quick visibility into core system health without manual checks.
- Historical data capture for trend analysis and capacity planning.
- Simple extension path (optional email delivery, more metrics, additional drives).
This tutorial was generated to help WindowsForum.com users get the most out of their Windows experience.
Last edited: