Create a Windows 10/11 Installer USB for Repair, Reset, or Clean Reinstall
Difficulty: Beginner | Time Required: 20 minutesA Windows installer USB is one of the most useful recovery tools you can keep around. If your PC will not boot, Windows recovery options are missing, or you want to reset or reinstall Windows from scratch, this USB drive can get you back into Windows Setup and the recovery environment.
This guide walks you through creating official Windows 10 or Windows 11 installation media using Microsoft’s Media Creation Tool, then explains how to use it for repair, reset, or a clean reinstall.
Note: The USB creation process usually takes around 20 minutes, but the exact time depends on your internet speed and USB drive performance.
Prerequisites
Before you begin, gather the following:Quick walkthrough
- A working Windows PC
- This can be the PC you want to repair, or another Windows computer.
- A blank USB flash drive
- Use at least 8 GB.
- A 16 GB or larger USB drive is recommended.
- The USB drive will be erased.
- A stable internet connection
- Windows installation files must be downloaded from Microsoft.
- Administrator access
- You need permission to run the Media Creation Tool.
- Your BitLocker recovery key, if applicable
- If your Windows drive is encrypted with BitLocker, recovery tools may ask for the recovery key.
- Backups of important files
- Creating the USB erases the USB drive.
- A clean install can erase files, apps, and settings on the target PC.
Windows 10/11 Version Notes
For Windows 11, use the Windows 11 Media Creation Tool from Microsoft’s official Windows 11 download page. Windows 11 installation media is intended for compatible PCs and is commonly used for repair, reset, reinstall, and clean installation.For Windows 10, use the Windows 10 Media Creation Tool from Microsoft’s official Windows 10 download page. Windows 10 version 22H2 was the final Windows 10 feature release, and Windows 10 reached end of support on October 14, 2025. You can still create installer media for reinstalling Windows 10 on a licensed PC, but Windows 11 is the recommended supported path for compatible hardware.
Part 1: Create the Installer USB
- Insert your USB flash drive
Plug the USB flash drive into the working Windows PC.
Warning: Everything on this USB drive will be deleted. If it contains files you need, copy them somewhere safe before continuing.
- Download the correct Media Creation Tool
Open your browser and go to Microsoft’s official download page for the Windows version you want: - Use the Windows 11 download page for Windows 11 media.
- Use the Windows 10 download page for Windows 10 media.
- Run the tool as administrator
Open your Downloads folder, right-click the downloaded tool, and choose Run as administrator.
If User Account Control appears, select Yes. - Accept the license terms
Read the Microsoft license terms, then select Accept to continue. - Choose installation media
When asked what you want to do, select:
Create installation media for another PC
Then select Next.
Tip: Even if you are repairing the same PC, this is still the correct option when making a bootable USB installer.
- Confirm language, edition, and architecture
The tool usually selects recommended options automatically.
Review the following: - Language
- Edition
- Architecture
If you need to change these options, uncheck Use the recommended options for this PC, then choose the correct settings.
- Select USB flash drive
Choose USB flash drive, then select Next. - Choose the correct USB drive
Select your USB drive from the list.
Double-check the drive letter and label before continuing.
Warning: Choosing the wrong drive can erase the wrong device. If you are unsure, open File Explorer first and confirm which drive letter belongs to your USB flash drive.
- Let the tool download and create the media
The Media Creation Tool will download Windows files, format the USB drive, copy the setup files, and make the USB bootable.
Keep the PC plugged in and do not remove the USB drive while the tool is working. - Finish and safely eject the USB
When the tool says the USB drive is ready, select Finish.
Open the system tray, use Safely Remove Hardware, and eject the USB drive.
Part 2: Boot from the Installer USB
- Connect the USB to the problem PC
Plug the installer USB into the computer you want to repair, reset, or reinstall. - Open the boot menu
Turn on or restart the PC and immediately press the boot menu key.
Common boot menu keys include: - F12
- F11
- Esc
- F9
- F10
- Select the USB drive
In the boot menu, choose your USB drive.
If you see both UEFI and non-UEFI options, choose the UEFI option for modern Windows 10/11 PCs. - Wait for Windows Setup to load
You should see the Windows Setup screen asking for language, time, currency format, and keyboard input method.
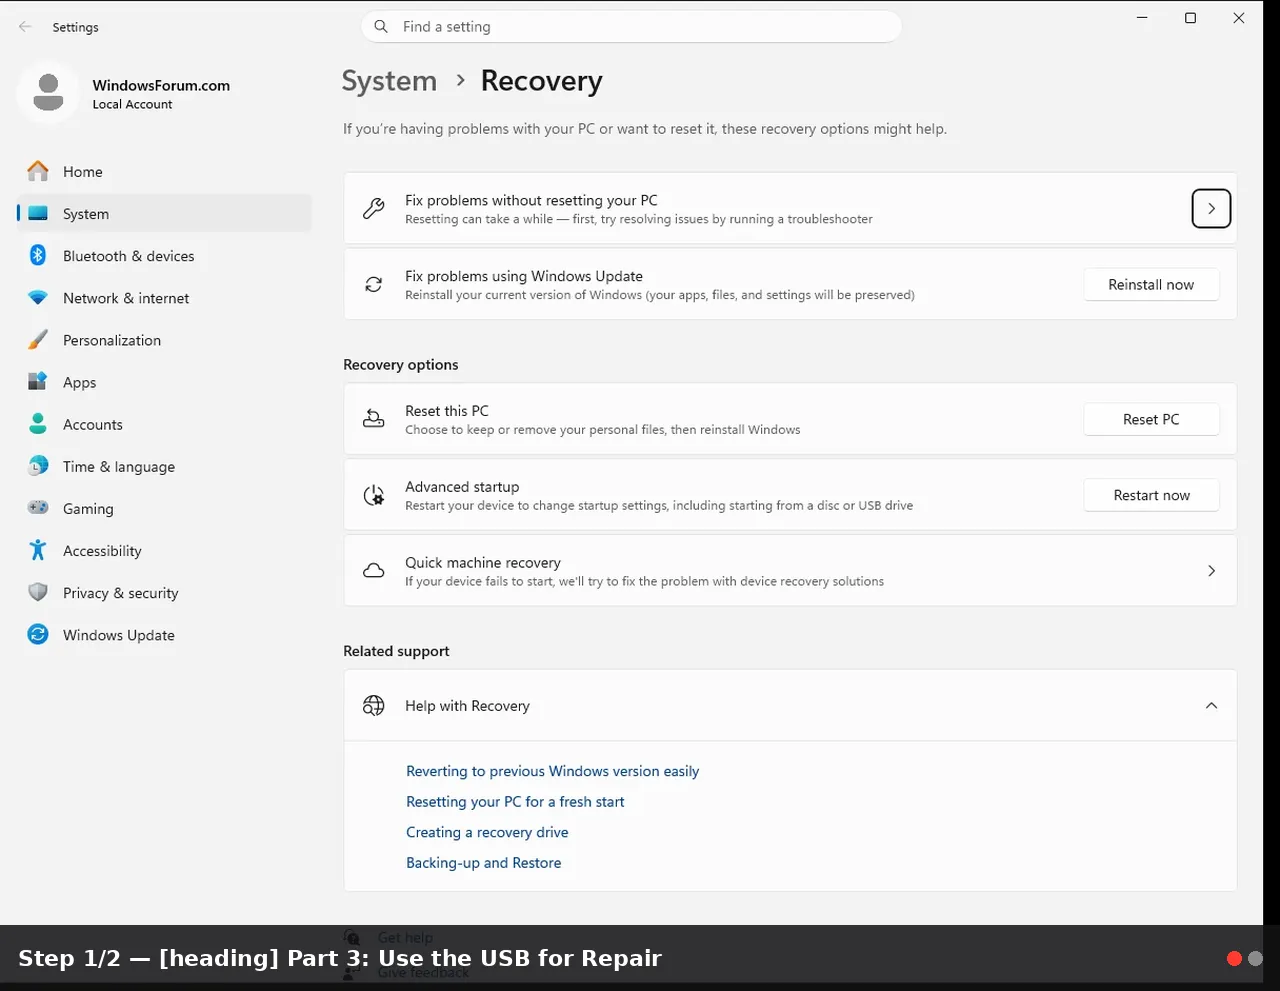
Part 3: Use the USB for Repair
If your goal is to repair Windows rather than reinstall it:
- On the first Windows Setup screen, select Next.
- Do not select Install now.
- Select Repair your computer in the lower-left corner.
- Choose Troubleshoot.
- Select the repair option you need.
- Startup Repair
Attempts to fix boot problems automatically. - System Restore
Restores Windows system files and settings to an earlier restore point. - Uninstall Updates
Removes recent quality or feature updates that may be causing startup issues. - Command Prompt
Allows advanced users to run tools such as disk checks, boot repair commands, or file recovery commands. - System Image Recovery
Restores the PC from a previously created system image backup.
Tip: Try Startup Repair first if Windows will not boot. It is beginner-friendly and does not normally affect personal files.
Part 4: Use the USB to Reset or Clean Reinstall
If repair options do not solve the problem, you can use the USB to reinstall Windows.- Boot from the USB drive.
- On the Windows Setup screen, choose your language and keyboard options.
- Select Install now.
- If asked for a product key, choose I don’t have a product key if Windows was previously activated on this PC.
- Select the correct Windows edition.
- Choose the same edition previously installed, such as Home or Pro.
- Accept the license terms.
- Choose the installation type.
Upgrade
This keeps files, settings, and apps when launched from inside Windows. It is not usually used when booting directly from USB.Custom: Install Windows only
This is used for a clean install.For a clean reinstall, select the Windows partition carefully. If you are unsure which partition to choose, stop and ask for help on the forum before deleting anything.Warning: A clean install can remove apps, settings, and files. Make sure your important data is backed up before deleting or formatting partitions.
Tips and Troubleshooting
The USB drive does not appear in the Media Creation Tool
Try another USB port, preferably a direct port on the PC instead of a hub. You can also try formatting the USB drive in File Explorer, then running the tool again.The PC does not boot from USB
Open the firmware or boot menu and confirm the USB drive is listed. If needed, check BIOS/UEFI settings for USB boot options. On Windows 11-compatible systems, UEFI mode and Secure Boot are commonly expected.Windows Setup asks for drivers
This may happen if storage controller drivers are missing, especially on some newer systems or RAID configurations. Check your PC or motherboard manufacturer’s support page for storage drivers.Activation after reinstall
Most modern Windows 10/11 PCs use a digital license tied to the hardware. If you reinstall the same edition of Windows on the same PC, activation usually completes automatically once connected to the internet.
Keep the USB updated
Installer media can become outdated. If your USB is more than a few months old, consider recreating it before a major repair or reinstall so it includes newer setup files.Conclusion
A Windows 10/11 installer USB is a simple but powerful recovery tool. It can help you start a non-booting PC, access repair tools, reset Windows, or perform a clean reinstall when other recovery options fail. Keeping one ready saves time and gives you a reliable path back to a working system.Key Takeaways:
- A Windows installer USB can be used for repair, reset, or clean installation.
- Use Microsoft’s official Media Creation Tool for the correct Windows version.
- The USB drive must be at least 8 GB and will be erased during creation.
- Use Repair your computer for recovery tools instead of reinstalling immediately.
- Back up important files before resetting or performing a clean install.
This tutorial was generated to help WindowsForum.com users get the most out of their Windows experience.
Reference basis, not part of article: Microsoft’s Windows 10 and Windows 11 software download pages describe using the Media Creation Tool to create USB installation media and note that a blank USB/DVD with at least 8 GB is required or recommended. Microsoft documentation also describes booting Windows installation media from a USB flash drive, using manufacturer boot menus, and selecting the USB device. Microsoft Lifecycle documentation confirms Windows 10 reached end of support on October 14, 2025. (microsoft.com)
References
- Official source: microsoft.com
Download Windows 10
www.microsoft.com
- Official source: download.microsoft.com
- Official source: support.microsoft.com
Windows 10 notification: “Your device has reached the end of service” | Microsoft Support
Windows 10 notification: “Your device has reached the end of service”support.microsoft.com - Official source: learn.microsoft.com
Windows 10 reaching end of support - Microsoft Lifecycle | Microsoft Learn
Announcing Windows 10 reaching end of support.learn.microsoft.com - Related coverage: windowscentral.com
Windows 10 is dead, Microsoft confirms | Windows Central
Microsoft has confirmed that support for Windows 10 has now come to an end. It has released one final mainstream OS update, but millions of users are still running the now abandoned OS.www.windowscentral.com - Related coverage: tomshardware.com
Windows 10 support ends today — here's who's affected and what you need to do | Tom's Hardware
Update if you can, upgrade if you can't, or at least get the extended support license.www.tomshardware.com
- Related coverage: techradar.com
Microsoft in 2025: year in review | TechRadar
Microsoft pushed AI even harder this year – and Windows 11 users rebelledwww.techradar.com - Related coverage: techassist.work
- Related coverage: bankofbaker.com
- Related coverage: atomicdata.com
- Related coverage: teamlogicit.com
Last edited: