Find and Clean Up Large Files with File Explorer (size:>100MB)
Difficulty: Beginner | Time Required: 15 minutesFinding and removing large, underused files can free up valuable disk space and keep your PC running smoothly. This guide shows you how to use Windows File Explorer to quickly locate files larger than 100 MB and safely decide what to delete or move. The steps work in Windows 10 and Windows 11.
Introduction
Large, forgotten files piling up on your drives are a common cause of disk space issues. By filtering for files over 100 MB, you can identify installers, videos, backups, ISO images, and other bulky items you might no longer need. The goal isn’t to delete everything at once, but to review and reclaim space while keeping important data safe.
Prerequisites
Quick walkthrough
- A basic familiarity with File Explorer (open, navigate, and right-click).
- Administrator rights are not strictly required, but some locations (like system folders) may require elevated permissions.
- Optional: a backup plan. For genuinely important data, consider moving files you’re unsure about to an external drive or cloud storage before deleting.
- Note: Some files (system files, Windows updates, or program installation folders) may be protected. If you see a message that a file can’t be deleted, leave it alone or move it to a dedicated backup location.
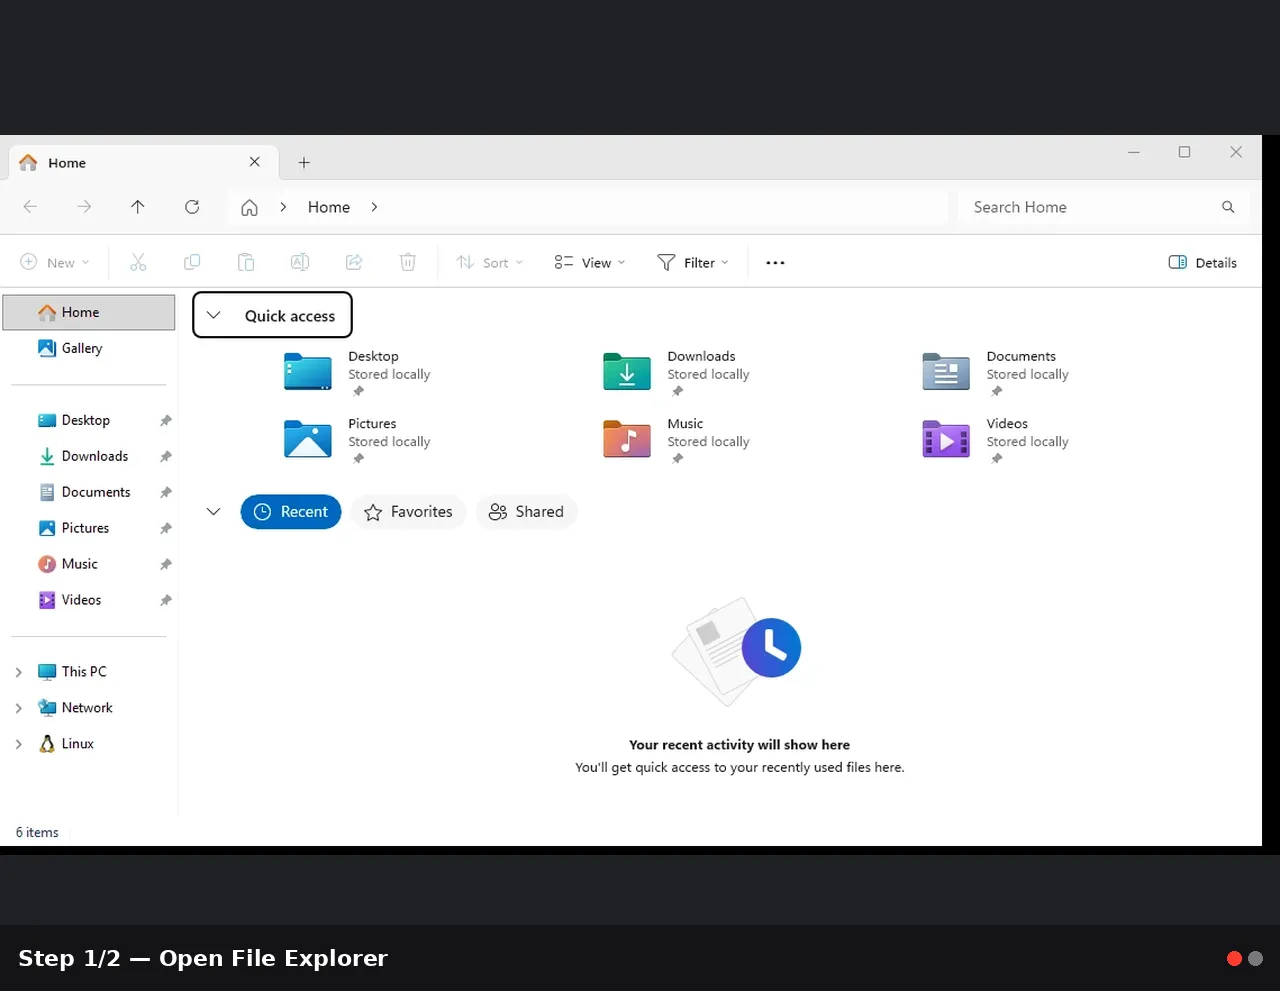
- Open File Explorer
- Click the Start button and choose File Explorer, or press Windows key + E.
- Navigate to This PC to target a specific drive (for example, Local Disk (C
") , D:, or another drive where you want to search).
, D:, or another drive where you want to search).
- Choose the right search approach
- In File Explorer, click the drive or folder you want to search for large files.
- Click in the search box at the top-right of the window. This activates the search tools and the Advanced Query Syntax (AQS) options.
- Search for large files (size:>100MB)
- Type size:>100MB and press Enter.
- You’ll see results that are files larger than 100 MB. If you want to narrow to a specific type, you can extend the search. For example:
- size:>100MB kind:video (only large videos)
- size:>100MB kind:document (large documents)
- Tips:
- You can combine filters like date:>01/01/2024 to focus on newer items.
- If you want to exclude folders, you can add not kind:folder, though the size filter typically targets files.
- Sort results by size (largest first)
- Switch to Details view if you aren’t already using it (View tab > Details, or the Details icon).
- In the file list, click the Size column header to sort. Click again to toggle descending order so the largest files appear at the top.
- If the Size column isn’t visible, right-click the header area and choose Size from the list of columns, then re-sort.
- Review each candidate file
- For each large file, double-click to open it if you recognize the application, or right-click and choose Open file location to see where it lives.
- Quick checks:
- Is it a video or backup you forgot about? Is it a program installer or a downloaded ISO?
- Is it in a known cache or temporary folder? Some apps store large caches that you can safely remove after confirming you don’t need them.
- Before deleting anything, verify that it isn’t a critical system file, a personal project, or a document you still need.
- Decide how to handle each large file
- Delete to Recycle Bin: select the file and press Delete (or Right-click > Delete). This moves it to the Recycle Bin for potential recovery.
- Permanently delete: hold Shift and press Delete, then confirm. This bypasses the Recycle Bin.
- Move to another location: if you want to keep a large file but free space on the current drive, drag-and-drop it to an external drive, USB stick, or cloud storage.
- Create a quick backup before removal: if you’re unsure, copy the file to an external drive or a dedicated “Backup - Large Files” folder.
- Clean up after deletion
- Empty the Recycle Bin to reclaim space on the drive you deleted from (Right-click Recycle Bin on your desktop > Empty Recycle Bin).
- If you often run low on space, consider enabling Storage Sense (Windows 10/11) to automatically remove temporary files and empty the Recycle Bin after a set period.
- Repeat on other drives or folders
- If you have multiple drives, repeat steps 3–7 on each drive where you want to reclaim space.
- You can also run searches for specific folders (e.g., your Downloads folder or a project folder) if you suspect large items are kept there.
- Optional: use built-in cleanup tools for safety nets
- Disk Cleanup (Windows 10/11): type Disk Cleanup in the Start menu, select the drive, and choose Clean up system files. You’ll see options like Temporary files, Downloads, and Recycle Bin. This is a safe way to reclaim space beyond manual deletions.
- Storage Sense (Windows 10/11): Settings > System > Storage > Storage Sense. Configure it to automatically remove temporary files and unused content, freeing space over time without manual searches.
Tips and troubleshooting notes
- Be cautious with system and program folders
- Some large files may be installers, backups, or caches used by software. If unsure, don’t delete immediately. Instead, move to a temporary folder or external drive and re-check after a day or two.
- Refine searches for better results
- If you get too many results, narrow by date, file type, or specific folders. For example, search C:\Users\YourName\Downloads with size:>100MB to focus on downloaded files.
- Hidden and protected files
- By default, tools may hide certain system files. If you think you’re missing items, enable hidden items in the View tab (Preview pane or Show hidden files) but avoid deleting protected system files.
- Performance considerations
- On very large drives, a search can take a little time. If the initial search seems slow, start with a specific folder (like Downloads or Videos) before broadening to the entire drive.
- Recovery tips
- If you delete something important, don’t panic. Check the Recycle Bin first. If you emptied it or deleted permanently, you may still recover with Windows File History, a backup, or third-party recovery software—promptly, as chances decline as new data writes to the drive.
Using File Explorer to find large files over 100 MB is a quick, beginner-friendly way to reclaim disk space and reduce clutter. The process helps you pinpoint bulky items—videos, ISO downloads, backups, and installers—that you may no longer need. With a careful review, you can safely delete or move files, freeing space for your next projects and improving system performance.
Key Takeaways:
- Quick, zero-cost method to identify space hogs using Windows File Explorer and size filters.
- Safely remove unnecessary large files while preserving important data by verifying location and purpose.
- Complementary built-in tools like Disk Cleanup and Storage Sense help maintain free space over time.
- Regularly repeating this check on each drive keeps your PC running smoothly and protects against unexpected storage shortages.
This tutorial was generated to help WindowsForum.com users get the most out of their Windows experience.
Last edited: