Fix Windows 10/11 Startup App Errors with Clean Boot + Autoruns (Step-by-Step)
Difficulty: Intermediate | Time Required: 20 minutesStartup app errors—pop-ups like “Application failed to start”, missing DLL messages, repeated installer prompts, or apps that instantly crash after sign-in—are often caused by conflicting startup entries, broken update leftovers, or third-party services loading too early.
This guide shows a reliable, low-risk workflow used by technicians:
Quick walkthrough
- Clean Boot to confirm whether the issue is caused by non-Microsoft services/startups
- Autoruns (Sysinternals) to precisely identify and disable the specific broken entry without “guessing”
Works on Windows 10 and Windows 11 (all editions). Screens and wording may differ slightly depending on version and updates.
Prerequisites
- Administrator account access (required to change services/startup entries)
- Internet connection (to download Autoruns from Microsoft)
- Optional but recommended:
- Create a restore point (safety net)
- Know which app(s) show errors at startup (note the exact error text if possible)
(Optional) Create a Restore Point (2 minutes)
- Press Win + S, type Create a restore point, open it.
- Under Protection Settings, select your system drive (usually C:).
- Click Create…, name it (e.g., Before Startup Cleanup), then Create.
Note: Restore points are not a full backup, but they’re helpful if a change affects system behavior.
Step-by-Step: Clean Boot to Isolate the Cause
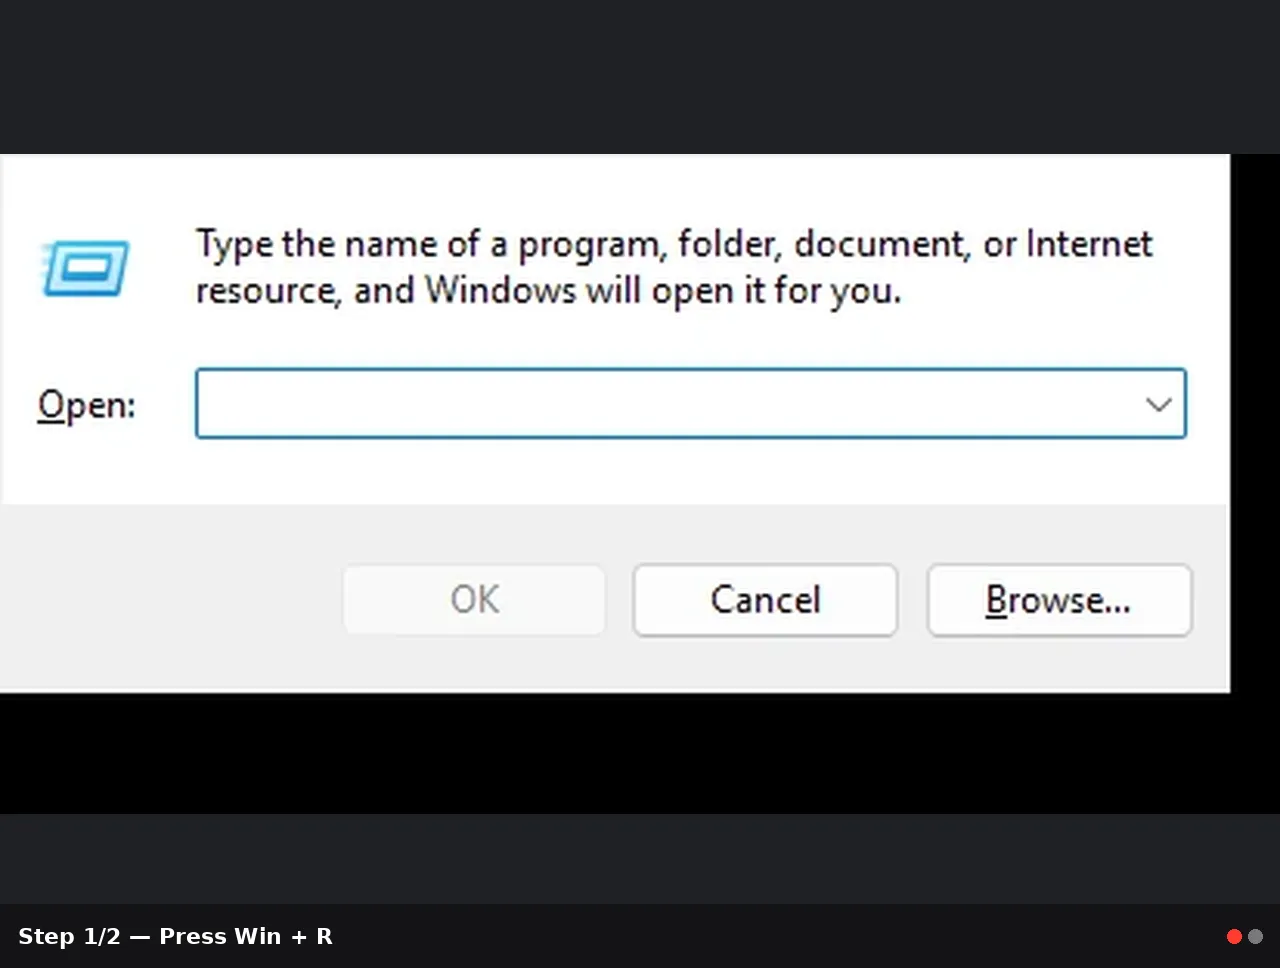
A Clean Boot starts Windows with Microsoft services only, disabling most third-party services and startup apps. This helps you confirm whether a background component is causing the startup error.Step 1) Open System Configuration (msconfig)
- Press Win + R
- Type:
msconfig - Press Enter
Step 2) Configure Selective Startup
- Go to the General tab
- Select Selective startup
- Uncheck: Load startup items
- Leave Load system services checked
Why: This prevents startup apps from launching while keeping core Windows functionality.
Step 3) Disable Non-Microsoft Services
- Go to the Services tab
- Check Hide all Microsoft services (very important)
- Click Disable all
- Click Apply
Warning: Do not disable Microsoft services. Always use Hide all Microsoft services first to avoid breaking Windows features, sign-in components, networking, or security services.
Step 4) Disable Startup Apps (Windows 10/11 Task Manager)
- In msconfig, go to the Startup tab
- Click Open Task Manager
- In Task Manager > Startup apps (Windows 11) or Startup (Windows 10):
- Select each Enabled startup item you don’t need for testing
- Click Disable
- Close Task Manager, then click OK in System Configuration
Step 5) Restart and Test
- Restart your PC
- Sign in normally
- Check whether the startup app error still appears
- If the error is gone: The cause is almost certainly a third-party service or startup entry.
- If the error still happens: It may be caused by:
- A scheduled task
- A Windows component issue
- Corrupted app installation
- A driver-level component
- Malware/adware persistence
Autoruns will still help, but you may need additional checks (see notes later).
Step-by-Step: Use Autoruns to Find the Exact Problem Entry
Autoruns is a Microsoft Sysinternals tool that shows everything that starts automatically: logon entries, services, scheduled tasks, drivers, shell extensions, and more—far beyond Task Manager’s Startup list.Step 6) Download Autoruns (Microsoft Sysinternals)
- Go to Microsoft’s Sysinternals Autoruns page (search: Sysinternals Autoruns download)
- Download Autoruns for Windows
- Right-click the ZIP > Extract All…
- Open the extracted folder
- Run Autoruns64.exe (most systems) or Autoruns.exe (32-bit)
Tip: Right-click Autoruns and choose Run as administrator for full visibility.
Step 7) Make Autoruns Easier (Recommended Filters)
- In Autoruns, click Options
- Enable:
- Hide Microsoft Entries
- Hide Windows Entries (optional but useful)
- Verify Code Signatures
- Click File > Refresh (or press F5)
Note: Hiding Microsoft/Windows entries reduces noise and helps you focus on third-party items most likely to cause startup errors.
Step 8) Focus on the Most Common Startup Error Locations
Check these tabs first:- Logon
- Traditional startup entries (Run keys, Startup folder items)
- Scheduled Tasks
- Many “mystery popups” come from here
- Services
- Background services loading early can trigger errors
- Drivers
- Less common for app popups, but important if errors mention drivers/DLLs
- Everything (search across all entries)
Step 9) Use Search to Match the Error
- Press Ctrl + F
- Search for:
- The app name (e.g., Adobe, Spotify, OneDrive, Discord)
- The file name in the error (e.g.,
something.dllorapp.exe) - A folder name (e.g.,
Program Files,AppData, or vendor name) - Click Find Next until you locate suspicious entries
- File not found (Autoruns often highlights missing paths)
- Entries pointing to:
- Old install folders that no longer exist
- Temp folders
- Unusual/random paths in AppData
- Unsigned or suspicious publishers (not always malicious, but worth scrutiny)
Warning: If you suspect malware (random filenames, strange paths), pause and run a reputable scan before re-enabling items.
Step 10) Disable the Suspect Entry (Safest First Move)
- Uncheck the box next to the suspect entry (this disables it; it does not delete it)
- Repeat for any other entries clearly related to the error
- Restart Windows and test again
Tip: Disable one or a small group at a time, then restart. This makes it much easier to identify the exact culprit.
Step 11) If Disabling Fixes It: Clean Up Properly
Once you’ve confirmed the error is tied to a specific startup item, you have a few options:- Update or reinstall the related application (best if you still use it)
- Uninstall the application (Settings > Apps > Installed apps / Apps & features)
- If it was a leftover entry from an uninstalled app:
- Keep it disabled, or
- Use Autoruns to delete it (more permanent)
- Right-click the entry
- Choose Delete
- Restart and confirm the error is gone
Warning: Deleting is permanent. Disabling is reversible. Prefer disabling until you’re confident.
Return Windows to Normal Startup (After Testing)
When you’ve found the culprit and fixed/removed it, you should restore normal boot behavior.Step 12) Undo Clean Boot
- Press Win + R, type
msconfig, press Enter - On the General tab, select Normal startup
- Go to Services tab:
- If you used Disable all, click Enable all
- Then re-disable only the specific problematic service if needed
- Click Apply > OK
- Restart
Note: In Windows 11/10, startup apps may still be disabled in Task Manager. Re-enable only those you trust and actually want at startup.
Tips and Troubleshooting Notes
If the error persists even in Clean Boot
Check these in Autoruns:- Scheduled Tasks tab (very common)
- Explorer tab (shell extensions can trigger weird behavior)
- Image Hijacks tab (rare, but can cause app launch failures)
- Also check Event Viewer:
- Right-click Start > Event Viewer
- Go to Windows Logs > Application
- Look for Error entries at the time of startup/logon
If you disabled something and Windows behaves oddly
- Boot normally and re-open Autoruns
- Re-enable the last item(s) you disabled
- If you can’t sign in or something critical breaks:
- Boot into Safe Mode, then undo changes
Keep startup lean
Even “good” startup apps can slow boot time or cause conflicts after updates. After fixing the error, consider keeping only essentials enabled (security tools, touchpad utilities if needed, backup sync you actually use).Conclusion
Using Clean Boot plus Autoruns gives you a structured way to fix startup app errors without random trial-and-error. Clean Boot confirms whether the issue is third-party, and Autoruns pinpoints the exact entry—often a broken leftover from an uninstall, an outdated updater, or a scheduled task that keeps firing at logon.Key Takeaways:
- Clean Boot quickly tells you whether a startup error is caused by non-Microsoft services/startup items.
- Autoruns provides a complete view of all auto-start locations (including scheduled tasks and services).
- Disable first, delete later: start with reversible changes to avoid breaking Windows.
- After resolving the issue, restore Normal startup and re-enable only what you actually need.
This tutorial was generated to help WindowsForum.com users get the most out of their Windows experience.
Last edited: