Limit CPU Usage for Background Apps with Processor Affinity in Windows 10/11
Difficulty: Intermediate | Time Required: 15 minutesIf a background app keeps stealing CPU time from your game, editing software, browser, or other foreground work, processor affinity can help. In simple terms, processor affinity lets you tell Windows which CPU cores a specific process is allowed to use.
This can be useful when one busy background process causes stutter, high temperatures, fan noise, or sluggish multitasking. By limiting that app to a smaller set of cores, you leave more CPU resources available for the tasks you actually care about.
That said, affinity is a fine-tuning tool, not a magic fix. It works best for specific apps that misbehave or run heavy background tasks. It also resets when the app closes unless you use a script or third-party utility.
Prerequisites
Before you begin, make sure you have:Quick walkthrough
- A Windows 10 or Windows 11 PC
- An account with administrator rights if needed
- A background app or process you want to limit
- A basic understanding of Task Manager
Note: Processor affinity can be changed in both Windows 10 and Windows 11 through Task Manager. The exact layout may look slightly different, but the steps are nearly the same.
What Processor Affinity Does
Windows normally schedules threads across available CPU cores automatically. Microsoft’s scheduling guidance generally favors letting the scheduler balance work on its own. However, affinity can be used to restrict a process to a subset of processors when you need manual control.In practical terms, that means:
- You can keep a background app from using all cores
- You can reserve some cores for games or creative apps
- You may reduce stutter caused by one overly active process
Warning: Setting affinity too aggressively can make an app unstable, slower, or less responsive. Don’t limit antivirus, drivers, audio services, or core Windows processes unless you know exactly what they do.
Step-by-Step: Limit CPU Usage with Processor Affinity
1. Open the background app you want to control
Start the app or wait until its background process appears.Examples include:
- A launcher or updater
- A media transcoder
- A sync tool
- A browser running heavy tabs in the background
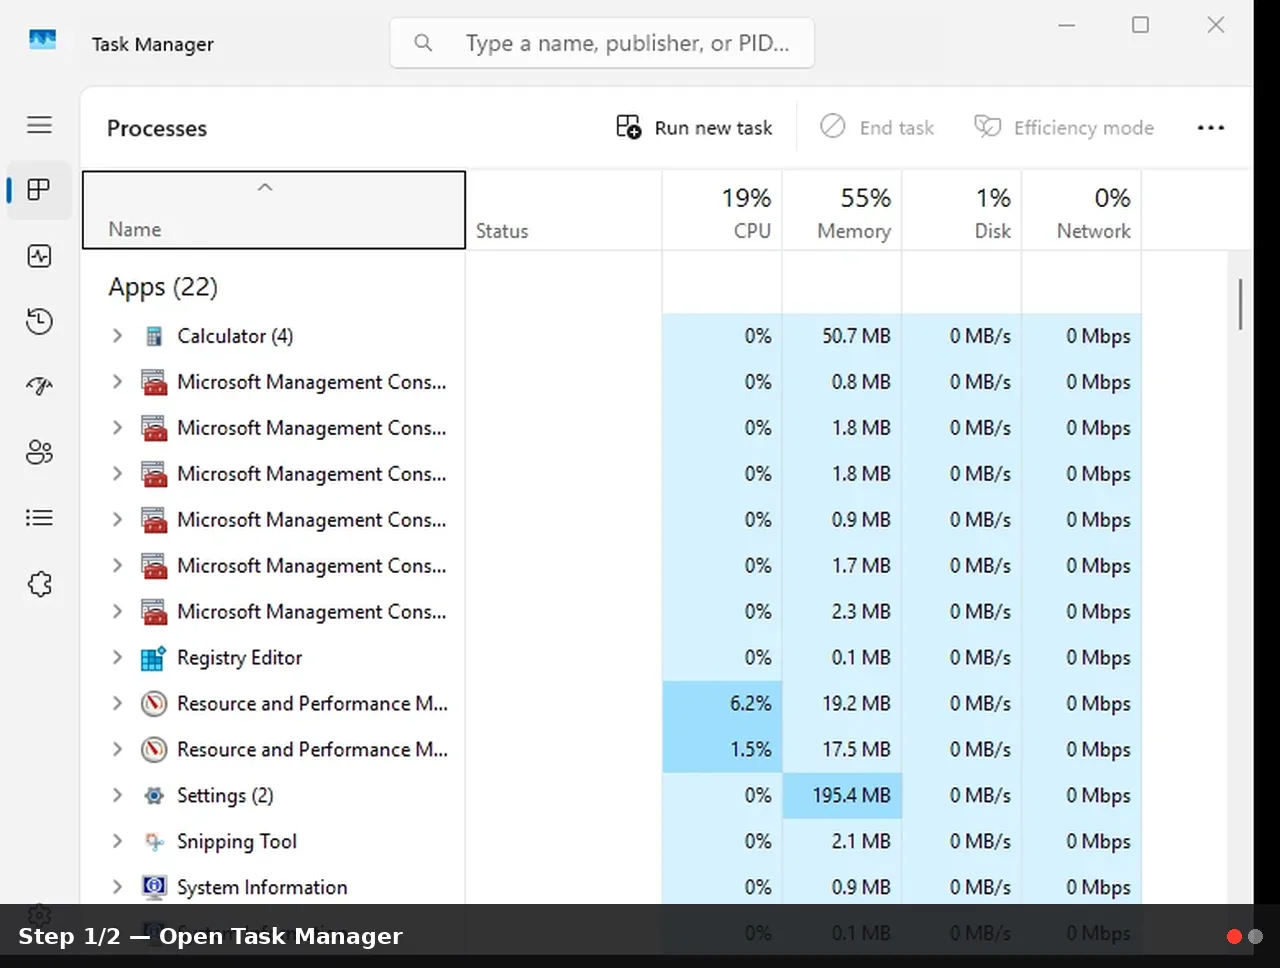
2. Open Task Manager
Use one of these methods:
- Press Ctrl + Shift + Esc
- Right-click the Start button and choose Task Manager
- Press Ctrl + Alt + Delete, then select Task Manager
3. Find the process
Go to the Details tab.This tab gives you the clearest view of the actual process name, such as:
chrome.exesteamwebhelper.exeOneDrive.exeobs64.exe
Tip: If several processes share the same name, check CPU usage and memory usage to identify the right one.
4. Open the Set Affinity option
In the Details tab:- Right-click the target process
- Click Set affinity
- All Processors
- CPU 0
- CPU 1
- CPU 2
- and so on
5. Choose which CPU cores the app can use
By default, most apps can use all processors.To limit the app:
- Uncheck All Processors
- Check only the CPU cores you want that app to use
- Click OK
- CPU 0
- CPU 1
Tip: Start conservatively. If your CPU has many cores, try assigning the background app to 2 or 4 cores first instead of only 1.
6. Test system performance
Now use your PC normally and check whether performance improves.Look for changes such as:
- Smoother gameplay
- Better responsiveness while streaming or editing
- Lower fan noise during multitasking
- Less CPU saturation in Task Manager
- Task Manager > Processes
- Task Manager > Performance > CPU
- Resource Monitor for more detail
If the app becomes too slow or unstable, go back and allow more cores.
7. Repeat after restarting the app if needed
This is important: processor affinity changes made in Task Manager are usually temporary.If you close and reopen the app, Windows usually restores the default affinity settings.
That means this method is best for:
- Testing
- Temporary tuning
- Troubleshooting a problematic app
- A command-line launch method
- PowerShell or batch script
- A third-party process management utility
Optional: Combine Affinity with Priority Settings
If affinity alone does not help enough, you can also adjust process priority.From the same Details tab:
- Right-click the process
- Choose Set priority
- Select Below normal or Low
A useful combination is:Important: Use priority changes carefully. Microsoft warns that high priorities, especially High or Realtime, can interfere with normal system responsiveness. For background apps, lowering priority is generally safer than raising it.
- Affinity: limit the app to a few cores
- Priority: set it to Below normal
Tips and Best Practices
Choose the right kind of app
Good candidates for affinity tuning include:- Updaters
- Background browser helpers
- Encoding or rendering tools running off to the side
- Non-essential sync or indexing tools
- Antivirus engines
- Audio drivers and services
- GPU control software
- Core Windows processes like
explorer.exe,dwm.exe, orcsrss.exe
Don’t over-restrict
Giving a busy app only one core may cause:- Freezing
- Audio/video desync
- Longer task completion times
- Crashes in poorly optimized software
Remember hybrid CPUs
On many newer Windows 11 systems with Intel hybrid CPUs or similar designs, Windows is already fairly good at balancing tasks between different core types. Manual affinity can still help, but test carefully because forcing cores may sometimes reduce efficiency rather than improve it.Use Task Manager first
Before changing affinity, confirm that the app is actually causing the issue. Check:- CPU %
- Power usage
- Startup impact
- Background activity
Troubleshooting
“Set affinity” is grayed out
Possible reasons include:- You selected a protected system process
- The process has already exited
- You do not have sufficient permissions
The app keeps switching back
That’s normal in many cases. Affinity set through Task Manager usually does not persist after restart.Performance got worse
This usually means you assigned too few cores. Reopen Set affinity and allow more CPUs.I don’t know which cores to select
If you’re unsure, use the lowest-numbered few cores first, or simply split background and foreground workloads experimentally. There is no single perfect combination for every PC.The app uses many child processes
Some apps, especially browsers and launchers, use multiple processes. You may need to set affinity on more than one related process for noticeable results.Conclusion
Processor affinity is a handy advanced tweak for Windows 10 and Windows 11 users who want more control over how background apps use the CPU. It won’t replace proper optimization, but it can reduce interference from noisy or CPU-hungry background tasks and make your PC feel more responsive during gaming, streaming, or heavy multitasking.Used carefully, it gives you a quick way to test whether isolating a troublesome app to fewer cores improves overall performance.
Key Takeaways:
- Processor affinity lets you restrict an app to selected CPU cores
- It can help reduce stutter and improve responsiveness when background apps overuse the CPU
- Task Manager makes affinity changes easy in both Windows 10 and Windows 11
- Affinity settings are usually temporary and reset when the app restarts
- Combining Set affinity with Below normal priority can work well for non-essential background apps
- Avoid changing affinity for critical system or security processes unless you fully understand the risk
This tutorial was generated to help WindowsForum.com users get the most out of their Windows experience.
Last edited: