Archive Inactive Desktop Files Automatically with PowerShell and Task Scheduler
Difficulty: Intermediate | Time Required: 20-25 minutesKeeping your Desktop tidy can make Windows feel faster and more productive. This tutorial shows you how to automatically archive inactive Desktop files using a small PowerShell script and a scheduled Task Scheduler task. You’ll learn how to either move old files into an Archive folder (by month) or compress them into a dated ZIP, so your Desktop stays clean without manual cleanup.
Prerequisites
Quick walkthrough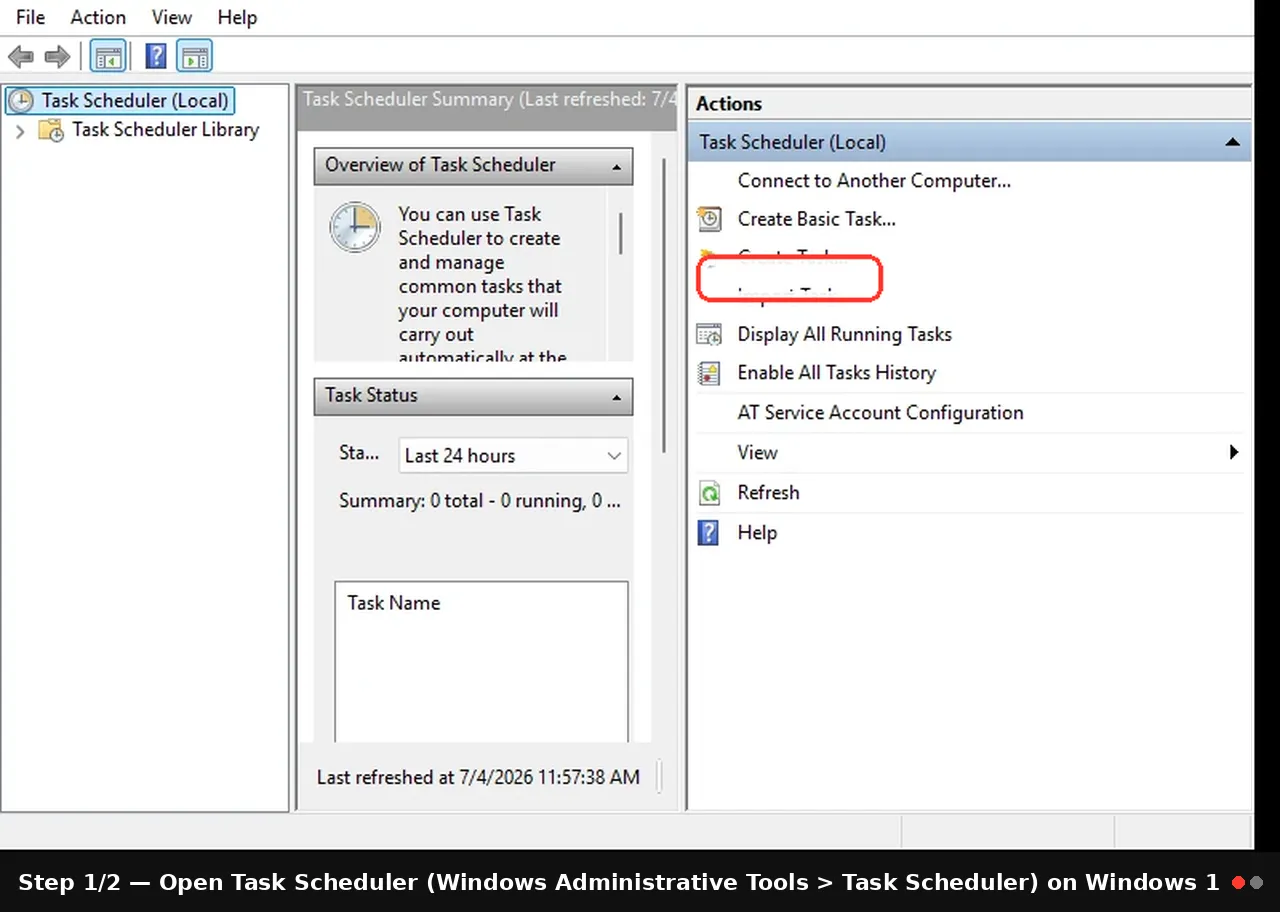
- A Windows 10 or Windows 11 PC with PowerShell (built-in, version 5.1 on Windows 10/11 by default) and Task Scheduler.
- Administrative rights are not strictly required for per-user scripts, but you may need them if you run the task with elevated permissions.
- A basic understanding of editing text files and running PowerShell scripts.
- Optional: OneDrive or different Desktop locations. If your Desktop is redirected, adjust the script path accordingly.
Step-by-step instructions
- Decide your archiving approach
- Option A: Move inactive files to an Archive folder (keeps files usable but out of sight on the Desktop).
- Option B: Zip inactive files into a dated archive (saves space; you can store large archives efficiently).
- For safety, start with a test run using -WhatIf (a dry run) to see what would happen before actually moving or zipping files.
- Prepare the PowerShell script
- Create a new text file named ArchiveDesktop.ps1 in a safe folder (e.g., C:\Scripts\ArchiveDesktop.ps1).
- Copy and paste the following script. It supports both Move and Zip modes, uses a monthly archive folder, and allows a dry-run option.
Code:
# ArchiveDesktop.ps1
Param( [ValidateSet("Move","Zip")] [string]$Mode = "Move", [int]$DaysInactive = 30, [string]$ArchiveRoot = "$env:USERPROFILE\Documents\DesktopArchive", [switch]$WhatIf) $DesktopPath = [Environment]::GetFolderPath("Desktop")
$Cutoff = (Get-Date).AddDays(-$DaysInactive) # Ensure archive root exists
if (-not (Test-Path $ArchiveRoot) { New-Item -ItemType Directory -Path $ArchiveRoot | Out-Null } # Monthly archive subfolder (yyyy-MM)
$MonthlyFolder = Join-Path $ArchiveRoot (Get-Date -Format "yyyy-MM")
if (-not (Test-Path $MonthlyFolder) { New-Item -ItemType Directory -Path $MonthlyFolder | Out-Null } # Gather eligible files (top-level Desktop only by default; adjust if you want subfolders)
$Files = Get-ChildItem -Path $DesktopPath -File -Force | Where-Object { $_.LastAccessTime -lt $Cutoff } if ($Mode -eq "Move") { foreach ($f in $Files) { $dest = Join-Path $MonthlyFolder $f.Name $counter = 1 # Avoid overwriting: append a suffix if a file with the same name exists while (Test-Path $dest) { $base = [IO.Path]::GetFileNameWithoutExtension($f.Name) $ext = $f.Extension $dest = Join-Path $MonthlyFolder ("{0}_{1}{2}" -f $base, $counter, $ext) $counter++ } if ($WhatIf) { Write-Output "Would move '$($f.FullName)' to '$dest'" } else { Move-Item -LiteralPath $f.FullName -Destination $dest -Force } }
} else { if ($Files.Count -gt 0) { $Paths = $Files | ForEach-Object { $_.FullName } $ZipPath = Join-Path $MonthlyFolder ("DesktopArchive-{0}.zip" -f (Get-Date -Format "yyyyMMdd-HHmm") if ($WhatIf) { Write-Output "Would zip to '$ZipPath' from: $Paths" } else { Compress-Archive -Path $Paths -DestinationPath $ZipPath -Force } } else { Write-Output "No files found eligible for archiving." }
}- Open PowerShell as the user whose Desktop you’re archiving.
- Run the script in Move mode with a dry-run:
- powershell -ExecutionPolicy Bypass -File "C:\Scripts\ArchiveDesktop.ps1" -Mode Move -DaysInactive 30 -WhatIf
- Do the same for Zip (dry-run):
- powershell -ExecutionPolicy Bypass -File "C:\Scripts\ArchiveDesktop.ps1" -Mode Zip -DaysInactive 30 -WhatIf
- If the output looks correct, run again without -WhatIf to perform the actual actions:
- powershell -ExecutionPolicy Bypass -File "C:\Scripts\ArchiveDesktop.ps1" -Mode Move -DaysInactive 30
- Or: powershell -ExecutionPolicy Bypass -File "C:\Scripts\ArchiveDesktop.ps1" -Mode Zip -DaysInactive 30
- Create a Task Scheduler task to run automatically
- Open Task Scheduler (Windows Administrative Tools > Task Scheduler) on Windows 10/11.
- Create a Basic Task (or Advanced Task) with:
- Name: Archive Inactive Desktop Files
- Trigger: Daily (or Weekly) at a time you choose (e.g., 02:00 AM)
- Action: Start a program
- Program/script: powershell.exe
- Add arguments: -NoProfile -ExecutionPolicy Bypass -File "C:\Scripts\ArchiveDesktop.ps1" -Mode Move -DaysInactive 30
- Start in: C:\Scripts
- Conditions: If on battery power, skip (optional)
- Settings: Allow task to run on demand; if it fails, restart up to 2 times
- Important notes:
- If you want to archive for other users, you’ll need separate tasks per user or run under their profile with appropriate permissions.
- Use the other mode (Zip) by editing the task arguments and using -Mode Zip when desired.
5) Verify and monitor
- After the first run, check:
- The ArchiveRoot folder (Documents\DesktopArchive) for a monthly subfolder yyyy-MM and the archived items.
- If you chose Move mode, the files should no longer appear on the Desktop.
- If you chose Zip mode, a zip file named DesktopArchive-YYYYMMDD-HHMM.zip should be present inside the monthly folder.
- Check the Task Scheduler history or run it manually to confirm it’s executing as expected.
- Optional refinements
- If you want to archive subfolders on the Desktop as well, modify the script to use Get-ChildItem -Path $DesktopPath -Recurse -Force and adjust the destination structure accordingly.
- If you want to exclude certain file types (e.g., pinned shortcuts, or ignored documents), add a Where-Object filter, such as excluding *.lnk or restricting to specific extensions.
- If LastAccessTime is not reliable in your environment (due to policy), switch to LastWriteTime in the filter:
- Replace LastAccessTime with LastWriteTime in the script: $_.LastWriteTime -lt $Cutoff
- Windows version considerations
- Windows 10/11 includes Task Scheduler and PowerShell 5.1 by default. The script works across these versions.
- If you install PowerShell 7.x (Core), you can still run the script; just ensure the path to powershell.exe in Task Scheduler points to the proper executable (e.g., C:\Program Files\PowerShell\7\pwsh.exe) and adjust syntax if needed.
Tips and troubleshooting notes
- Test first with -WhatIf to avoid moving or zipping files unintentionally.
- If a file is currently open by another program, Move-Item may fail. Exclude open files or run during off-hours when Most apps don’t hold Desktop files.
- LastAccessTime caveat: Some systems disable LastAccessTime updates for performance. If you notice many files aren’t being archived when you expect, try switching to LastWriteTime by changing the filter to $_.LastWriteTime -lt $Cutoff.
- Duplicate names: The Move mode includes a small safety mechanism that appends a numeric suffix if a conflicting filename exists in the destination folder.
- Archive retention: You could enhance the script to delete or prune old archives after a certain period, or to keep only the latest N months of archives.
- Security: Storing sensitive desktop items in an archive could pose a security risk if the archive isn’t protected. Consider encrypting the archive or restricting access to the archive folder if needed.
Conclusion
Archiving inactive Desktop files automatically with PowerShell and Task Scheduler is a lightweight, effective way to keep your Desktop clutter-free while preserving access to older items. You can tailor the setup to your preferences—move-only for quick cleanup, or zip for compact storage. The combination of a simple script and a scheduled task makes this a reliable, hands-off solution that works well on Windows 10 and Windows 11 alike.Key benefits:
- Keeps your Desktop clean without manual cleanup
- Flexible: move or zip, with a monthly archival structure
- Safe testing with -WhatIf and clear rollback when needed
- Easily adjustable thresholds and timing via Task Scheduler
Key Takeaways:
- Automates Desktop file archiving to improve productivity and reduce clutter
- Uses built-in Windows tools (PowerShell and Task Scheduler) with minimal setup
- Provides a safe test path and flexible options (Move vs Zip)
- Works on Windows 10/11, with straightforward maintenance and tweaks
This tutorial was generated to help WindowsForum.com users get the most out of their Windows experience.
Last edited: