Drew
Banned
I (had) put this in Tutorials but, then I noticed this section & it belongs here, too.
Installed VMs in Hyper-V such as Win7, Vista or XP want to connect to the Net.
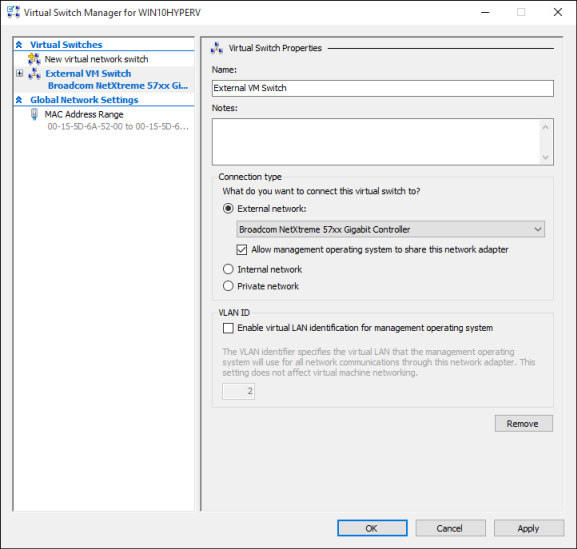
After, installing a VM OS & setting up a Virtual Switch the VMs may see no internet connections.
The Integration Services must be installed to the VMs to have connectivity. These will not install unless & until all required SPs are in FIRST (SP1 & 2 for Vista and SP1, 2 & 3 for XP).
If the install media did not give all SPs, download them. Next, in Windows 8 the VMs can be mounted. Find the VHDs, Rt Clk & select Mount. Now, you can copy the SP files to the VM. Eject the mounted VHD (They won't run in Hyper-V, if you don't. Now, in the VM > C:\ find the SP(s) & install. Once done, the Integration DVD will (now) work/run in the VM and NOW the VM will connect to the Web.
BTW, being able to mount the VHDs makes it really easy to copy or move things to your VMs.
Cheers,
Drew

