Enable and Use Windows Sandbox for Safe App Testing on Windows 10/11
Difficulty: Intermediate | Time Required: 20 minutesIntroduction
Windows Sandbox is a lightweight, disposable virtual environment built into Windows that lets you run untrusted apps safely — without risking your main system. Anything you do inside the Sandbox is isolated and discarded when you close it, making it perfect for testing installers, suspicious executables, and settings changes quickly and cleanly.Prerequisites
Quick walkthrough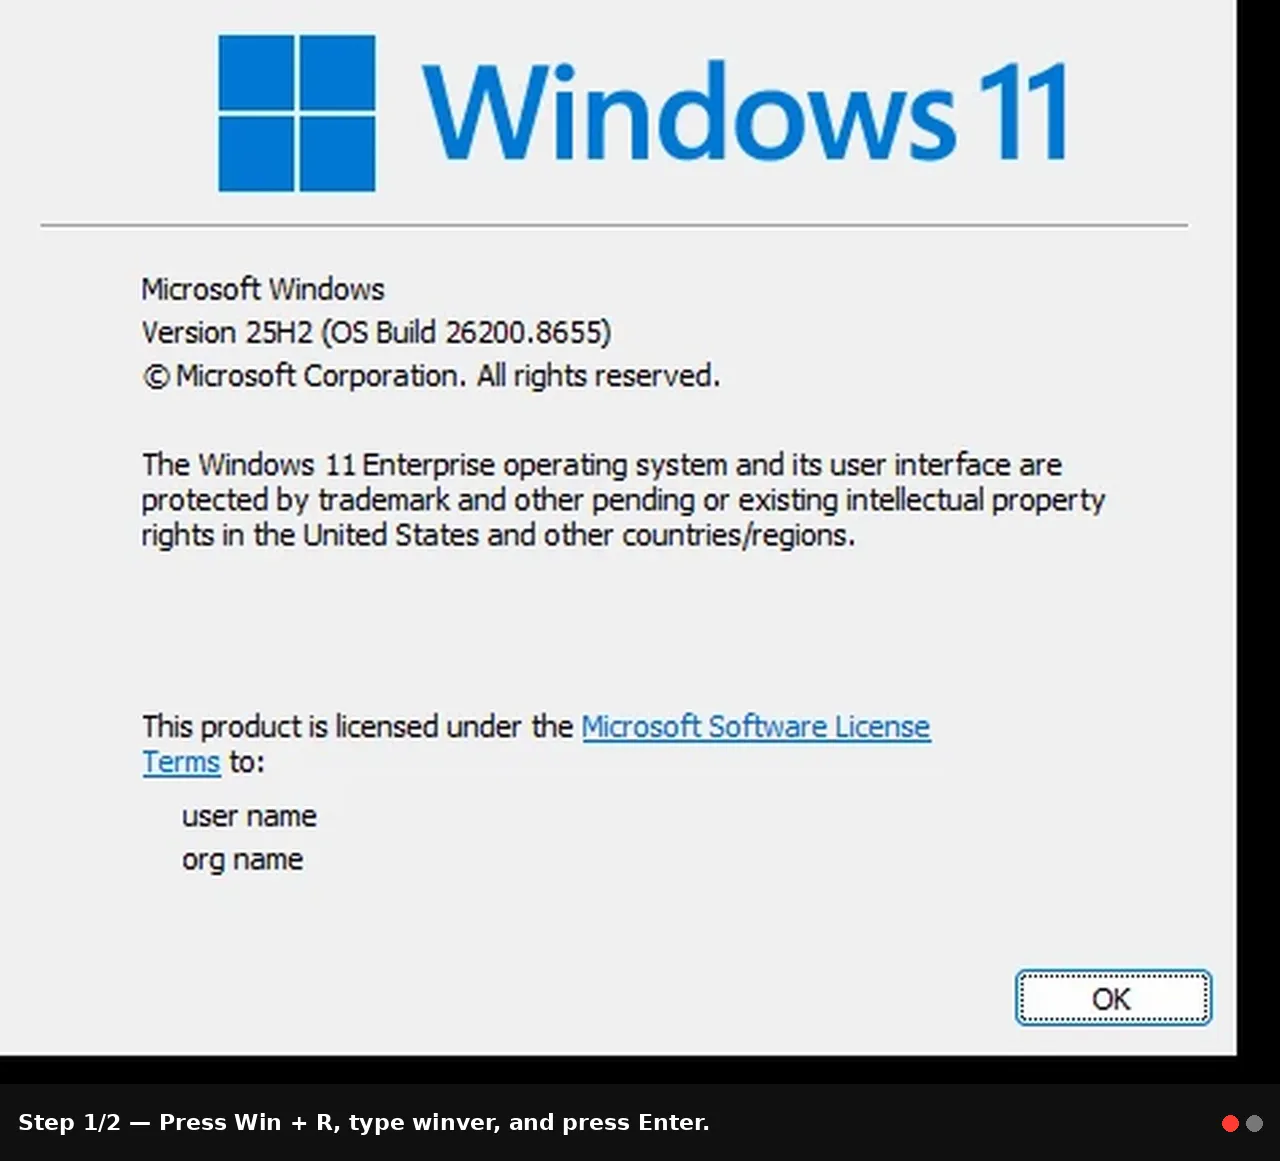
- Windows edition: Windows 10 Pro, Enterprise, or Education (version 1903, build 18305 or later) OR Windows 11 Pro, Enterprise, or Education. Windows Home does not include Windows Sandbox by default.
- 64-bit OS and CPU with virtualization support (Intel VT-x or AMD-V).
- Virtualization enabled in UEFI/BIOS.
- At least 4 GB RAM (8 GB or more recommended), 1 CPU core (2+ recommended), and ~1 GB free disk space.
- Windows feature requirements: Hyper-V/Virtualization components available/enabled.
Step-by-step instructions
- Check your Windows version and edition
- Press Win + R, type winver, and press Enter.
- Confirm you are on a supported edition and build (see prerequisites). If not, Sandbox is not available.
- Verify hardware virtualization is supported and enabled
- Open Command Prompt (cmd) and run:
systeminfo - In the output, check the “Hyper-V Requirements” section — look for “VM Monitor Mode Extensions: Yes,” “Virtualization Enabled In Firmware: Yes,” etc.
- If “Virtualization Enabled In Firmware: No,” reboot, enter UEFI/BIOS, and enable Intel VT-x (Virtualization Technology) or AMD SVM/AMD-V. Save and restart.
- Enable Windows Sandbox feature (GUI method)
- Press Start, type “Turn Windows features on or off,” and open it.
- Scroll and check “Windows Sandbox.” If prompted, also enable related virtualization features (Hyper-V, Virtual Machine Platform, Windows Hypervisor Platform).
- Click OK and reboot when prompted.
- Open PowerShell as Admin and run:
Enable-WindowsOptionalFeature -Online -FeatureName "Windows-Sandbox" -All - Reboot when prompted.
- Launch Windows Sandbox
- After reboot, press Start and type “Windows Sandbox,” then open it.
- The Sandbox will launch in a fresh, clean Windows desktop. It may take a few seconds to initialize.
- Use Sandbox to test apps safely
- Copy the installer or file on the host, switch to the Sandbox, and paste (Ctrl+V) into the Sandbox desktop or Explorer. Clipboard and file copy-paste are supported.
- Run the installer or test the application. The Sandbox has its own registry and file system — nothing persists to the host unless explicitly shared.
- When finished, close the Sandbox window. On close, the entire environment is discarded and reset.
- (Optional) Use a Sandbox configuration file to share a folder or automate start-up
- Create a text file with a .wsb extension (e.g., MySandbox.wsb) and paste this example to map a host folder into the Sandbox:
Code:
<Configuration> <MappedFolders> <MappedFolder> <HostFolder>C:\Users\YourUser\Downloads\SandboxShare</HostFolder> <ReadOnly>false</ReadOnly> </MappedFolder> </MappedFolders> <LogonCommand> <Command>explorer.exe</Command> </LogonCommand>
</Configuration>- Double-click the .wsb file to launch a Sandbox that has that folder available inside.
- You can also set Networking (Enable/Disable) and VGpu options in .wsb files. See Microsoft Docs for advanced .wsb options.
Tips, warnings, and troubleshooting
- Tip: Treat Sandbox as stateless. Anything you want to keep must be copied back to the host before closing. Use the mapped-folder (.wsb) approach to move files cleanly.
- Note: Clipboard copy/paste is enabled by default, but drag & drop support is limited. Use copy/paste or a mapped folder for files.
- Warning: Windows Sandbox is not available in Windows 10/11 Home (unless you upgrade the edition). Do not attempt unsupported hacks — they may destabilize your system.
- If “Windows Sandbox” is missing from Windows Features:
- Confirm edition and build via winver.
- Check virtualization support via systeminfo.
- Make sure Virtualization is enabled in firmware.
- Ensure Group Policy or your organization hasn’t disabled virtualization features (for managed devices).
- If Sandbox fails to start with an error about Hyper-V or the hypervisor:
- Run Windows Updates and reboot.
- Check that Hyper-V and related features are enabled (Turn Windows features on or off).
- Some third-party virtualization or security tools (older antivirus, older VirtualBox/VMware without Hyper-V support) can conflict. Update or uninstall conflicting tools or enable Hyper-V-compatible virtualization support.
- Performance tip: Close resource-heavy apps on the host when running Sandbox. If you have limited RAM, consider increasing physical memory or using fewer apps simultaneously.
- Security note: Sandbox greatly reduces risk, but no tool is perfect. Avoid using Sandbox for extremely high-value secrets or complex persistence attacks — use a full, isolated lab for advanced malware analysis.
Conclusion
Windows Sandbox is a fast, simple way to run suspicious or unknown software in a disposable environment without risking your primary system. With minimal setup you get an isolated, temporary Windows session that resets on close, ideal for quick tests, installers, or browsing questionable downloads. For more advanced workflows, use .wsb configuration files to map folders or adjust networking.Key Takeaways:
- Windows Sandbox provides a disposable, isolated Windows environment for safe app testing.
- Requires Pro/Enterprise/Education editions (Win10 1903+/Win11) and hardware virtualization.
- Enable via “Turn Windows features on or off” or PowerShell, then launch from Start.
- Use clipboard or .wsb mapped folders to transfer files in/out; everything is discarded on close.
- Not a replacement for persistent VMs or advanced malware labs, but perfect for quick, low-risk testing.
This tutorial was generated to help WindowsForum.com users get the most out of their Windows experience.
Last edited: